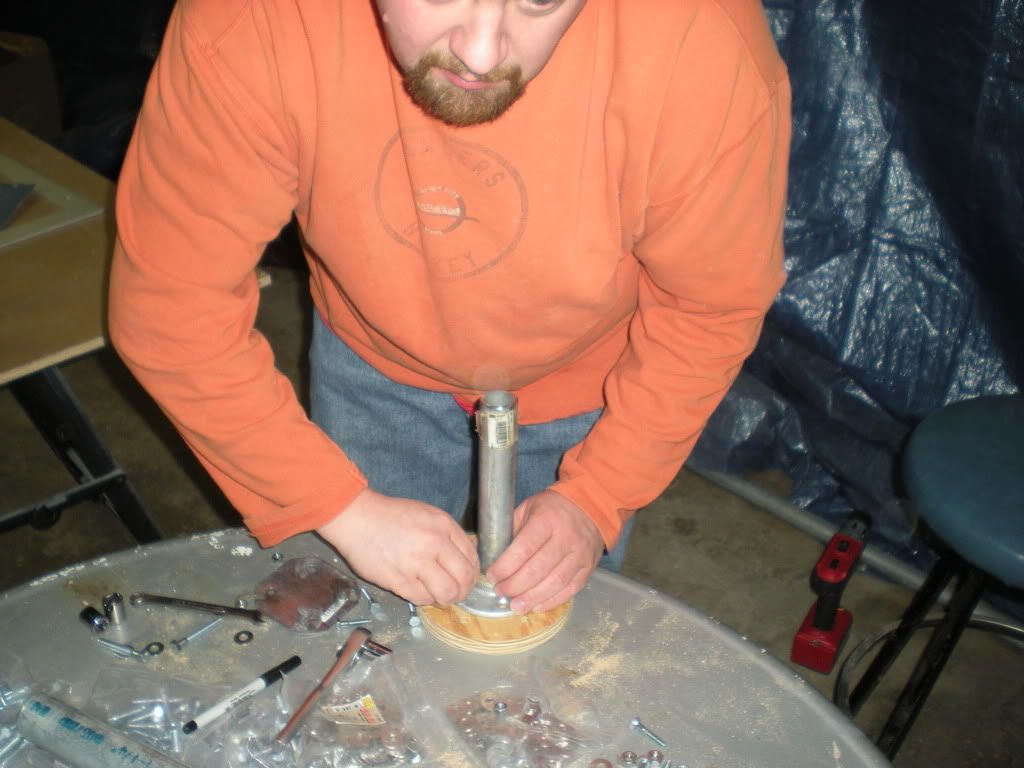
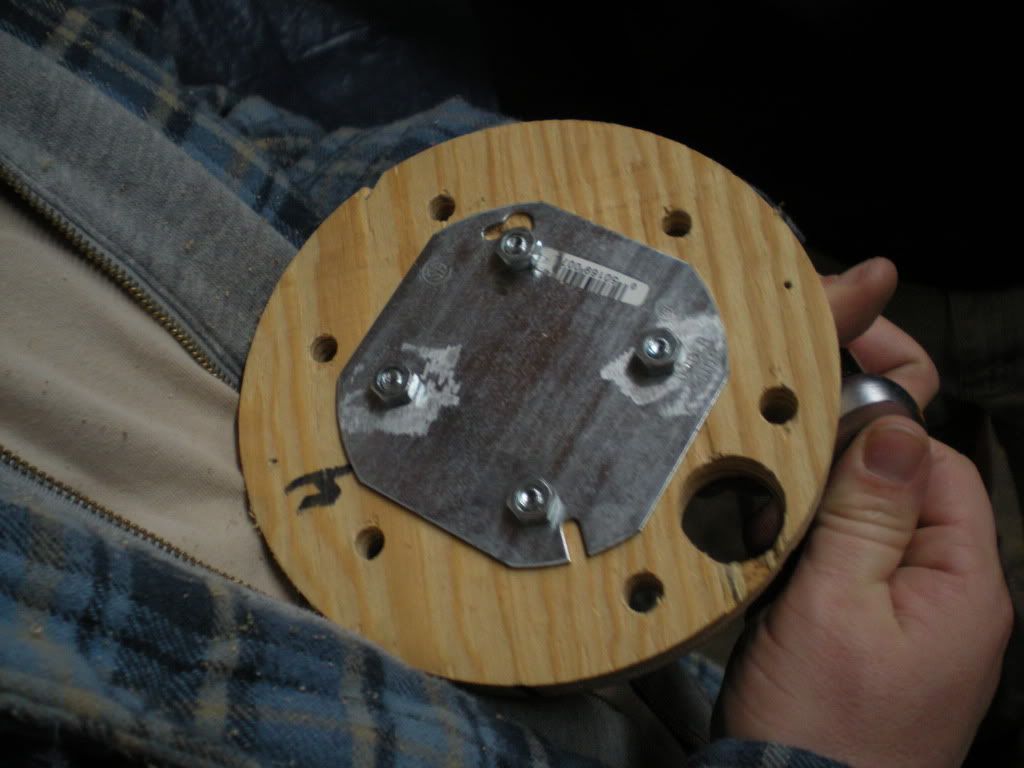
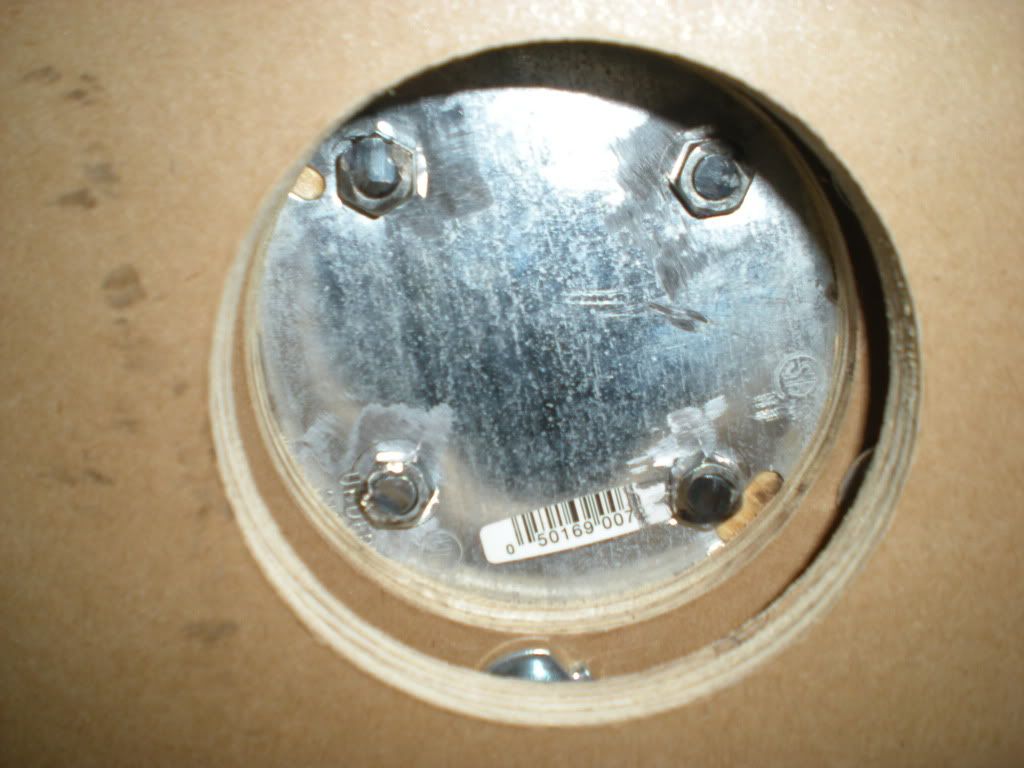
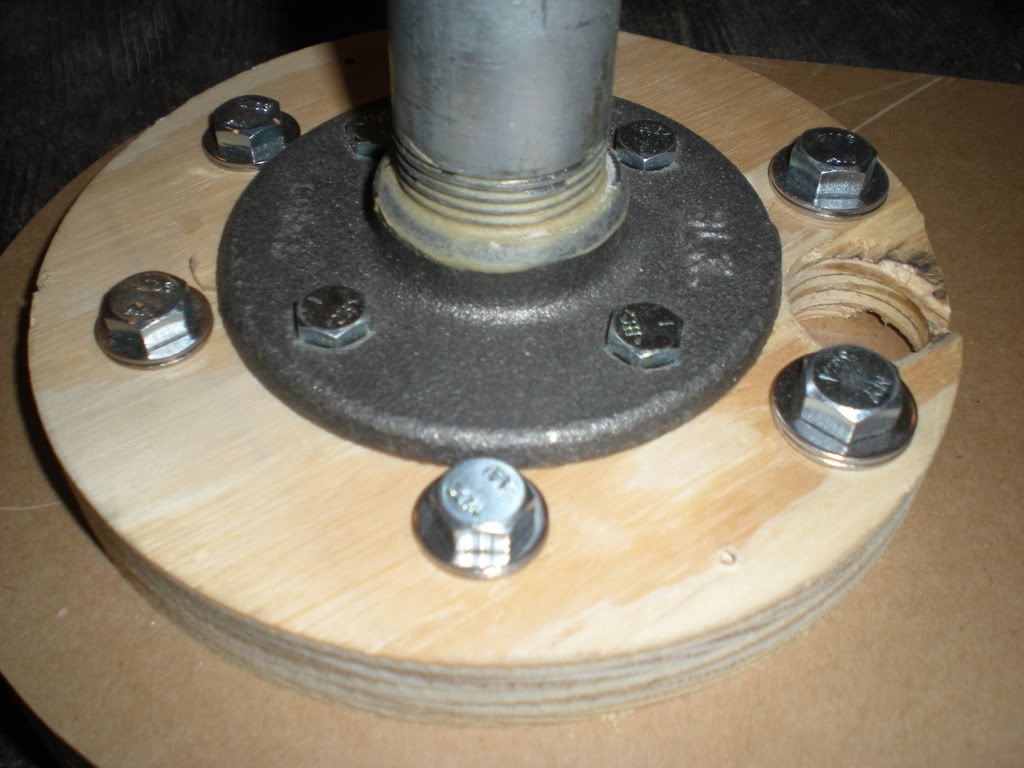
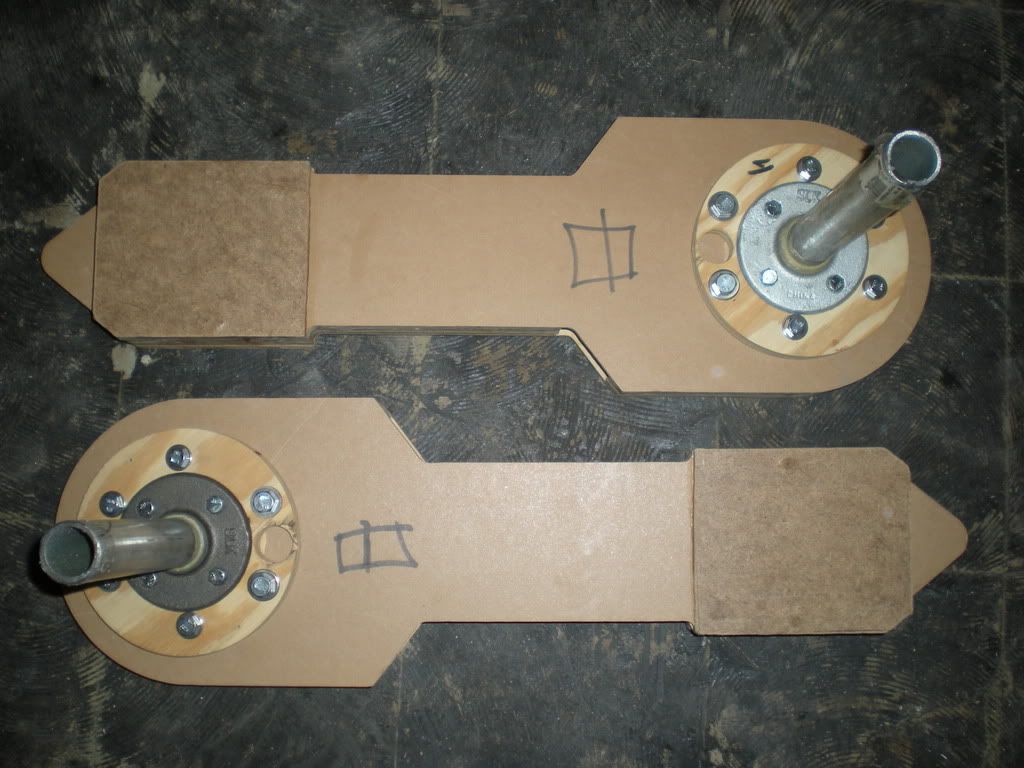
With the outer legs finally glued together, Moose helped Brad, Dash, and I assembled the shoulders for the outer legs. The group put together the metal portion of the shoulder assemblies previously so they went together pretty quick. The shoulder bracket and pipe attach to the center of the shoulder wood using bolts and regular nuts. An electrical plate is used on the backside of the wooden shoulder piece to act like a giant washer.
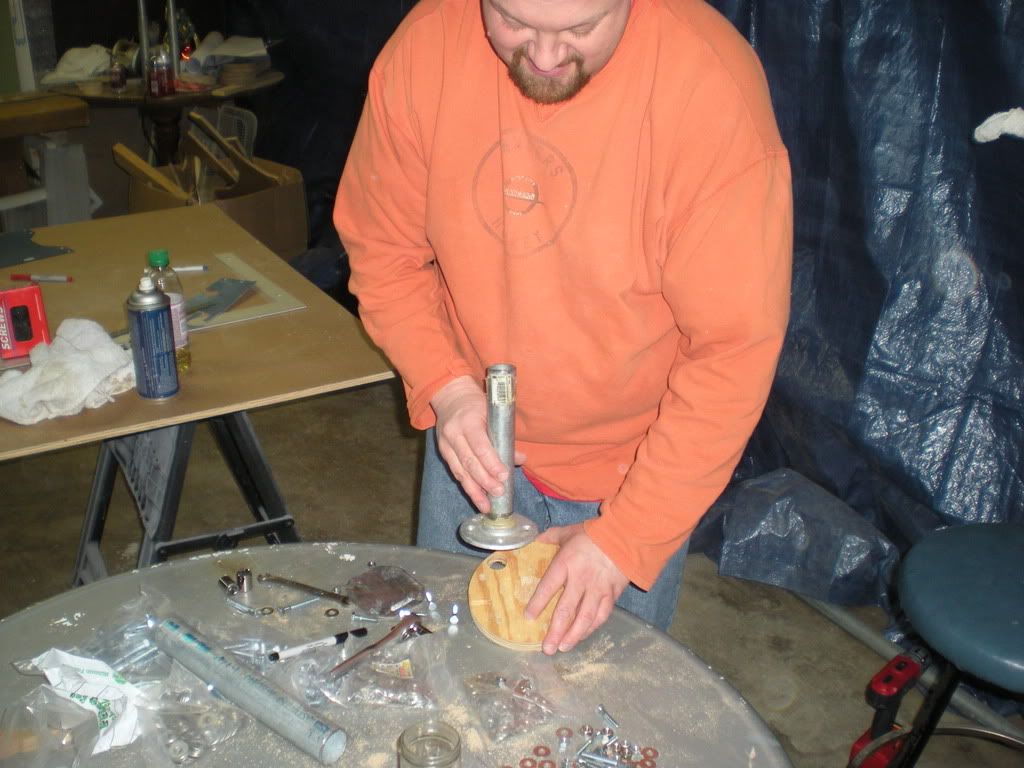
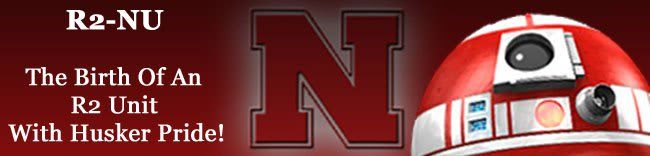
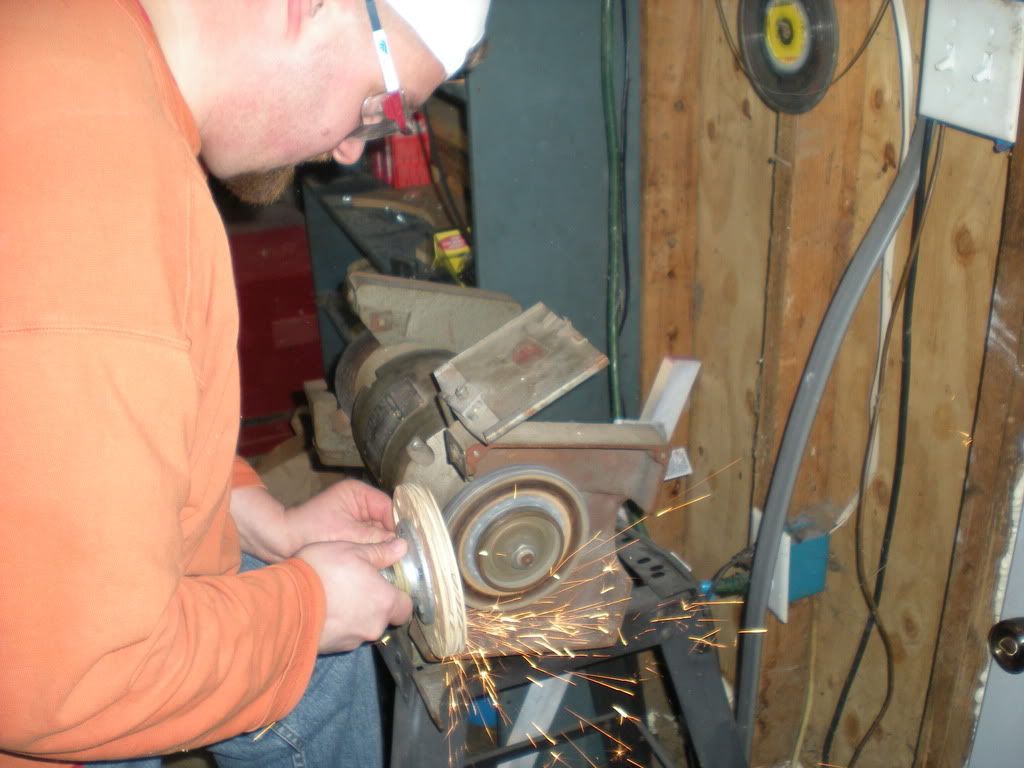
Once all the hardware is attached to the shoulder wood, the portion of the bolts that extend past the nuts needed to be ground down so they don't get in the way of the shoulder hubs (placed in the hole on the opposite sides of the outer legs.
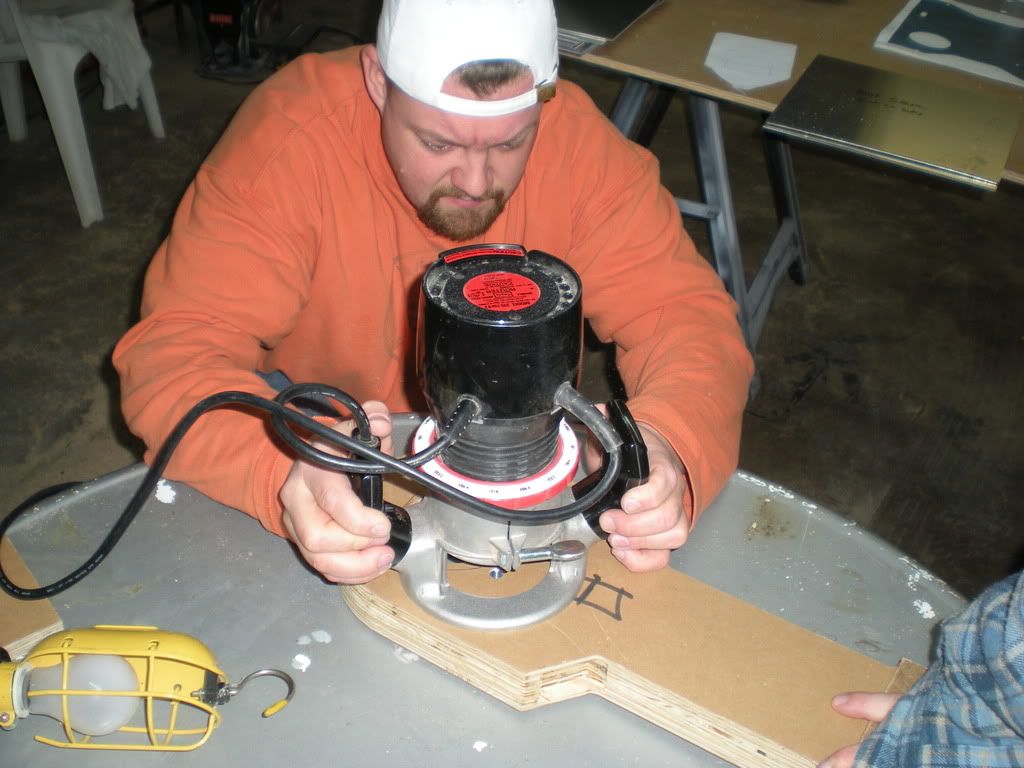
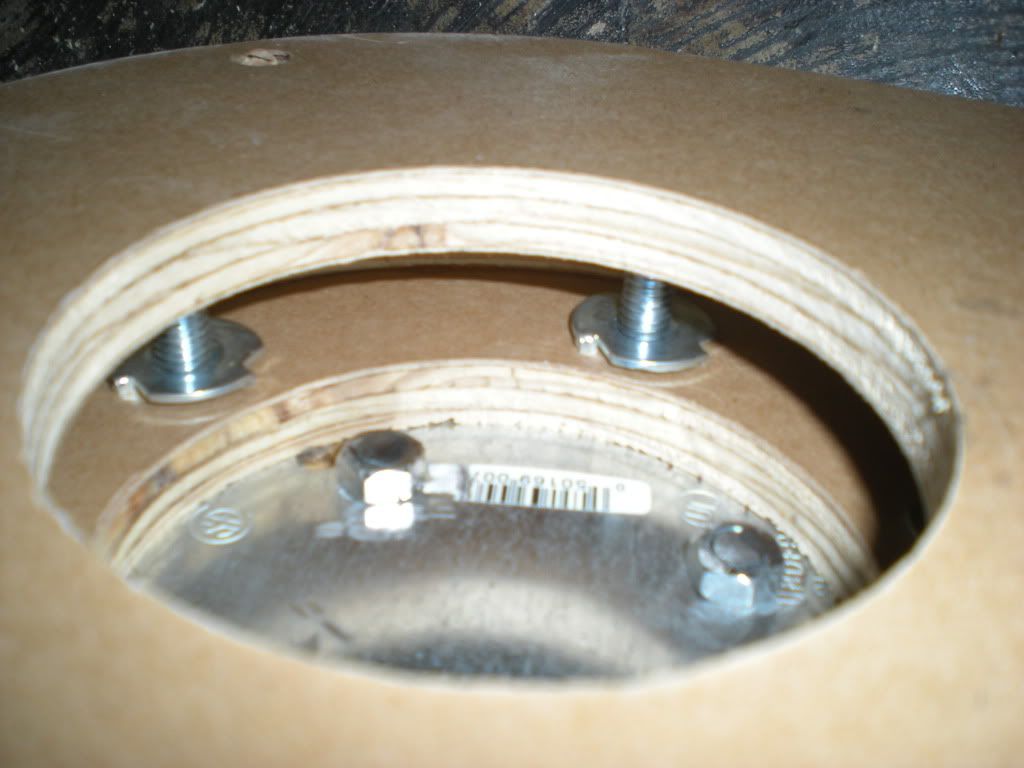
With the electrical plate attached to the shoulder wood, the leg and shoulder wood no longer flush with each other. A small circle the depth and width of the electrical plate had to be router out on the inner portions of the outer legs to make everything fit snug again.
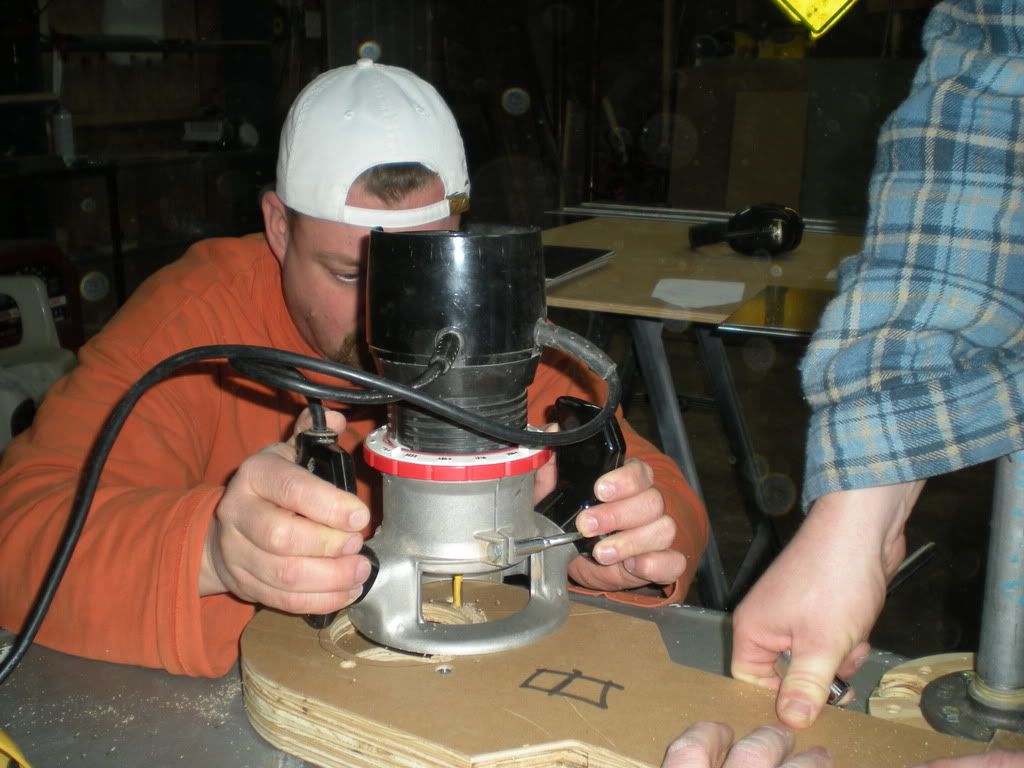
Once the routing was done, bolts where placed through the holes in the shoulder wood pieces and into the t-nuts attached to the outer legs. Two washers were added to the bolts to make sure the bolts didn't push too far into the center of the outer leg cavity and push against the outermost portion of the outer leg wood.


No comments:
Post a Comment