
12 years ago
Saturday, April 30, 2011
Friday, April 29, 2011
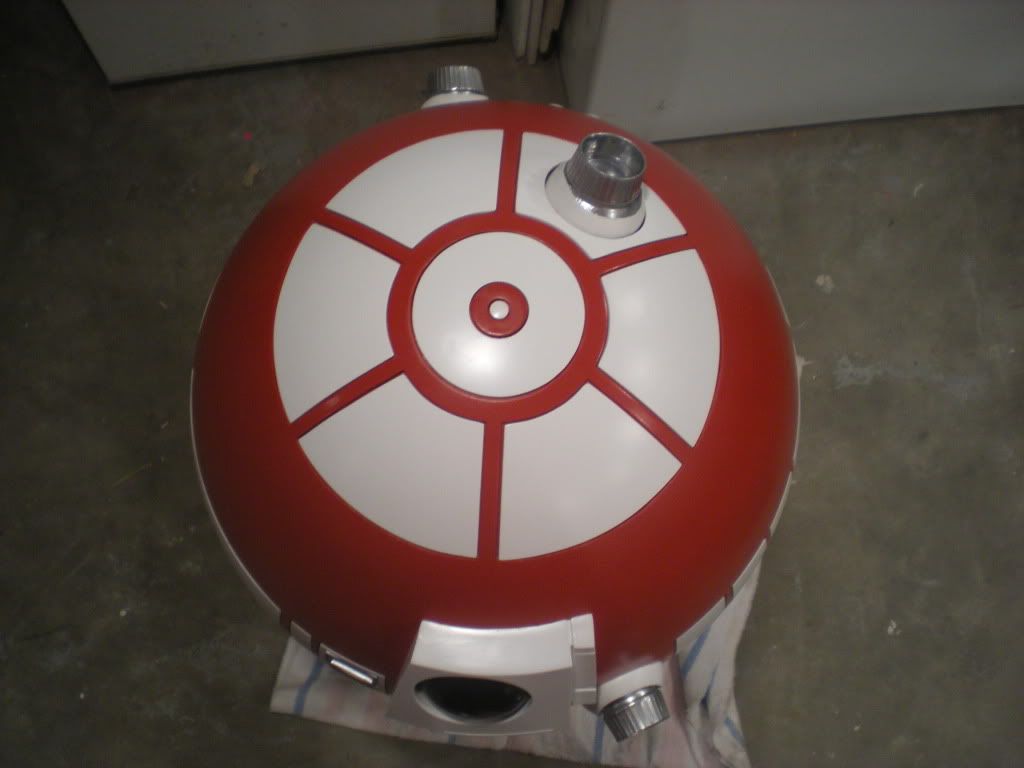
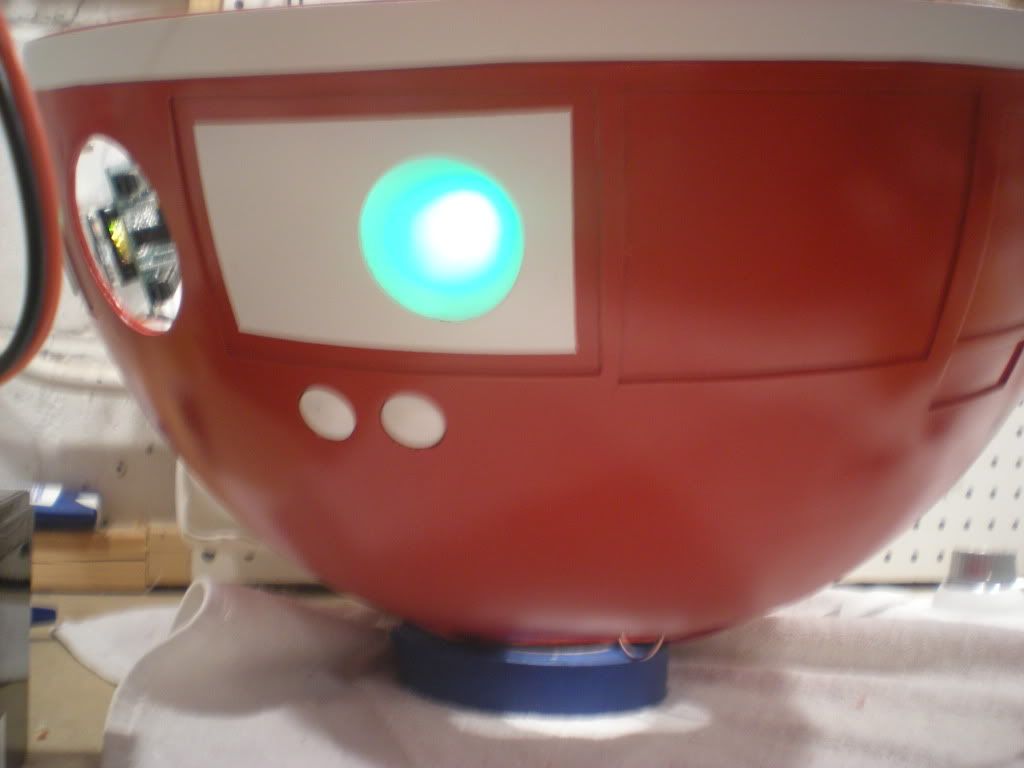
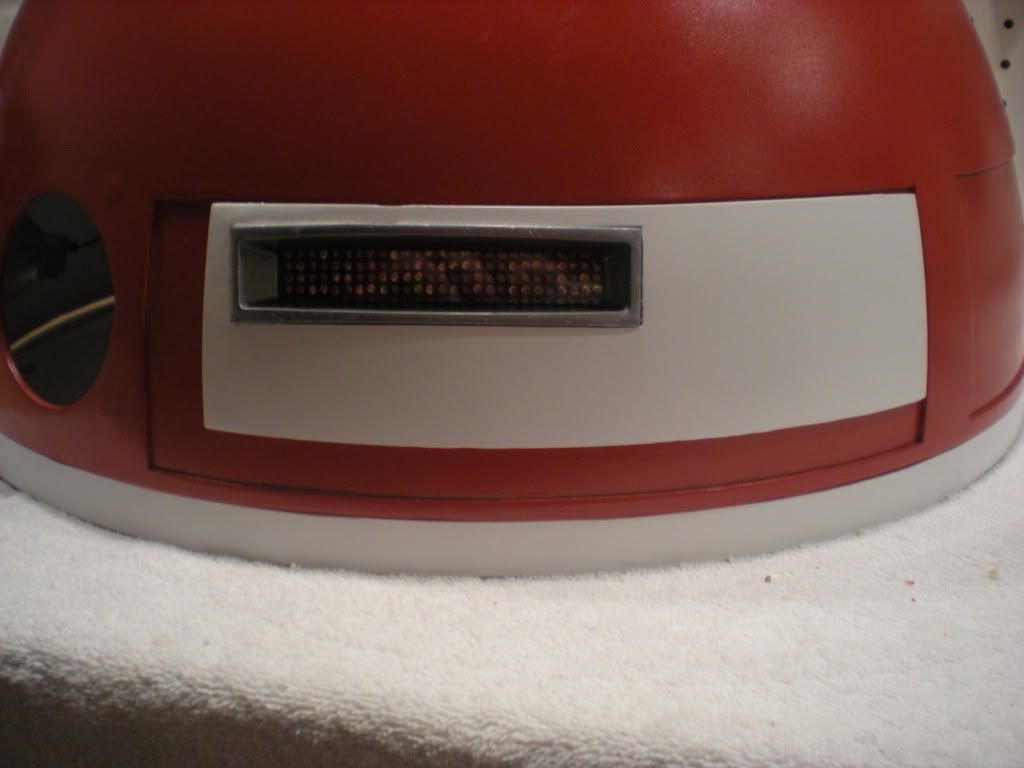
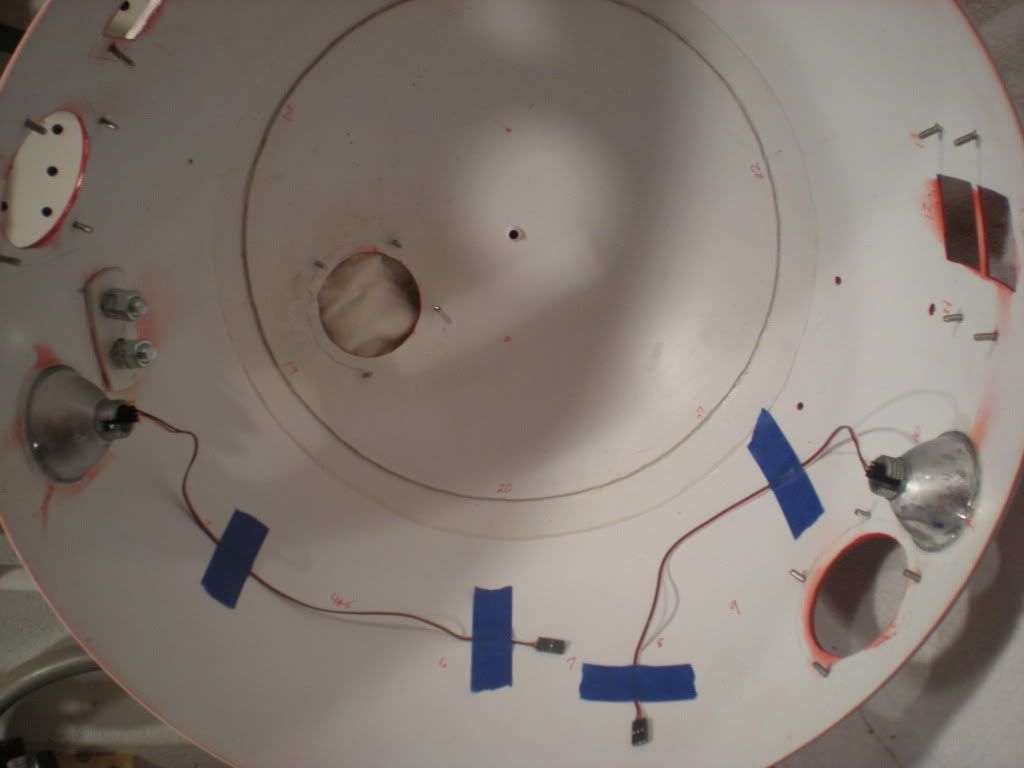
R2-NU's Dome Is Finished!
I installed the last of R2-NU's dome panels tonight and his dome is officially finished (until I decide to make upgrades later). I used A LOT of double stick tape to hold the panels in place (that way I can take them off easier later if I need to touch up the paint or make improvements).


Thursday, April 28, 2011
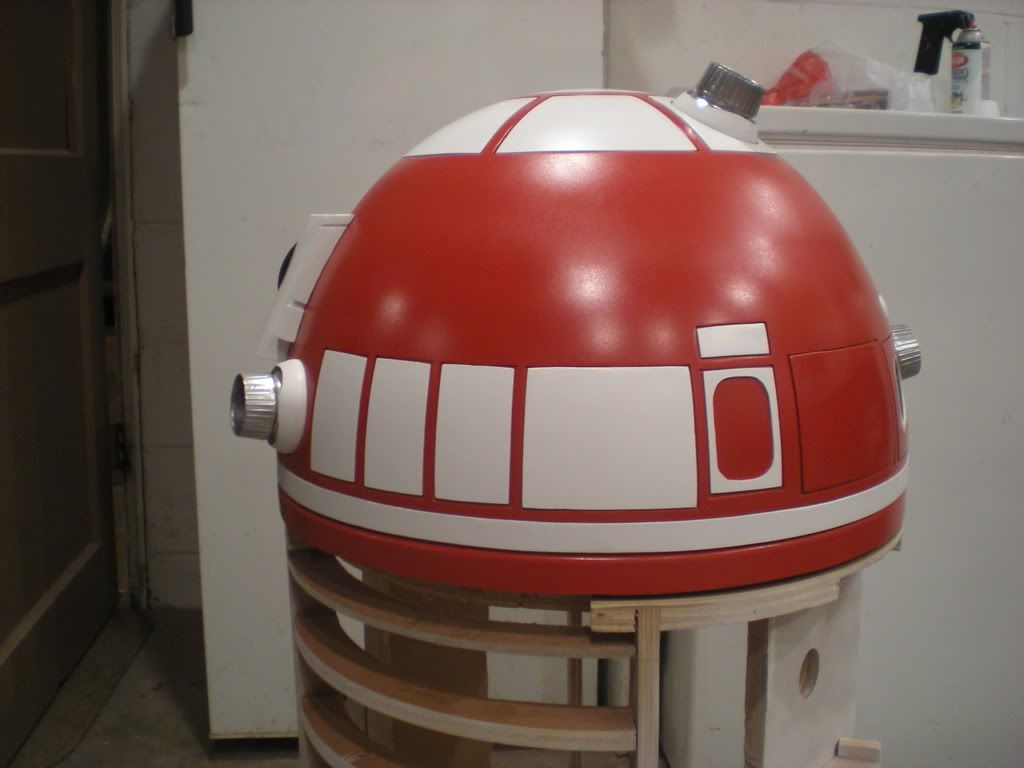
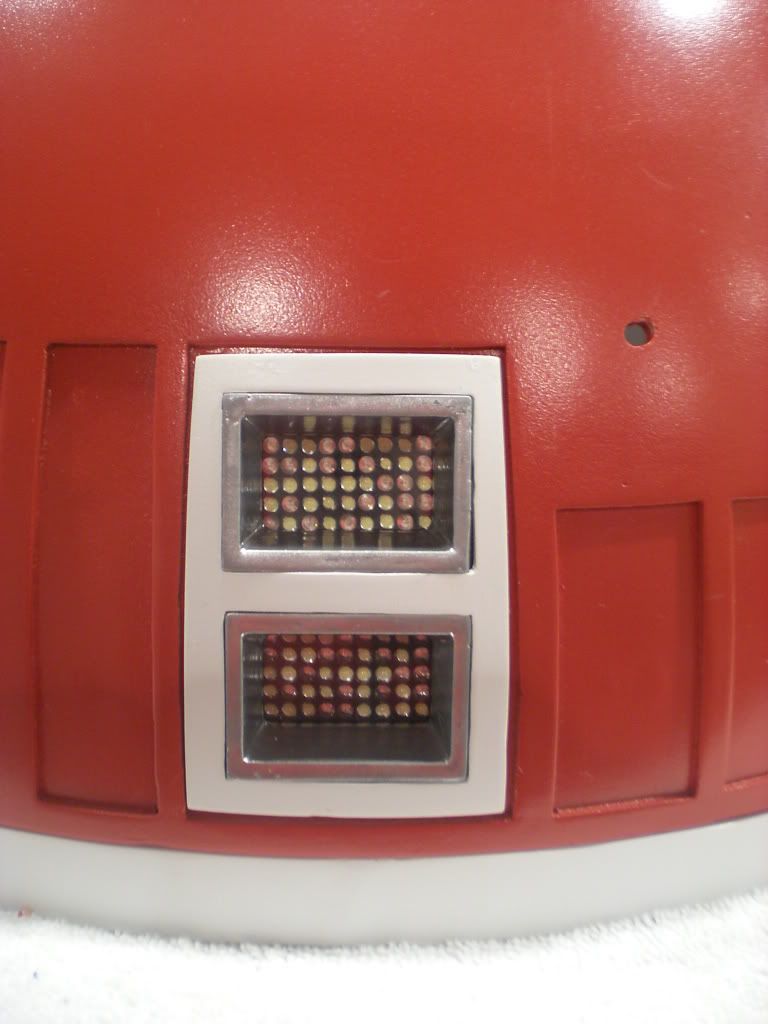
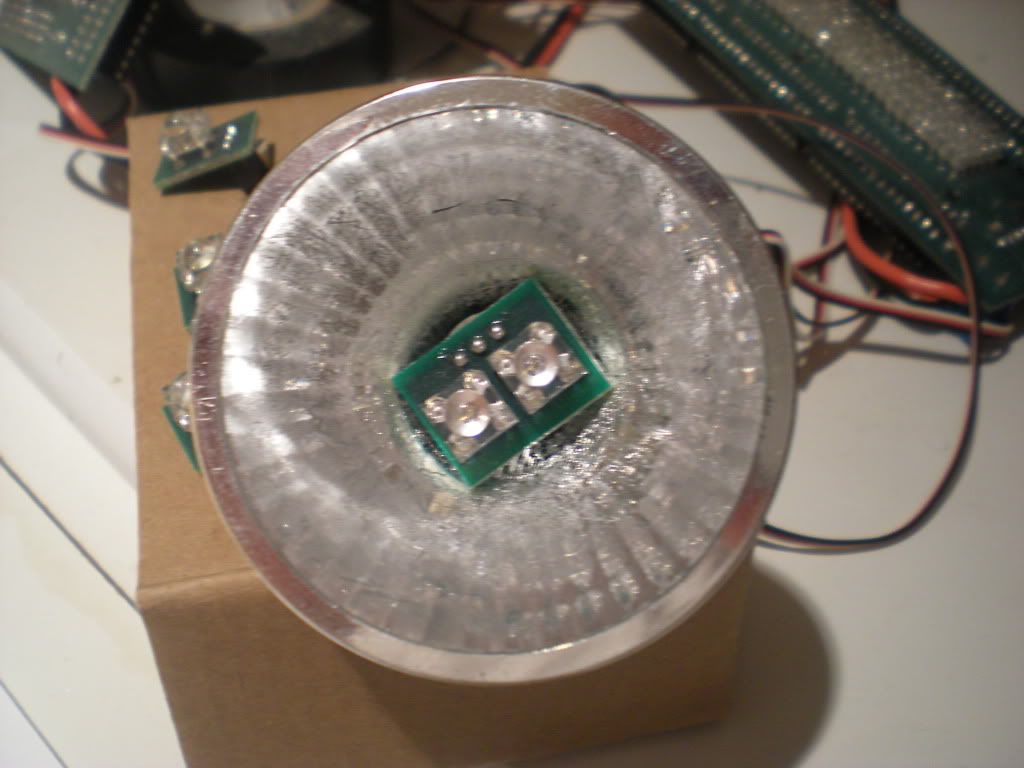
Installed The J.E.D.I. Display Holoprojectors
I finished installing the Joystick Enhanced Display Interface (J.E.D.I.) Display holoprojectors. Clay gave me some scrap styrene he had lying around. I cut three circles (one for each of the holoprojectors) the size of the bottom of the holoprojectors. I then drilled holes in the center of the pieces just large enough to fit the LED in. I placed the circle against the base of the holoprojector and reattached the each of the fender washers to hold both the holoprojector and the back plate together. I poked the LED, through the hole in the back plate its circuit board facing the interior of the dome. I then attached sticky Velcro dots on each side and the back of the circuit board. I cut a longer Velcro strip to place across all three previously installed Velcro dots to hold everything in place.
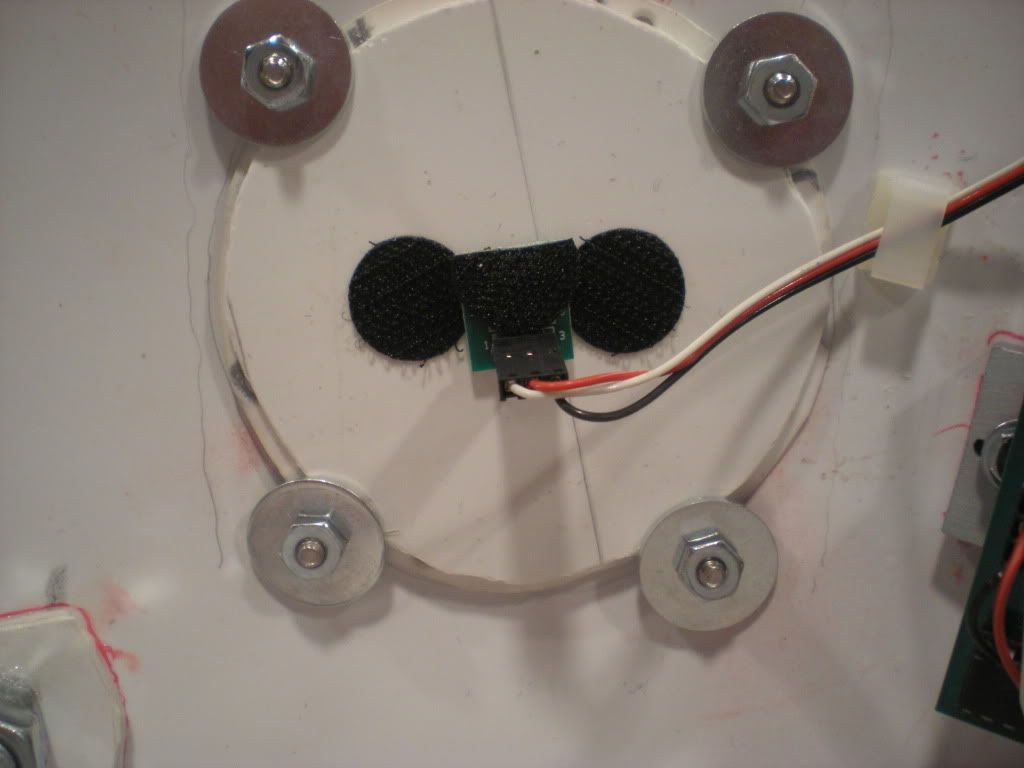
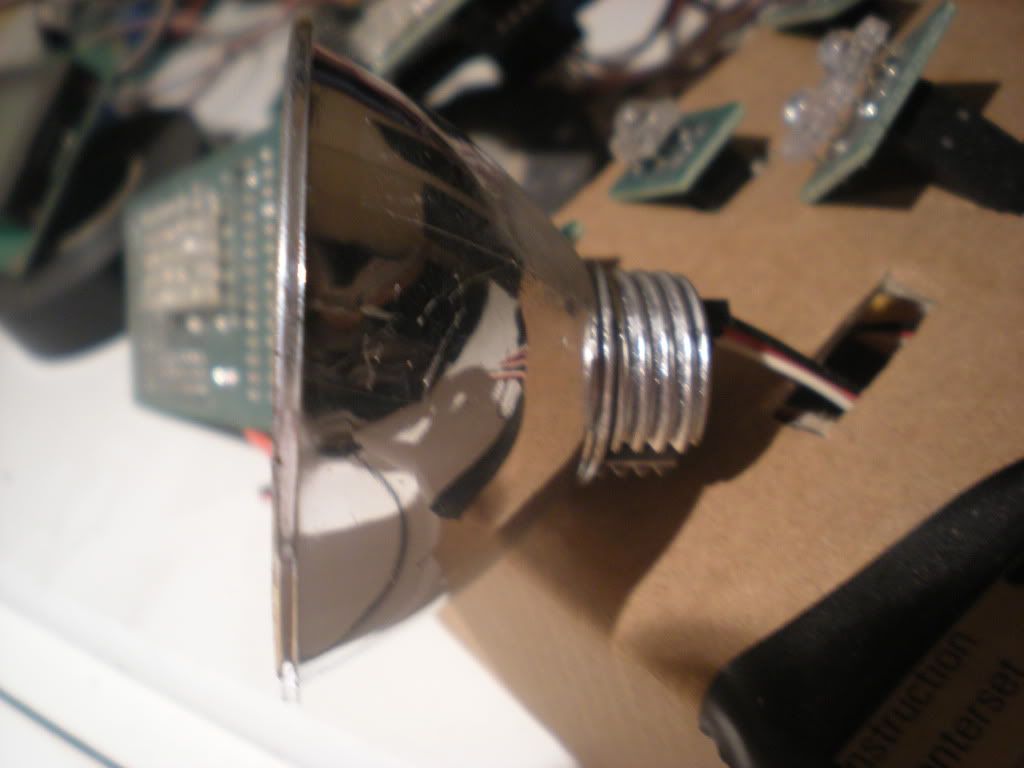
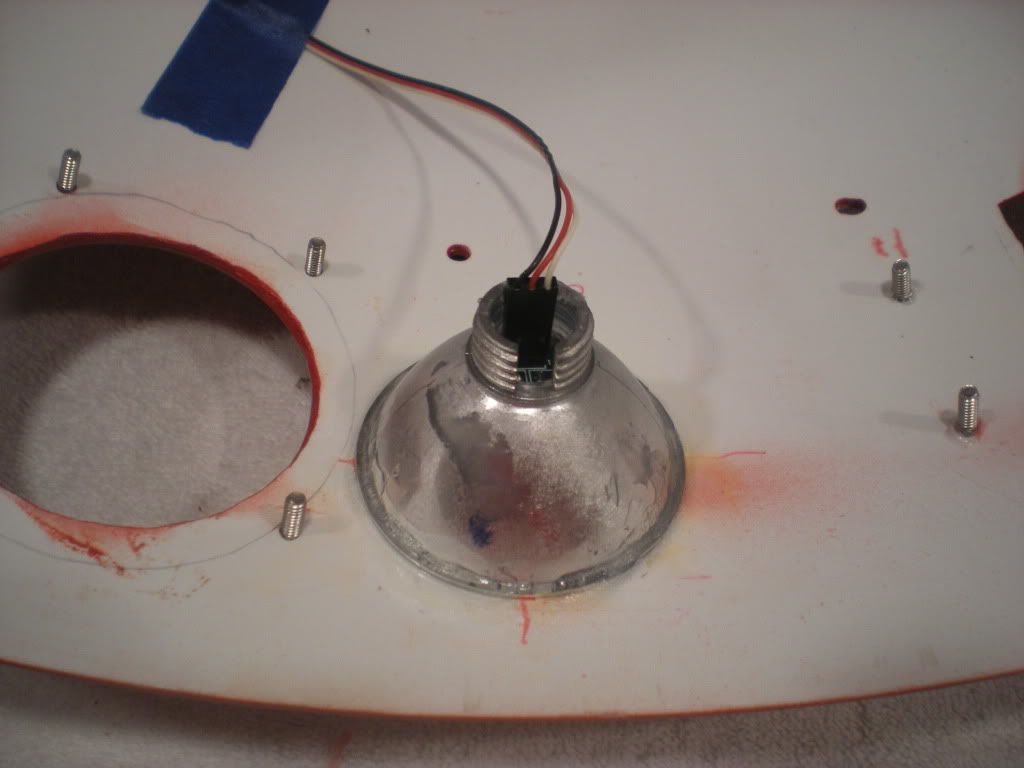
I installed the Radar Eye using fender washers and nuts on the interior of the dome to hold it in place.

Wednesday, April 27, 2011
Installing (Most) J.E.D.I. Display Components
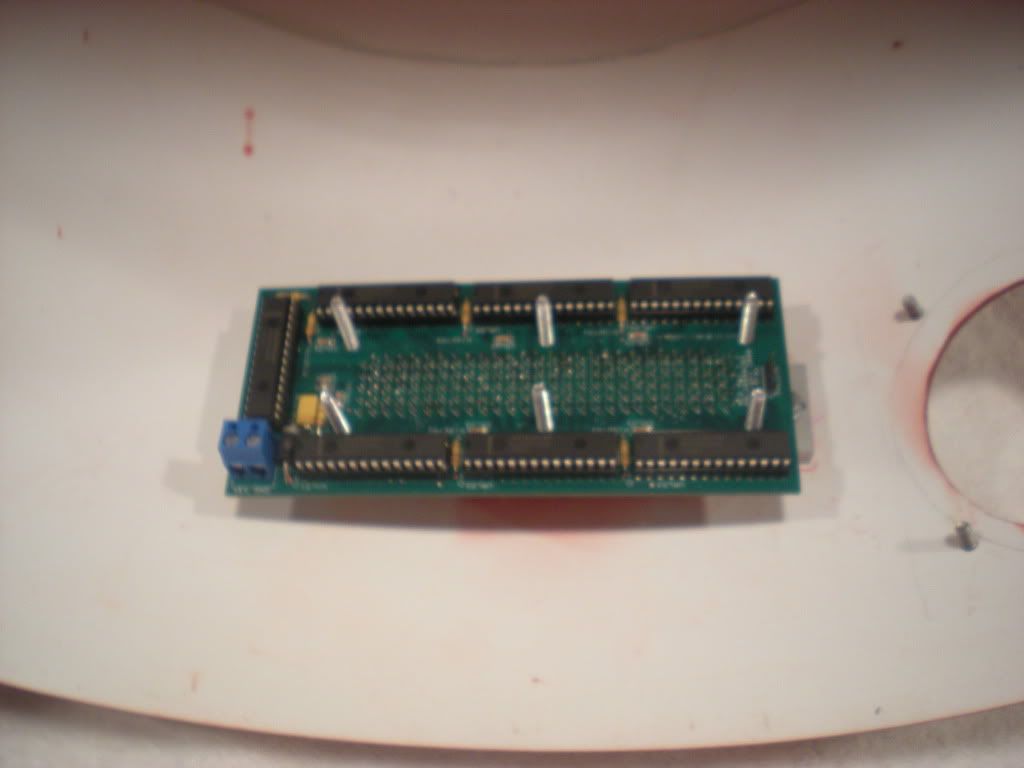
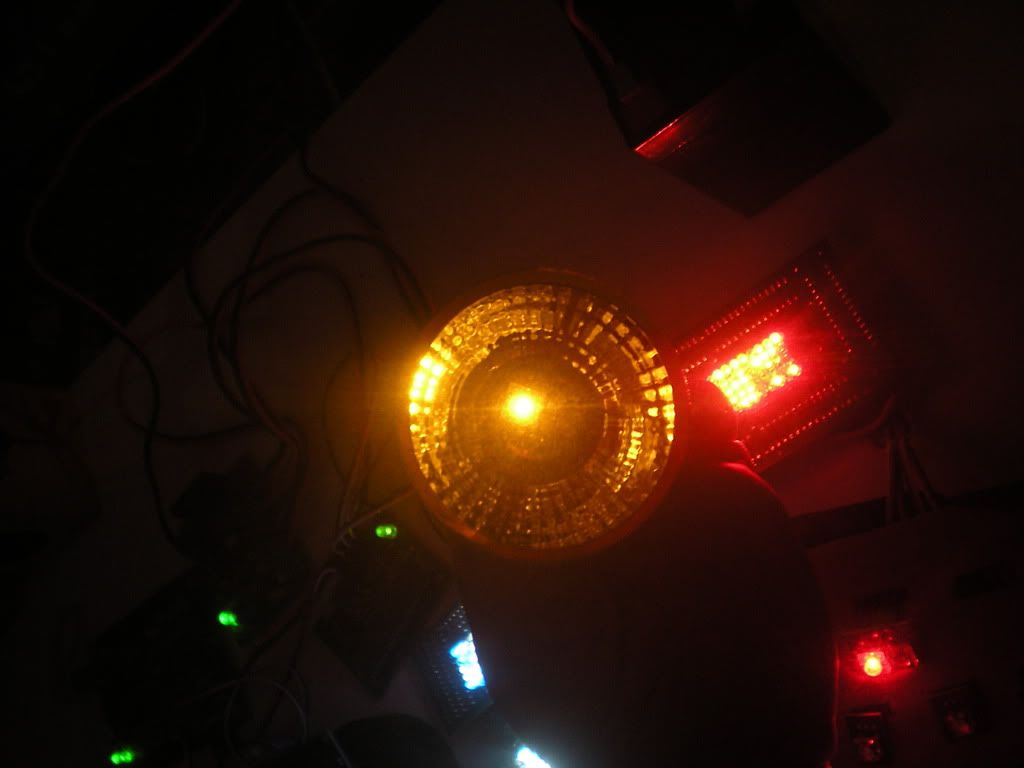
I'm going to DemiCon on Saturday and wanted to have R2-NU there with his lights and sound working, so I installed all the Joystick Enhanced Device Input (J.E.D.I.) Display components except the Holoprojectors. The Power Distribution Board and the J.E.D.I. Display Control Board were installed on the interior of the dome by using small bolts tacked in place with Tech Bond and using offsets to separate them from the side of the dome.
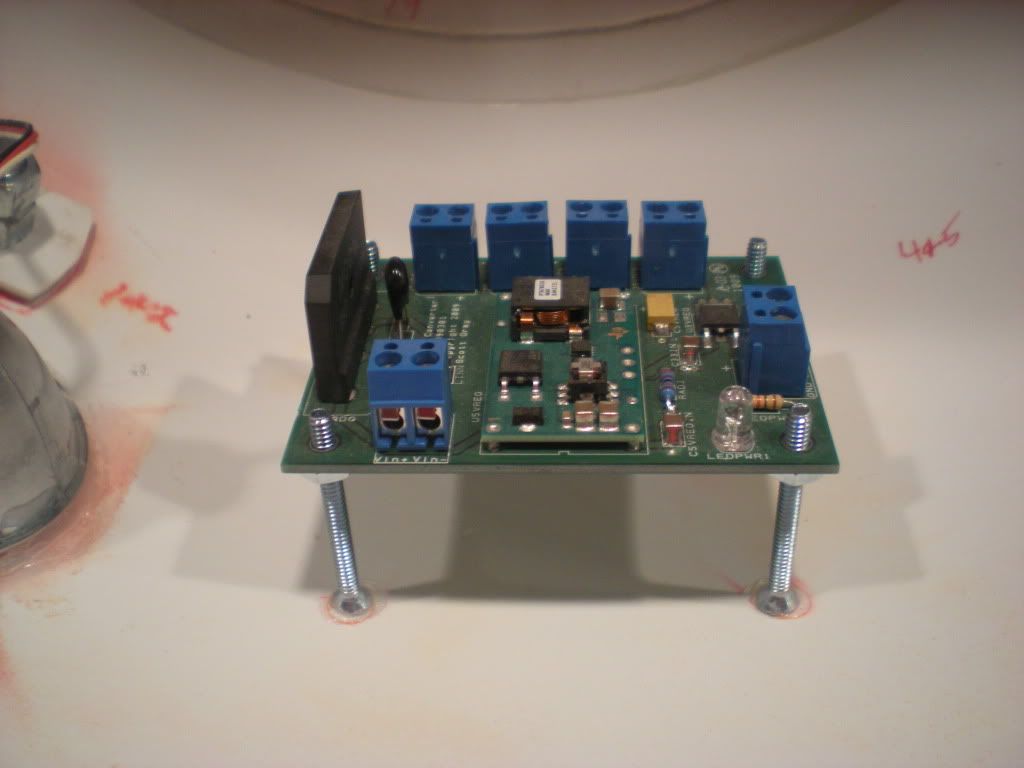
Components like the Main J.E.D.I. Board, V2 Music (with flash drive), and Vex Receiver will eventually be moved to R2's body from the dome once the slip ring is installed, but for now they are being held in place with 3M foam tape.
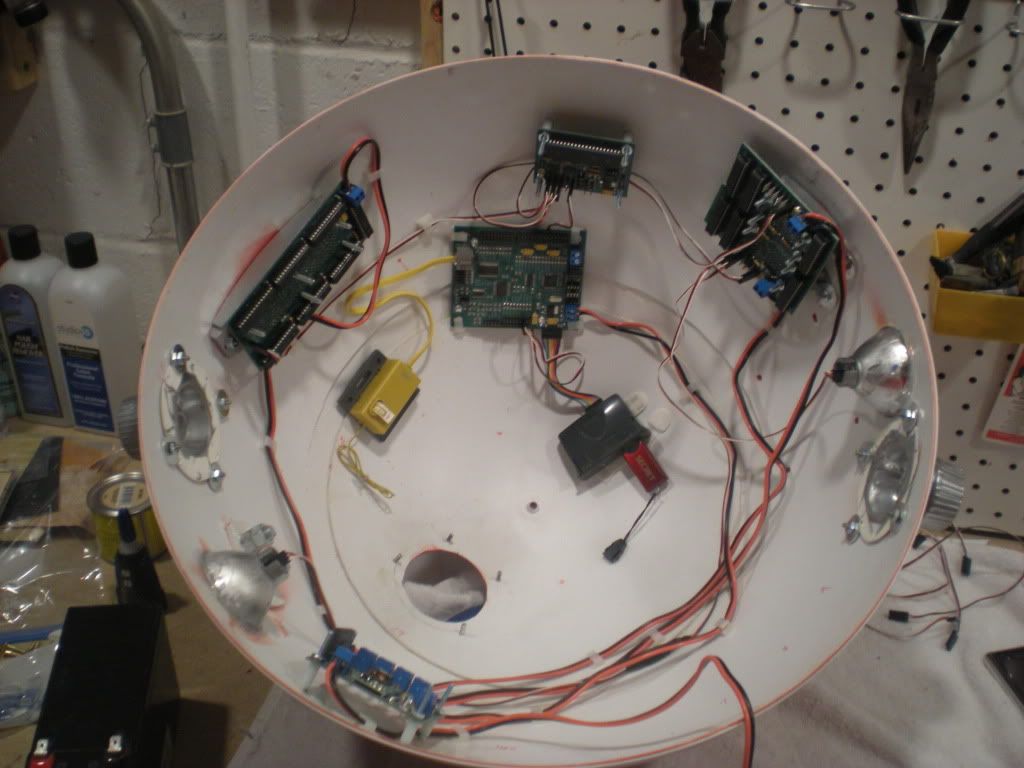
Turning everything on yielded a successful test!
Installing Radar Eye Lens
It is finally time to install the Radar Eye Lens. I removed the protective packaging, slid it into the channel through the back of the Radar Eye, and used Super Glue to tack it into place. Tomorrow I'll attach it to the dome.
Tuesday, April 26, 2011
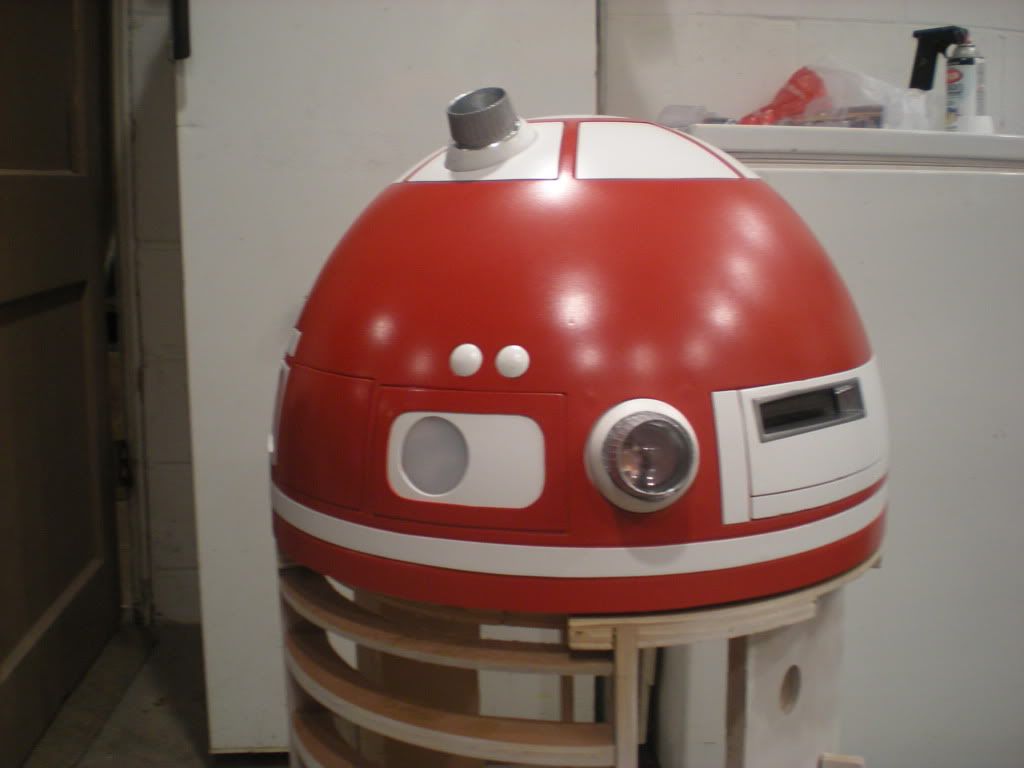
Installing Logic Displays
I started to install the Front Logic Displays (FLDs) by attaching the FLD surrounds I had previously prepared. Screws were mounted to the dome so washers were added to hold the surrounds in place. Once the surrounds where attached, the FLDs were installed.

Once the FLDs were installed I attached the outer dome panel.
After installing the FLDs, installing the Rear Logic Display (RLDs) was a piece of cake. Unlike the FLDs, the RLD surround had mounting holes which made attaching it a lot easier. Attaching the circuit board used the same process.
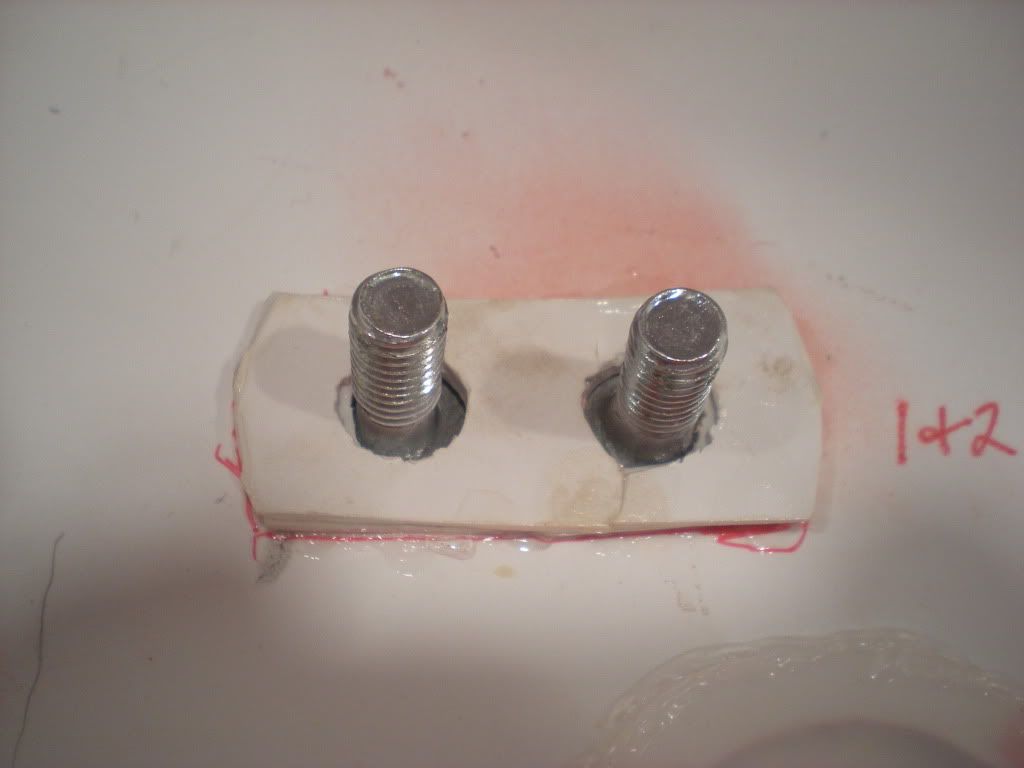
Installing Dome Bumps
Rather than use some pre-made/cast part from the club, I used the shortest carriage bolts (with the correct head size) for the Dome Bumps. The carriage bolts were still pretty long so I used scrap styrene (glued to the dome) to act as washers to hold the Dome Bumps in place. I then took two nuts and drilled them out to use as large washers (rather than using several flat washers). After adding the drilled out nuts to the Dome Bumps, normal threaded nuts were added to hold everything in place. To make sure the dome bumps didn't move, Tech Bond was used to glue the two sets of nuts together and attach them to the styrene scrap previously glued to the interior of the dome.
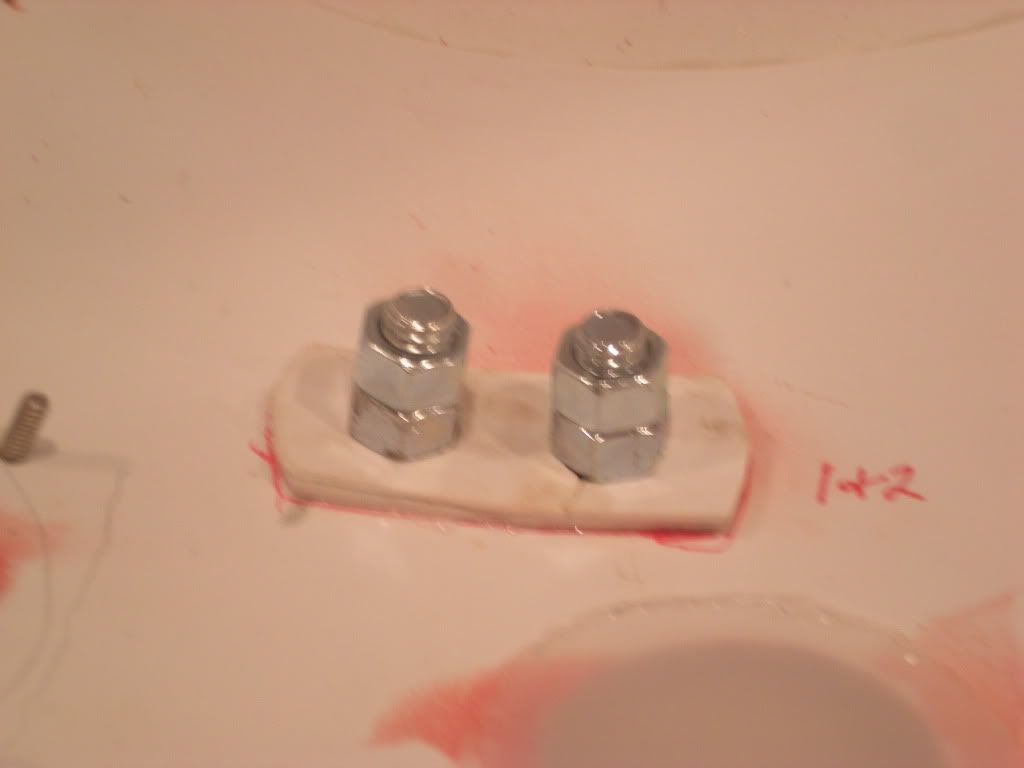
Once glued in place, the Dome Bumps looked great.

Monday, April 25, 2011
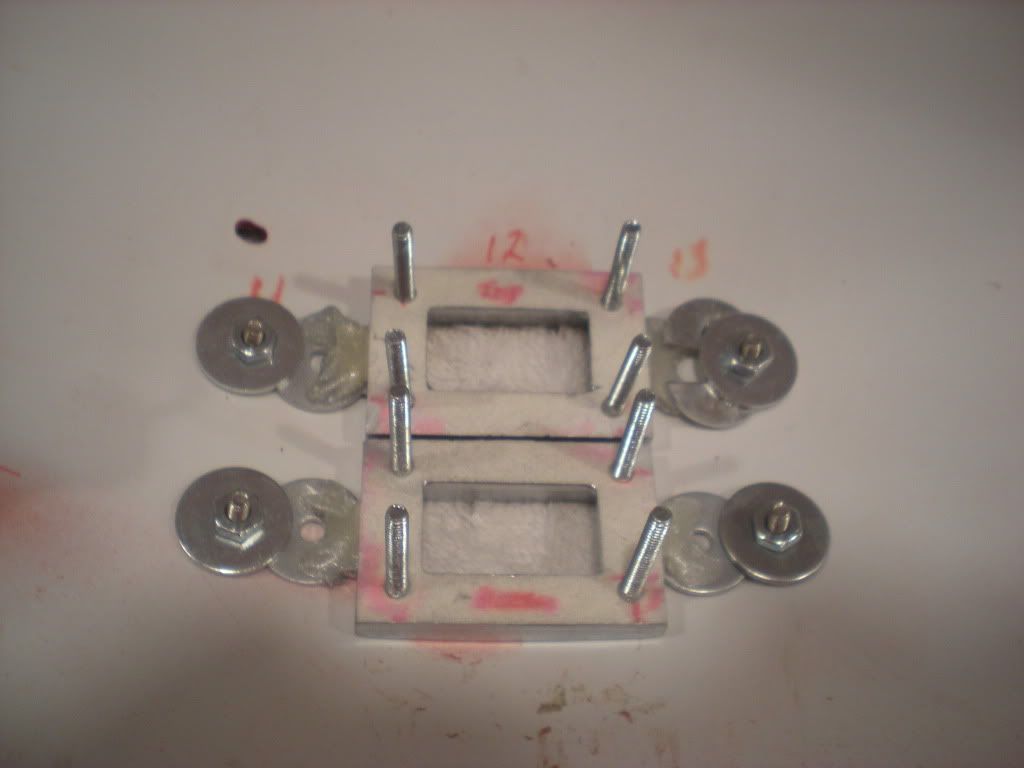
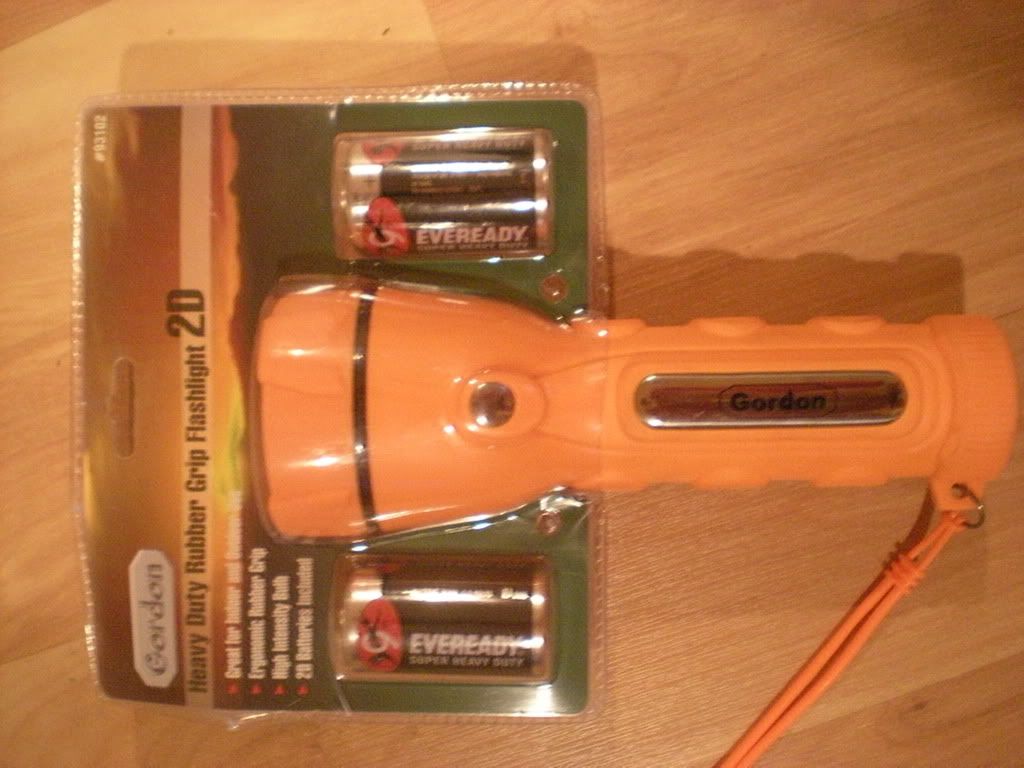
Attaching PSIs
I wanted to install the front and rear Joystick Enhanced Device Input (J.E.D.I.) Process State Indicators (PSIs) in the dome without having the PSIs have any light spill over to other panels or items in the dome. I picked up a couple of cheap flashlights from Harbor Freight so I could use the reflective cones. I took apart the flashlights, glued the cables to the cones with Tech Bond, and then reattached the PSIs circuit boards.
I then used Tech Bond to glue the reflective cones on the inside of the dome behind the PSI screens
Sunday, April 24, 2011
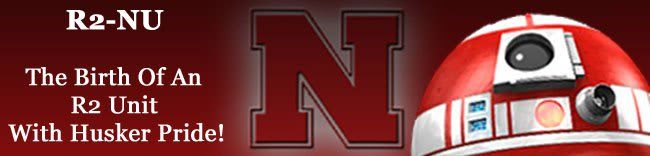
I Finished Painting The Dome!
My plan for this week is to attach all the dome panels and install the J.E.D.I. (Joystick Enhanced Device Input) Displays, aka LEDs.
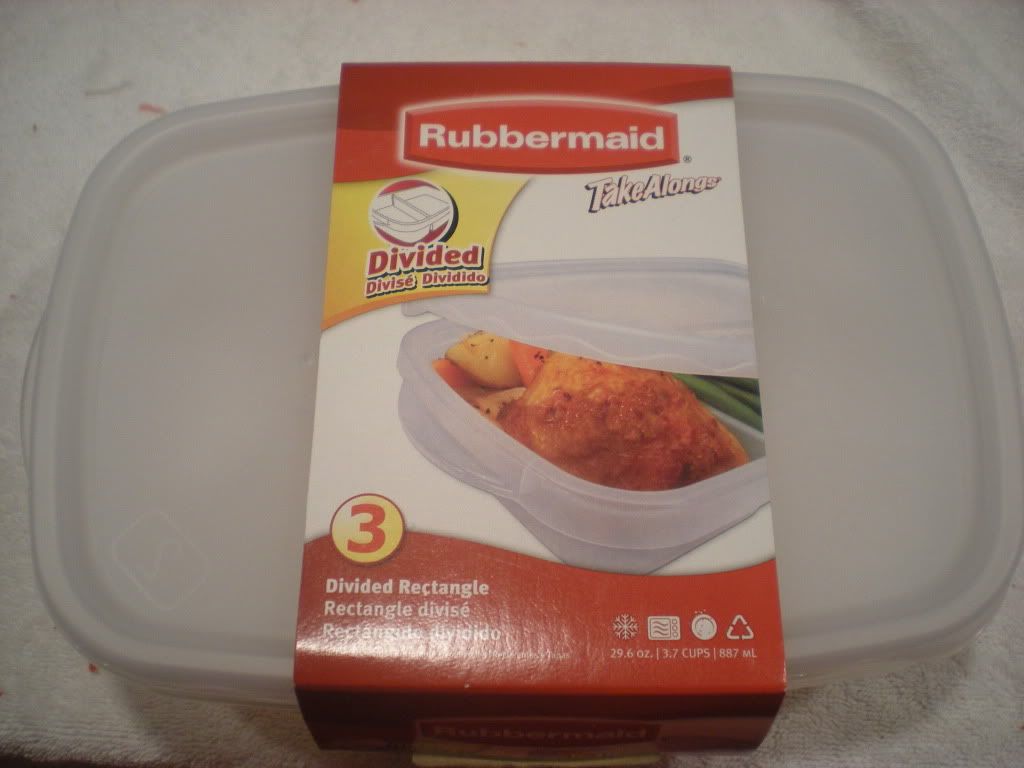
PSI Diffusers
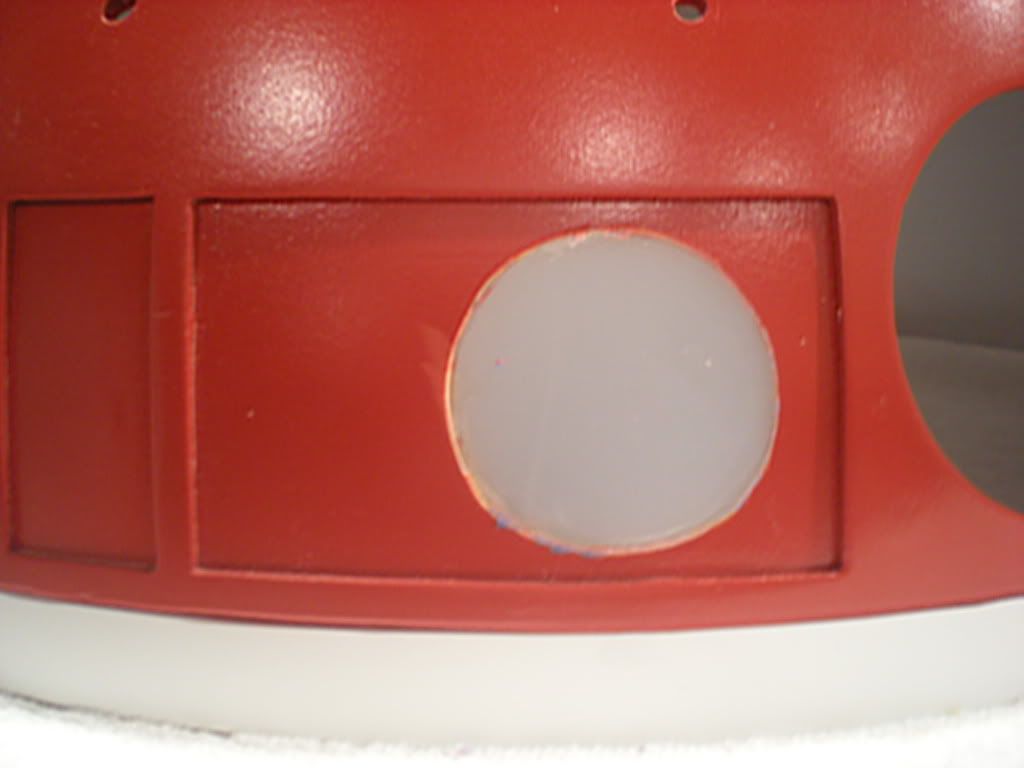
The front and rear Process State Indicators (PSIs) needed to have the light from their LEDs diffused. I found some Rubbermaid containers at Ace Hardware that diffused them the way I wanted. I cut up the lids to fit where I needed them. I only wanted to diffuse the light for the LEDs a little. I still wanted the outline of the LEDs, when lit, to show.
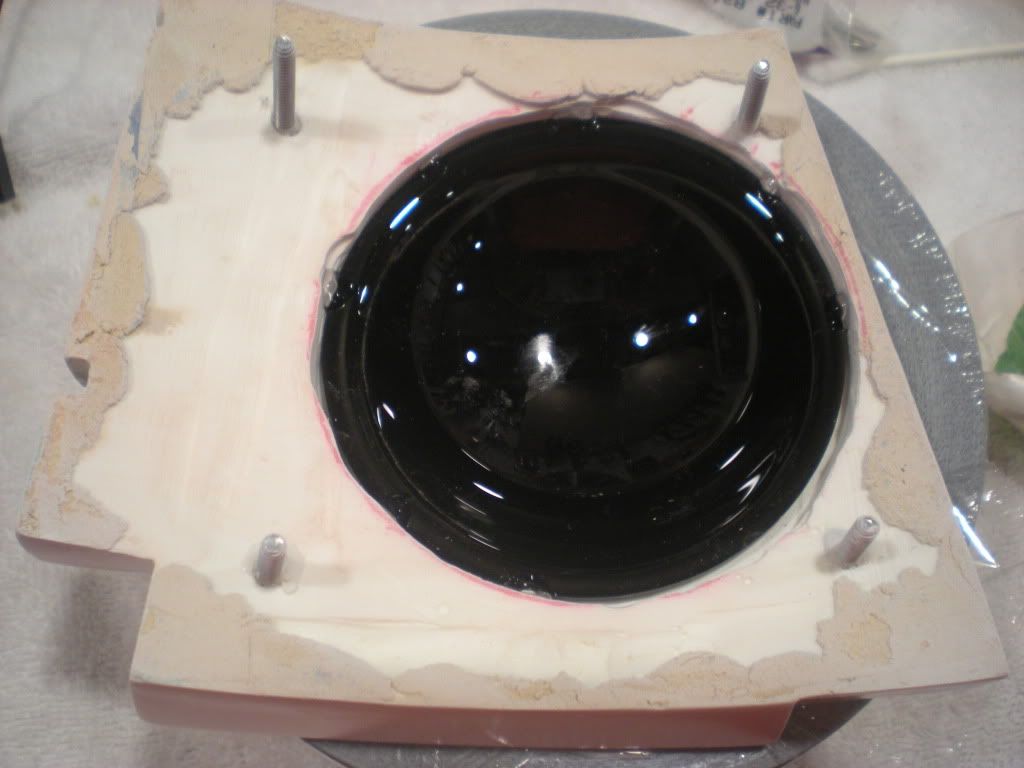
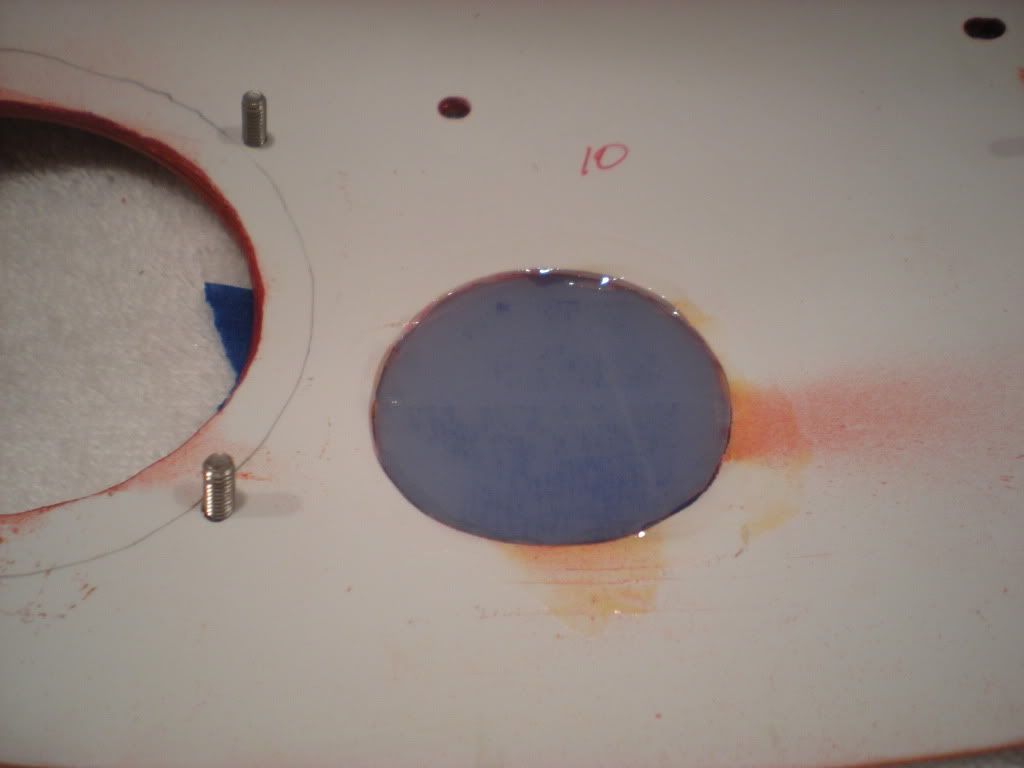
The holes for the PSIs show a small lip on the outside of the dome, so I glued the rear PSI screen (cut lid) to the inside of the dome with Super Glue. I glued this to the inside because there is not an outside dome panel that gets attached over the hole
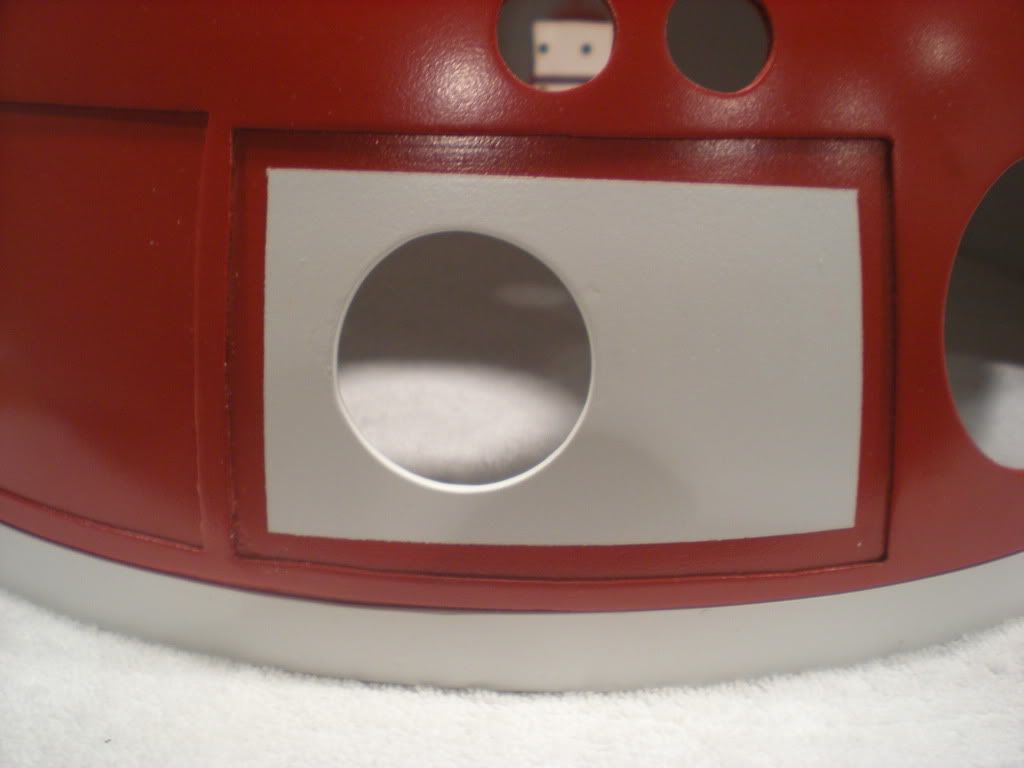

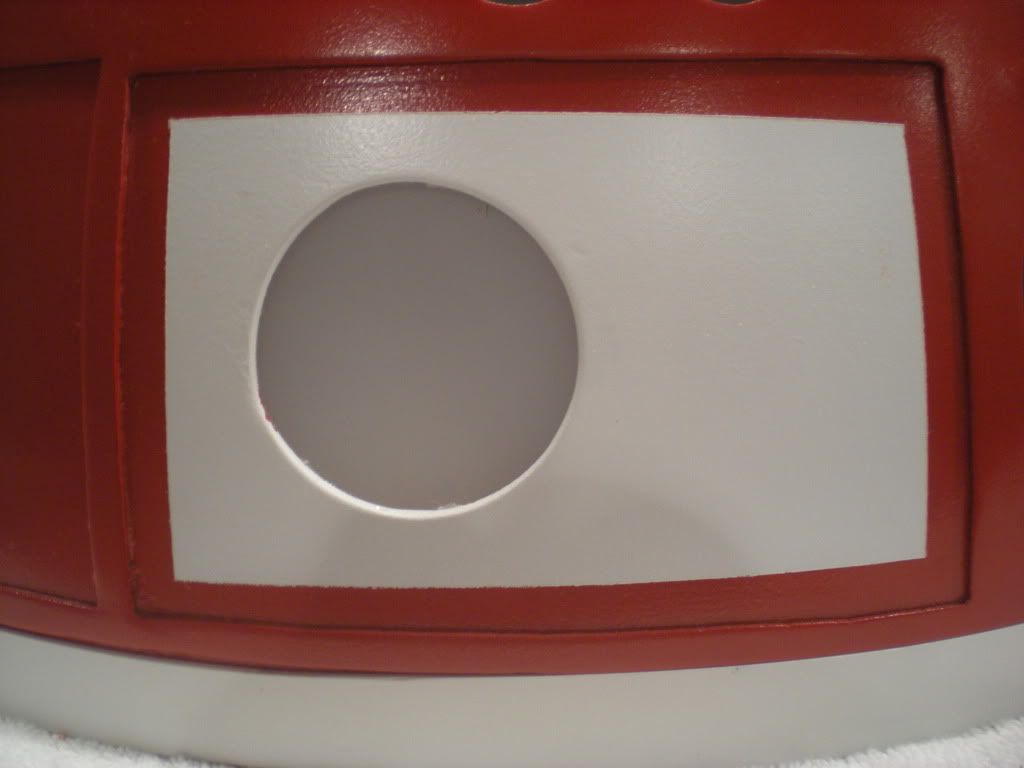
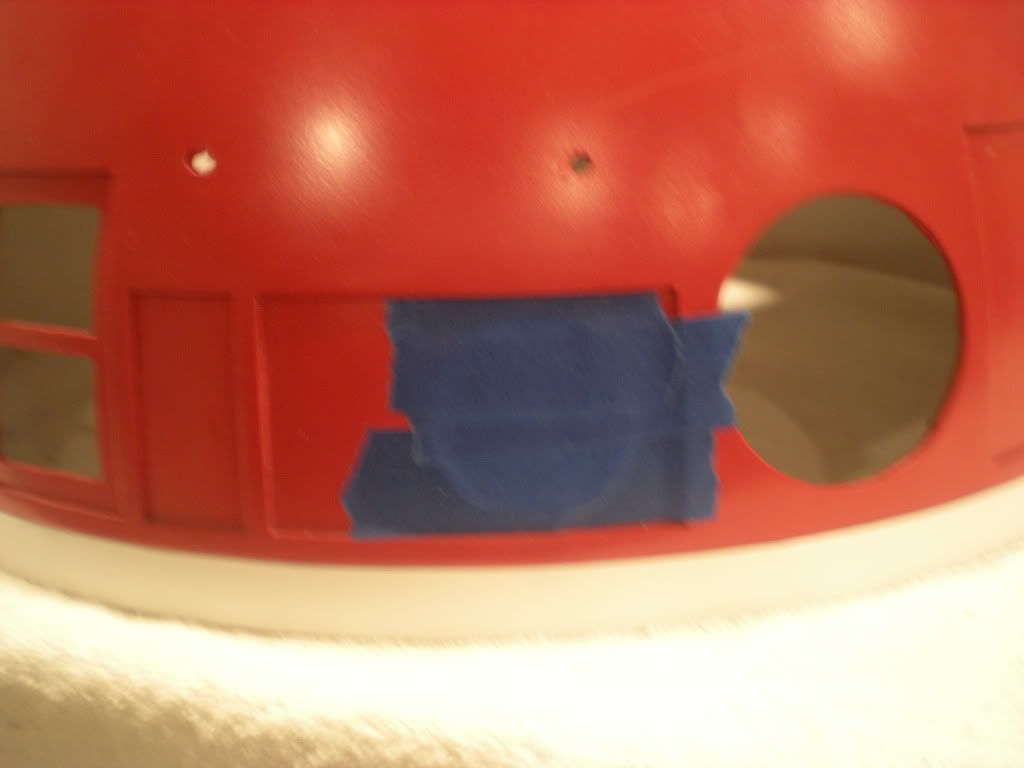
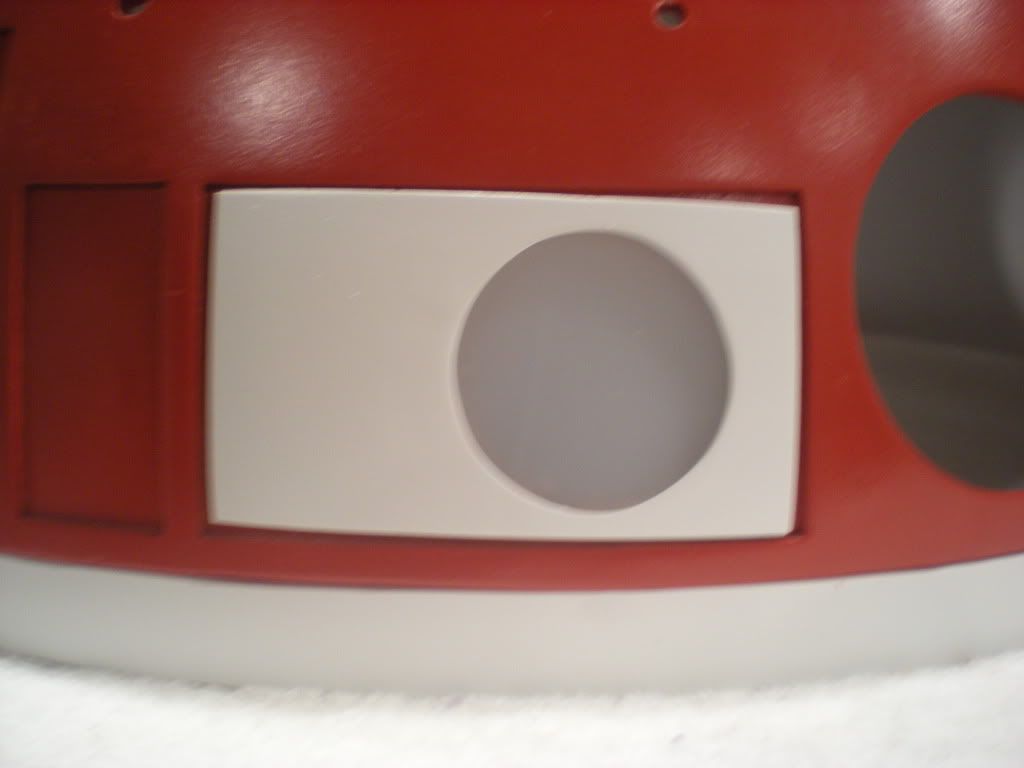
I made the front PSI hole slightly larger that I had originally cut it because the outer dome panel would cover the edges. I then cut the lid of the Rubbermaid container to fit exactly inside it. I put tape on the outside of the dome to hold the cut lid in place and used Super Glue to attach it. Once the glue was dry I removed the tape and used a razorblades to clean off any glue that mounded over. I tested the fit by dry fitting the outside panel.
Saturday, April 23, 2011
Skirt Priming
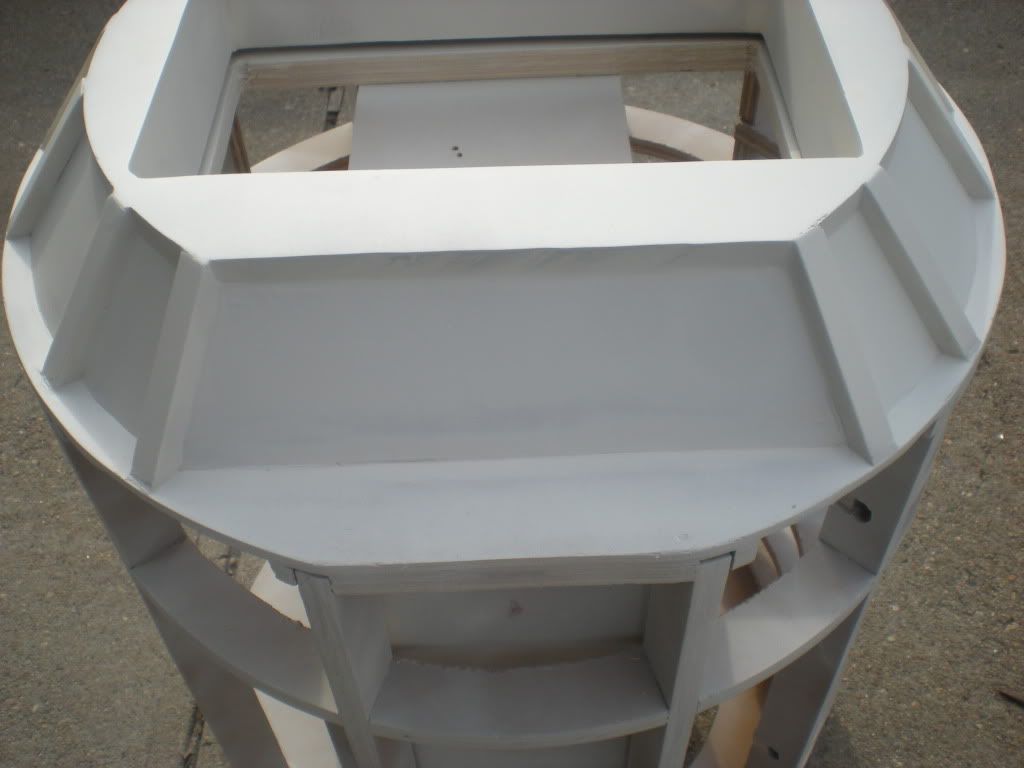
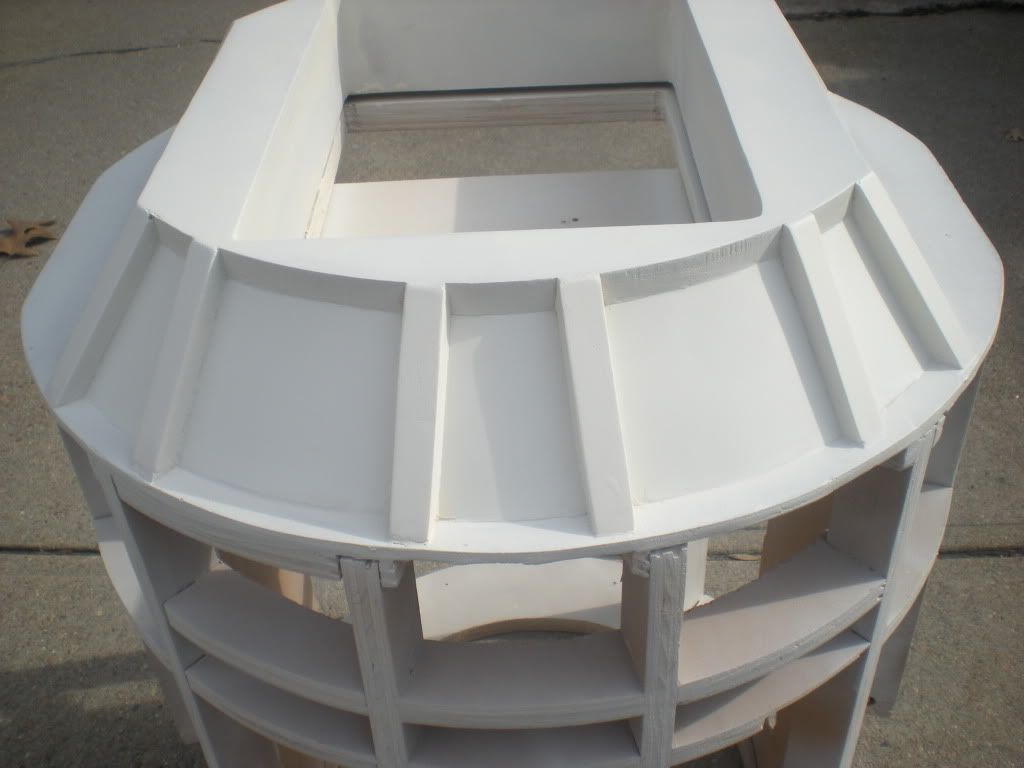
I've filled in the gaps along the skirt ribs and where the skirt attaches to the frame with DAP Plastic Wood. After the skirt was sanded, it was hard to tell what needed more filling; so I decided to prime the skirt.
Tuesday, April 19, 2011
Krylon Fusion Red Pepper #2328 Search
I'm still filling holes, sanding, and painting. I'm almost at the end of my Krylon Fusion Red Pepper #2328 supply, so I went to Walmart to get some more. Krylon changed the packaging for their Fusion line and the #2328 now has the word "Gloss" on the front of it. I wanted to make sure I had the correct product so I called 1-800-4KRYLON to make sure. A very friendly representative named Norma informed me that, with the old packaging, if it doesn't say "Satin" on the label then it is gloss. Thank you Norma! Painting will resume this week.
Saturday, April 2, 2011
Help With Painting
I got a little help with the never ending painting and sanding I've been doing. Hannah helped me paint some of my dome panels.

Subscribe to:
Comments (Atom)


