Thursday, May 28, 2009

VEX Transmitter, Receiver, & Crystal Upgrade Kits

I was able to pick a VEX Transmitter & Receiver Kit off eBay for $22.12 and a Crystal Upgrade Kit A for $7.14. The combined total of these items off the VEX Robotics website is $179.98. You've got to love eBay, I saved $150.62. The packages were a little beat up, but the cost savings more than makes up for it. The Transmitter & Receiver Kit comes with channel 89; and the Crystal Upgrade Kit A comes with channels 65, 69, 81, and 85. My plan is to use the J.E.D.I. Control System, but if the run is delayed I will pickup the VEX Signal Splitter for $19.99. At this time, no one is offering this on eBay.

Monday, May 18, 2009

JAG Hinges Arrived

My JAG Hinges arrived today. I got two extra large, one large, one medium, and three small. Everything but the three small hinges came assembled, that look great. The extra large hinges seem to be a little stiff, but I will loosen the lock nut about the time I install them and see how the hinges move. I'm going to use the two extra large hinges on the two long doors in the front of R2. The large hinge will be used for the large panel to the left of R2's center vents. The medium hinge will be used for the smaller panel between the coin slots and R2's center vents. The small hinges will be used to for the sensor scope (one of pie panels in the dome), a small door used for the fire extinguisher (to the left of R2's front holoprojector in the dome), and the charging panel door (above the coin slots).

Tuesday, May 12, 2009

Ankle Meet Mount

Steve helped me attach the ankle pieces to my motor mounts tonight. We started out by setting the distance of the ankle channel to be closer to the outside of the motor mount then the inside. Once in the correct position, it was clamped in place with a c-clamp and a vise-grip while holes for pop rivets where drilled.


Once all the pop rivet holes were drilled, a builder held a washer in place on the underside of the motor mount while I used the pop riveter to secure everything in place.


I used seven pop rivets in the center portions of the ankle/motor mounts. I'm going to try flush rivets that Moose suggested on both ends of each ankle/motor mount to reduce the visual impact.


A couple wheels, motors, belts, and omniballs and these might look pretty good.

Filling The Outer Leg Gap

After the two 3/4" shoulder hubs are routed out the accept the outer leg hardware, there needs to be another should hub board less than or equal to 3/4" in thickness to fill the gap. Once I get both legs assembled and dry fit on the frame, I will then temporarily attach the skins. Once the skins are added, I will sand the extra shoulder hub pieces I made tonight to leave a 1/2" gap between the out legs and the skins. The work tonight was done pretty much like it was the previous night I worked on shoulder hubs. Except I used my existing shoulder hub to draw the outer diameter of the hub and start a pilot hole. I then used the band saw to cut out the should hubs and the drill press to cut out the hole for the center pipe.

Monday, May 11, 2009

Blackhawk Dome Cutting

I sat on the floor tonight and cut out a couple more dome panels as I watched my Blackhawks eliminate the Canucks from the second round of the NHL playoffs.

Friday, May 8, 2009

More J.E.D.I. Logics

I contacted Scott Gray to get some part numbers so I could order the 4x20 Serial Backlit LCD and Prop Plug off the Parallax Inc. website. I turns out Scott ordered too many and he had extra. I was able to order from him and get a discount.

Sunday, May 3, 2009

Shoulder Hub Routing

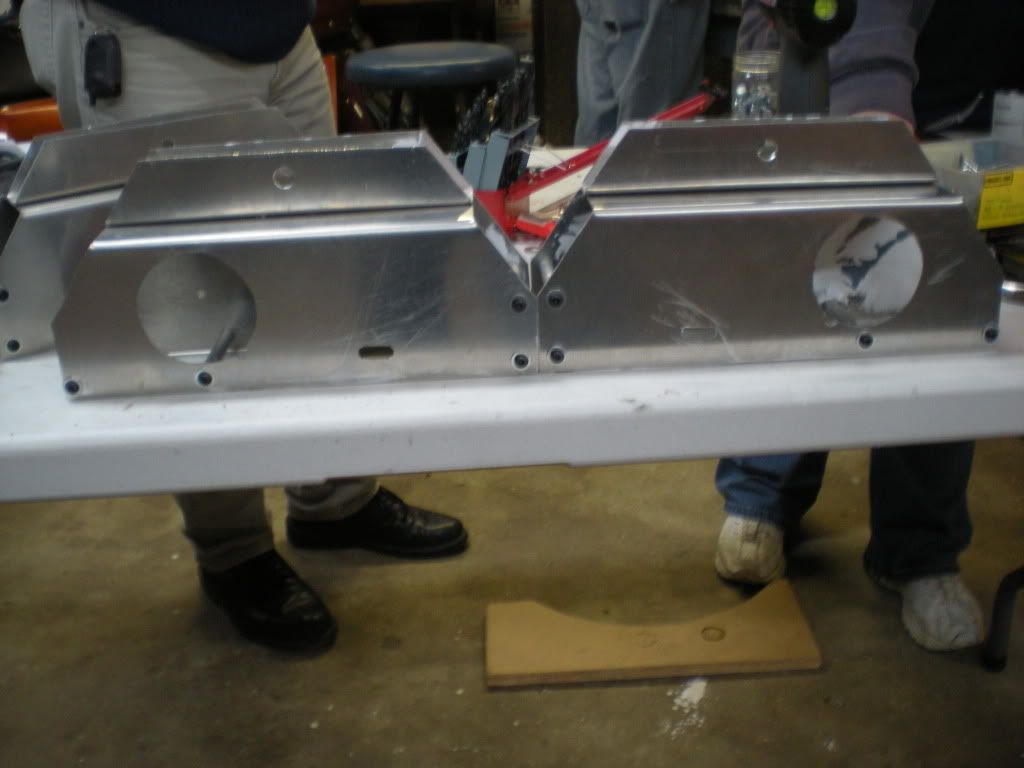
In order for the ¾” wood shoulder hub to fit flush against the existing shoulder wood I had to route out some of the wood to fit around the existing leg hardware.


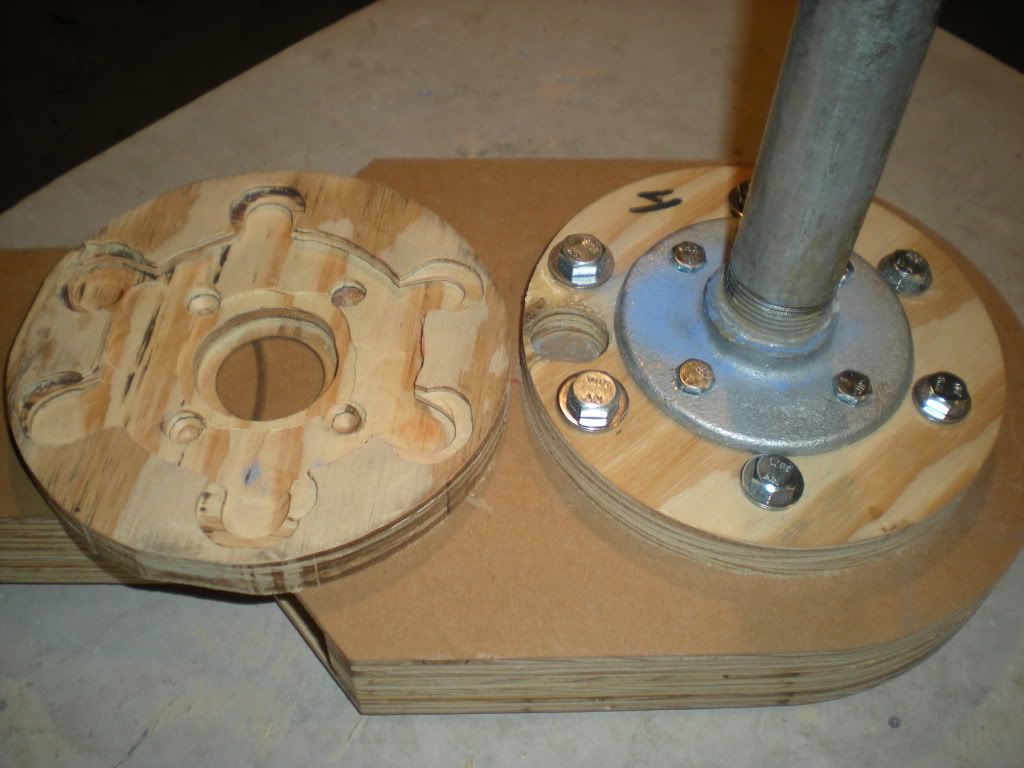
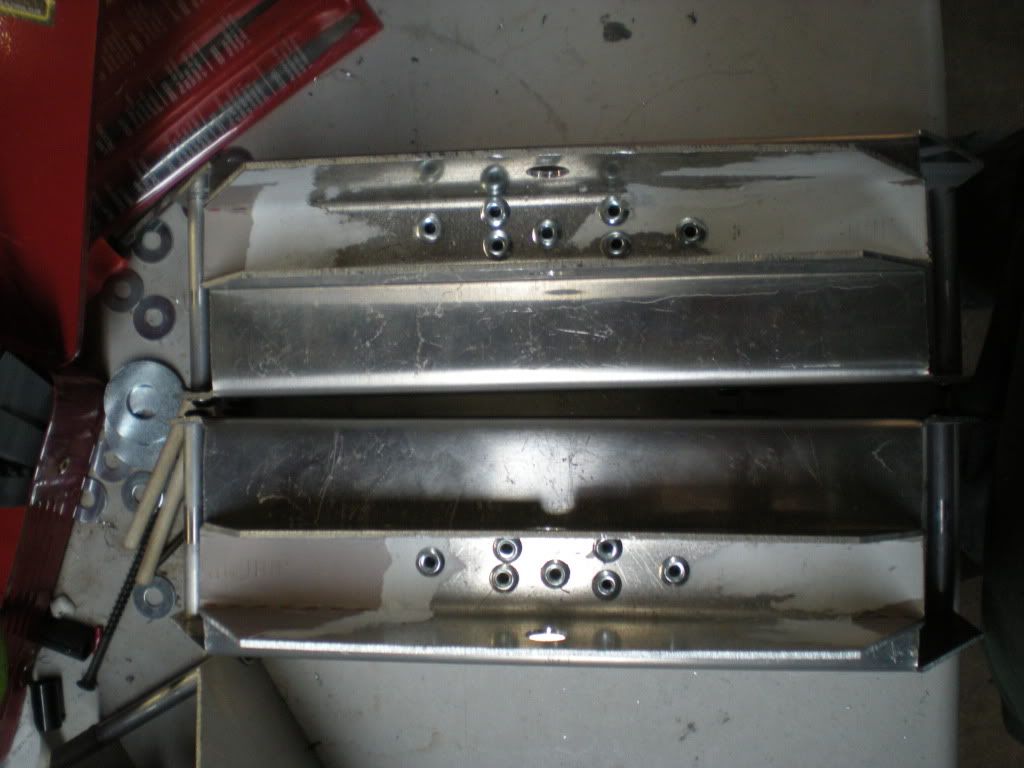
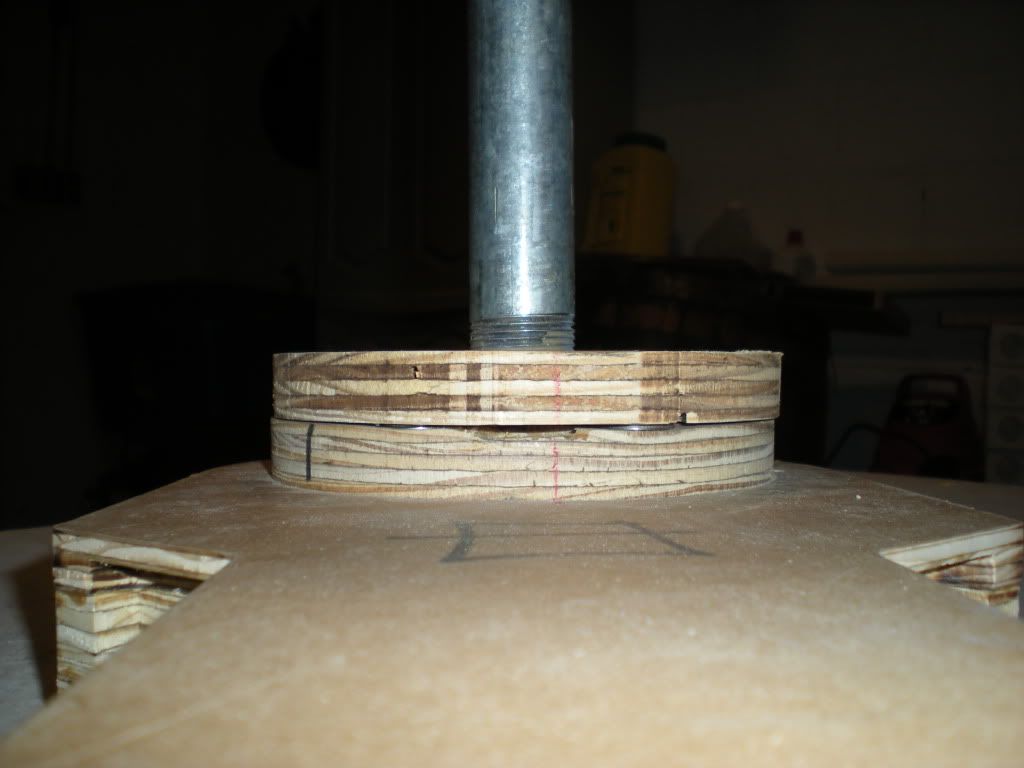
I started this project by trying to add blue chalk to the hardware and pressing the wood shoulder hub against it to transfer the pattern. The chalk pattern wasn't very useful because the surfaces were uneven and the chalk came off as soon as the router was turned on. I then went to “Plan B” by measuring the width and depth of the of the flange and routing the wood little by little. Once the wood was routed out for the flange, I drew a reference line on the shoulder hub and the leg so I could line everything up later. I used the brute force method and smacked the innermost portion of the shoulder hub to put bolt head indentations in the wood to show me where to route the wood for the outermost bolt heads. I used the same procedure to transfer the bolt head locations for the innermost bolts; but rather than route these, I used a ½” drill to drill the wood to the needed depth.


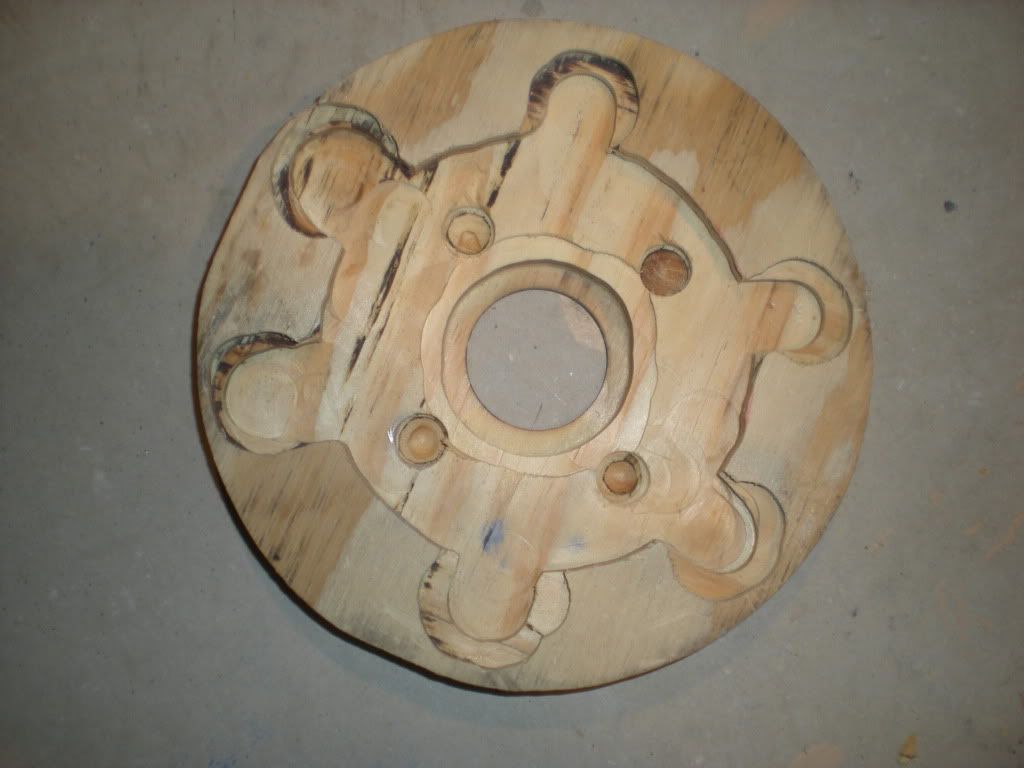
I then measured the washer height for the outermost ring of bolts and routed the wood accordingly. The final step required me to route the inner most hole (next to the leg pipe) a little more. There is very little wood left, but still enough to line up the shoulder hub.


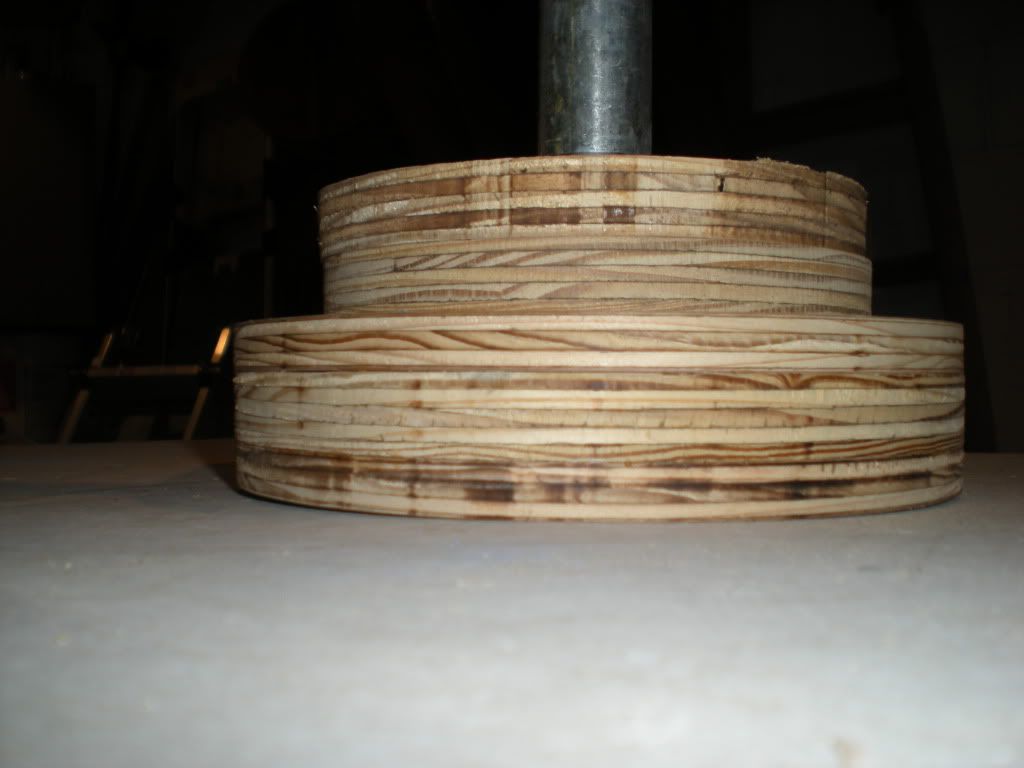
I was able to get one shoulder hub routed tonight. Without taking the skin width into account, there is still a 5/8” gap that will still need to be filled by a solid piece of wood.

Saturday, May 2, 2009

2009 Free Comic Book Day

The builders club was asked to make and appearance for Free Comic Book Day at Krypton Comics. We setup shop in an empty store next to Krypton with the artists.


Tam (dressed as Iron Man), Brad (dressed as a Jedi), and Kira (dressed as a Sith) entertained the crowds outside.


R2-CM and Patches drove around outside to interact with the crowd.


The artist were busy all day drawing free sketches for visitors.


Everybody loves hanging with the R2 Builders. Okay…okay…maybe everybody likes hanging out with R2.