Tuesday, December 30, 2008

Redrawing The Dome

I made a dome template with Moose using his 300mm aluminum dome. I spent the night erasing the lines I made using the A&A dome plans found on the main R2 Builders site and drawing new lines using the new template. On the next build day, I will take my newly drawn dome over to Moose's to make sure all the lines are drawn correctly.

Thursday, December 11, 2008

Leg Holes

Clay, Kitt, and I met tonight to continue our work on the outer legs.

I was a little under the weather tonight, but it didn't stop me from jumping in and drilling some outer leg holes for the shoulder hub.


It was a group effort to drill out the holes that accept the t-nuts and bolts used to connect the inner most outer leg board and the shoulder flange.


Clay added the T-Nuts to the inner most boards of the leg pieces and dry fit the ¾" board to make sure there was enough room between the nut and the center board ¾" board.

Saturday, December 6, 2008

2008 Holiday Air Affair

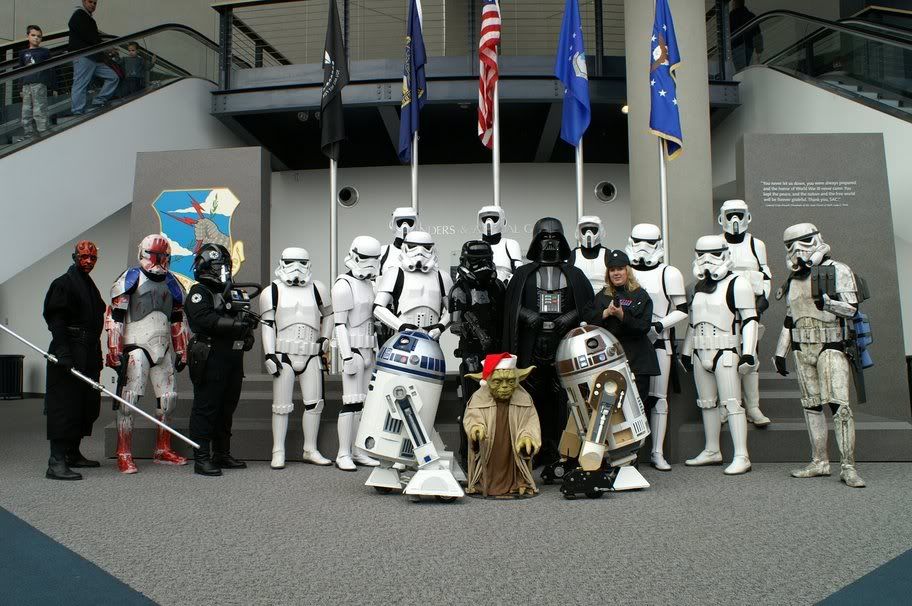
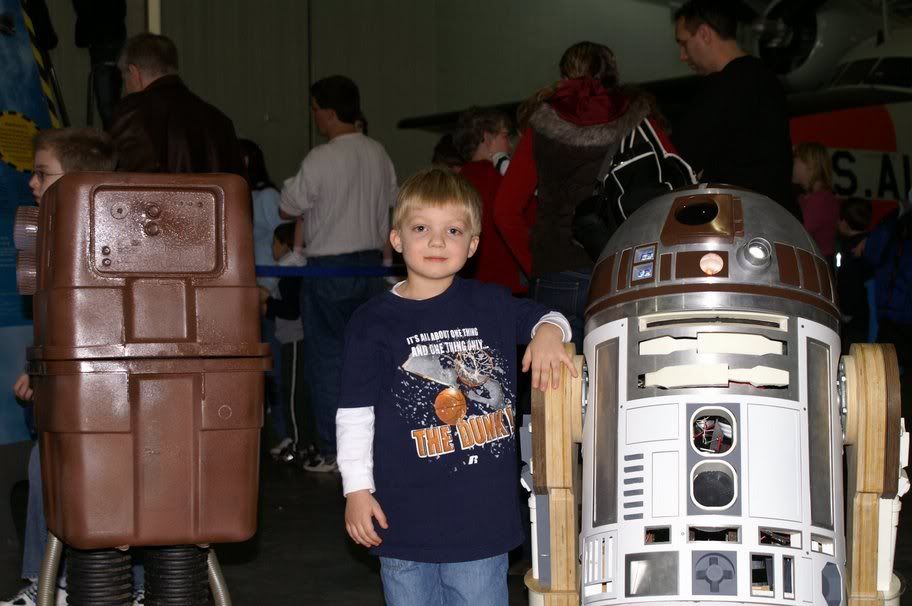
The Central Garrison of the 501st asked the R2 Builders to join them at the 2008 Holiday Air Affair at the Strategic Air And Space Museum in Ashland, Nebraska. It was a great day and the kids could hardly contain themselves when they saw Star Wars characters. Thank you to Denny Freeman for letting me use his pictures for my blog. If the pictures for this event look like great high quality pictures, he probably took them!


Aren't we a good looking club?


R2-CM takes a break to watch a little Star Wars in one of the many side rooms of the museum.


Clay is trying to discuss the finer points of engine maintenance with his R2.


I stopped to take some pictures with Darth Maul (aka Dash). Yes I know, I can't stop talking (or laughing) not even for pictures.


Hannah and Joshua slowed down for a little while to take some pictures.


Jon, Christina, and Christian get into the picture taking act.


Thursday, November 6, 2008

Cold Legs

Moose, KITT, and I met tonight to continue our outer leg work. Moose and I started the evening out by cutting out the ¾" should hubs and the ¼" outer leg pieces. We knew the weather was suppose to get cold, but the temperature dropped very quick and it wasn't long before we could all see our breath and fingers started to get numb.


Our first attempt to get the should hubs to the 6¼" diameter size was to put a nail through the center of the should hub into the router table and rotate the shoulder flange around next to the router bit to get the circular shape. This attempt failed miserably because the router bit was moving too fast and the piece was too hard to hold. When Moose released a little bit of the pressure he was using to hold the piece in order to reposition his hands the shoulder flange flew up in the air away from the router bit towards Moose with a spinning motion. It was a good thing that Moose has quick reflexes. As soon as he felt the piece start to move, he pulled his hands back which probably stopped the flying piece from hitting him in the face or forcing his hands into the router bit.

Our second attempt, the one that eventually work, was to use the band saw and put a center pivot nail in board and move it towards the band saw blade until the desired shoulder flange radius was reached. We used the router to shave the outside edge of the shoulder flange down at one spot so the band saw could start cutting the shoulder flange out by spinning the piece of wood around the nail. This eventually worked very well once we got the hub radius set and the band saw guard functioning properly.


I routed out the ¼" outer leg pieces that make up the inner ankle.


With all the work on the shoulder flange, the conversation turned to how we were going to make the hole in the outer ½" leg piece to accept the shoulder hub. Moose had a 2½" hole saw, so we cut a hole in a scrap piece of wood to test the fit. The hole was too big, so we will have to get a 2 3/8" hole saw or devise another method for cutting out the hole.


I made a template for the arm pits (the area that holds the shoulder stabilizer) using the exact dimensions specified on the official club blueprints. Afterwards, we reviewed the leg tutorial DVD and found out that they make the arm pit 1/8" bigger all the way around to allow for room to smooth out the crevice. I will make this larger on another night when I'm not freezing to death.


We couldn't help but take picture of all the cut and routed leg pieces.


We couldn't help but stack all the outer leg pieces up on shelves and take a picture of all the work we've done.

Tuesday, November 4, 2008

Couldn't Help But Do A Little Leg Work

I had an appointment tonight, so my plan was to drop off the 2'x4'x¼" wood for the outer legs so the other members of our builders club could continue working on the legs. Another builder and KITT were there and Dash had plans to arrive later; so I couldn't, in good conscience, not help at least a little. I helped setup the equipment and routed one ½" leg piece. When Dash arrived later he brought a band saw he purchased online. Even though they managed to spend most of the night setting up the band saw, they still managed to route the outside of all the ¾" leg pieces.

Wednesday, October 29, 2008

Leg Work

Dash, KITT, Moose, and I got together tonight to continue the work on our R2 legs. I started out by rough cutting another set of ½" leg pieces for me so I can experiment with a 2-3-2 leg conversion. Moose and I then rough cut all of the ¾" leg pieces.


While the rest of the leg pieces were being cut out, Dash, KITT, and Moose worked on the routers and tables. Apparently we overworked the router on our last leg building work day. Dash wasn't sure we could salvage his old router, so he bought a used one off of Craig's List. After Dash took his old router appart to retrieve the bit KITT installed it in the new router and mounted it to the old router table. Dash and Moose manged to save the old router, but Moose modified his router table to work with KITT's router so more than one person could route at a time.


After the router was fixed, everybody got into the routing. We managed to get four complete and two partial ½" sets of leg pieces routed. Don't let the pictures fool you, routing in the dark is hard. KITT's forehead flashlight may look dorky but it helped out a lot.


All that routing creates a lot of sawdust!


Wednesday, October 15, 2008

Leg Men

We decided it was about time to start making the outer legs for our droids so Victor Franco's tutorial based on Michael Senna's design seemed to be the perfect fit. I stopped by Menards today over lunch and picked up a 4'x8'x½" piece of MDO plywood and a 4'x8'x¾" piece of regular plywood (this is a little overkill, but hopefully we can use the extra ¾" plywood for the center legs later). I still need to pickup a 4'x4'x¼" sheet of plywood, but I think we have more than enough wood and work to get us by for now. A quick count of working local club members determined that we were going to need outer legs for me, another builder, Mr. Claybo, KITT, and Dash. Yes, your math is correct. That is five sets or ten legs. Out total cost so far is a little over $75 for the outer legs. Without counting the ¼" plywood and the hardware, the cost per leg is about $7.50.


Moose and I started out the evening by tracing the legs onto the ½" plywood.


While Moose and Mr. Claybo traced the outer leg patterns on the ¾" plywood, KITT and I cut out the ½" plywood outer legs and ankles.


After a night of hard work, the group decided to play a little outer leg guitar.


WOW!!! Those are a lot of leg pieces! And we haven't even cut out the ¾" and ¼" leg and ankle plywood pieces yet.