Tuesday, May 31, 2011

Electronics Moved To The Body

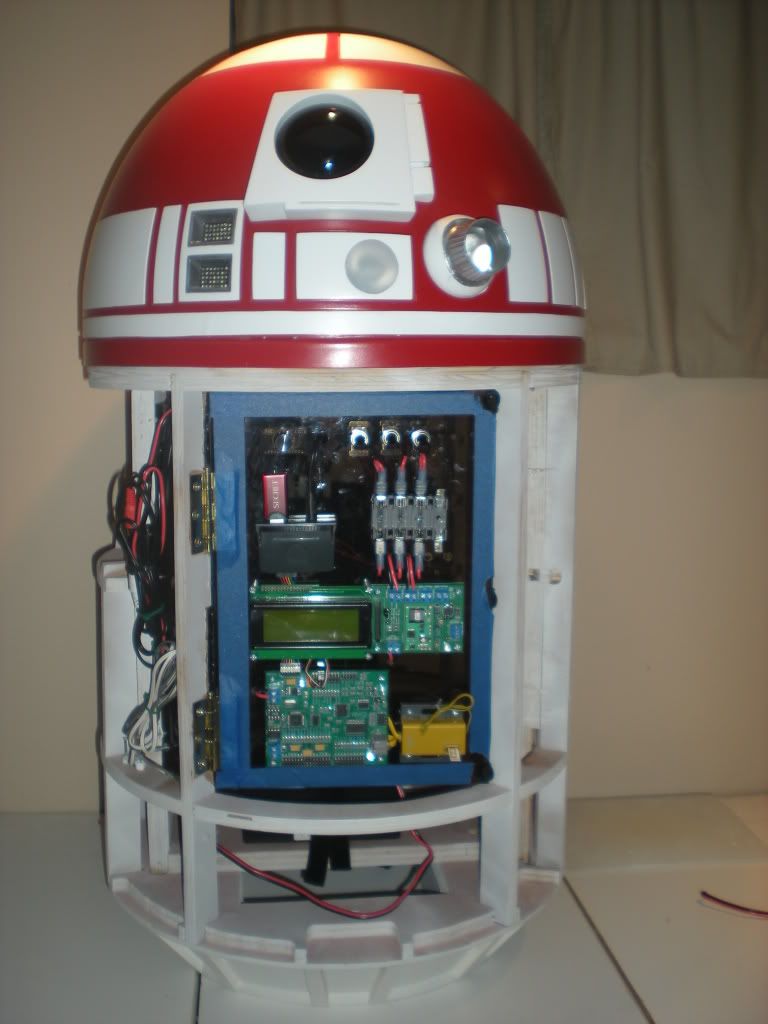
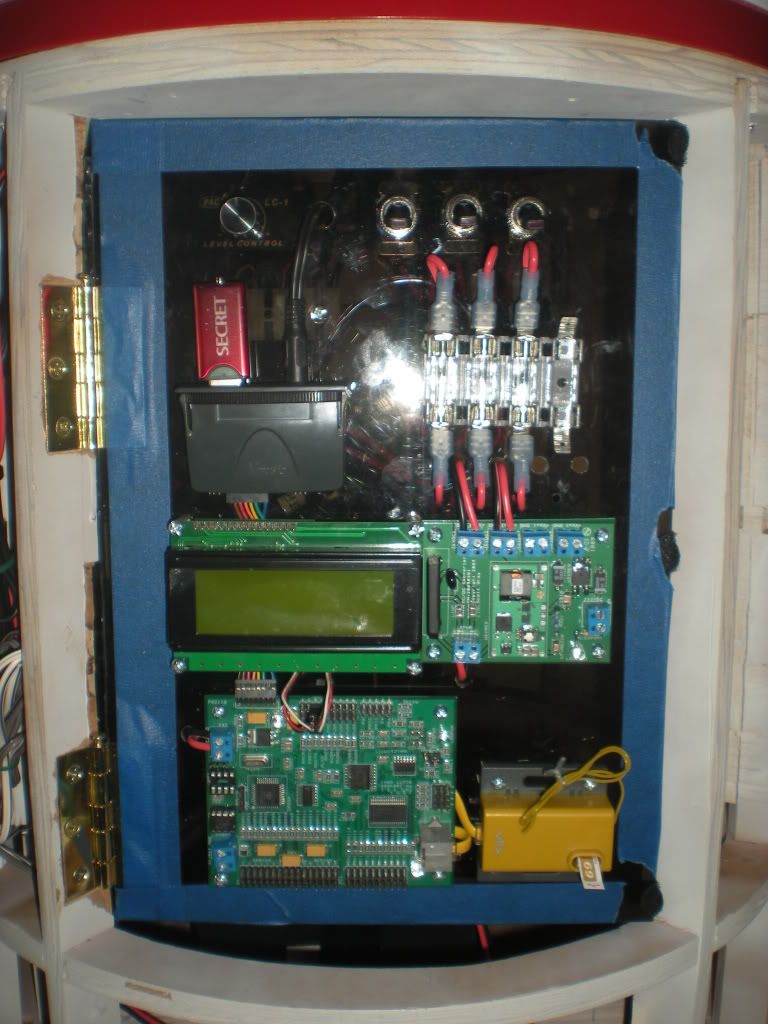
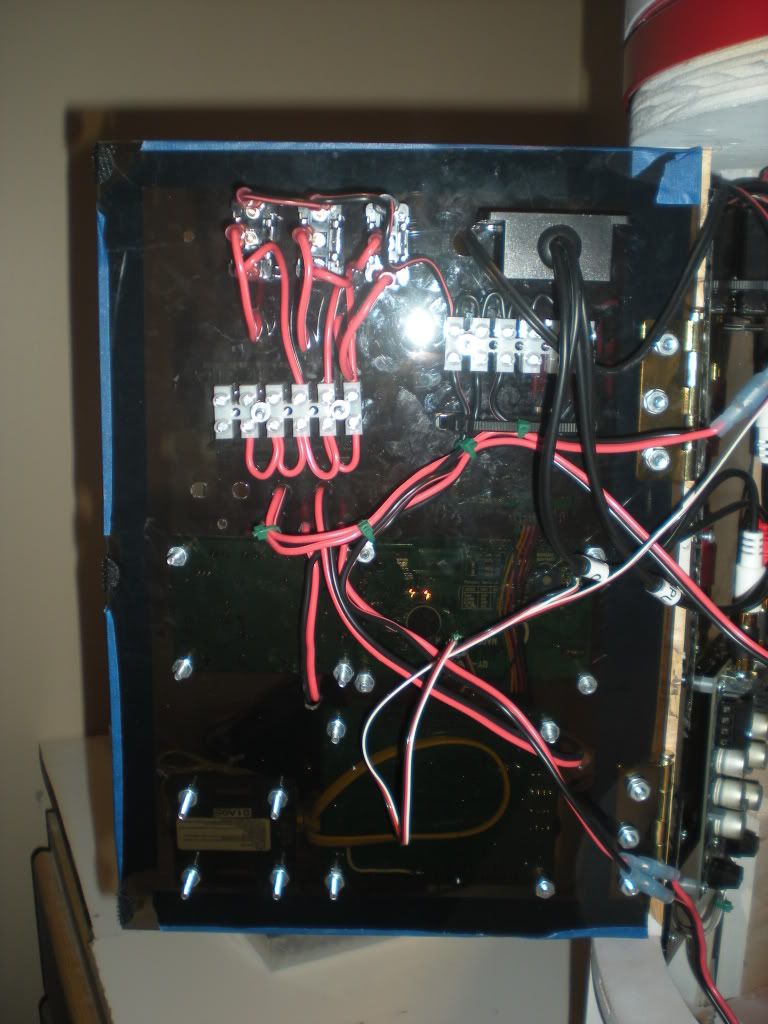
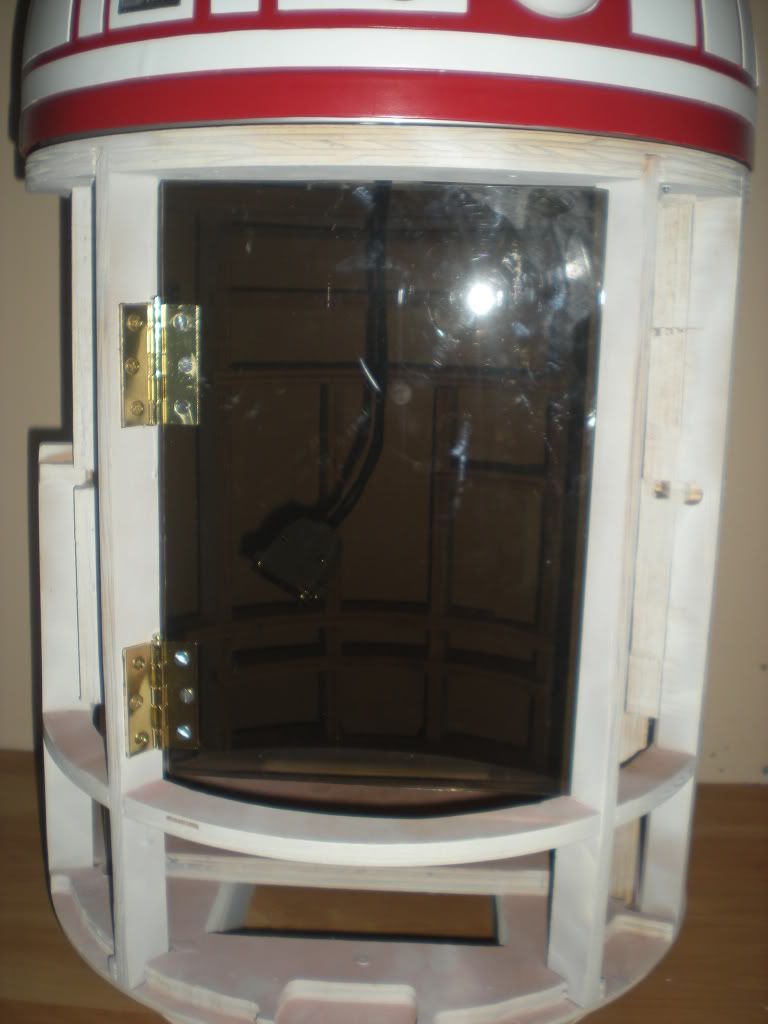
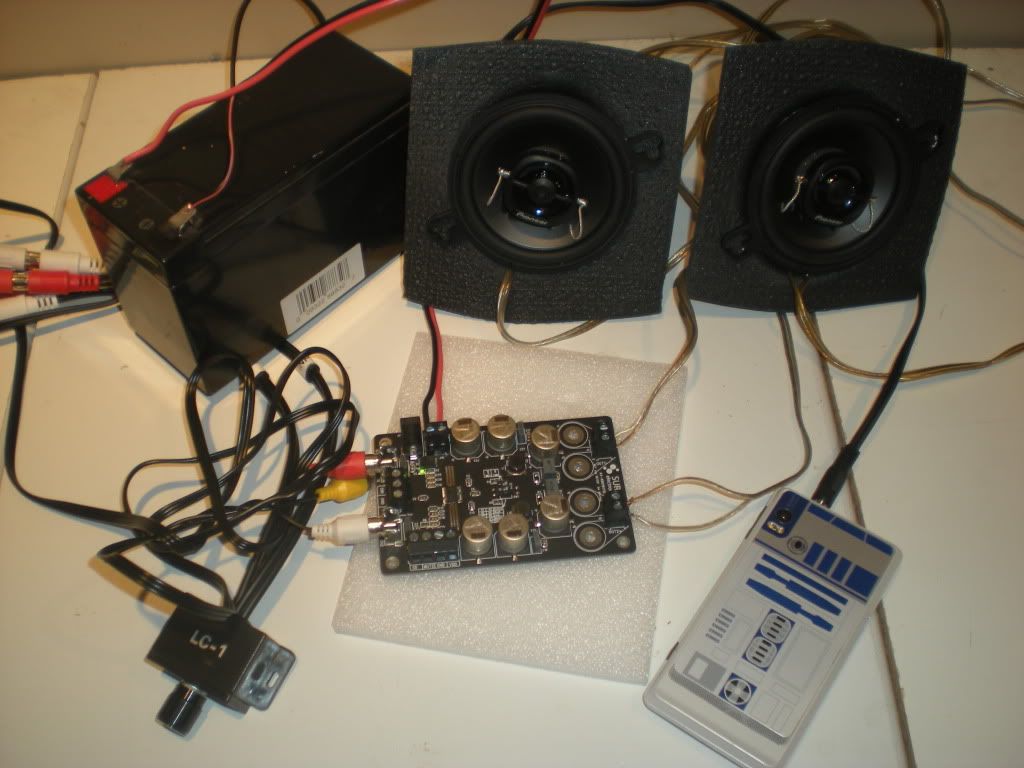
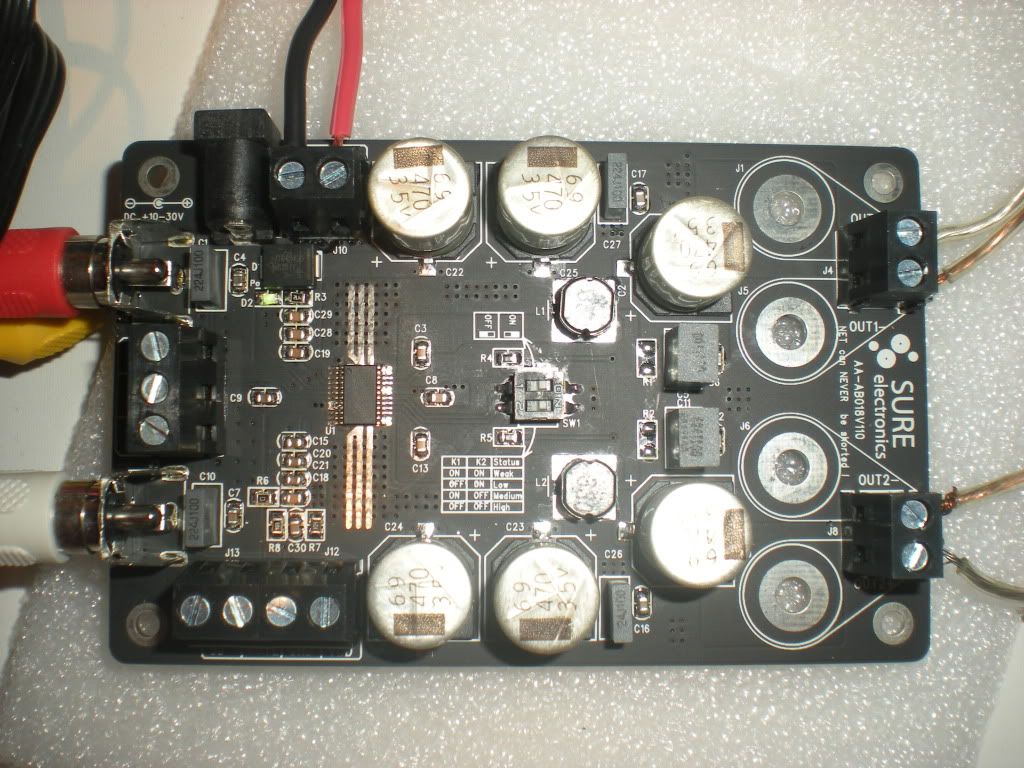
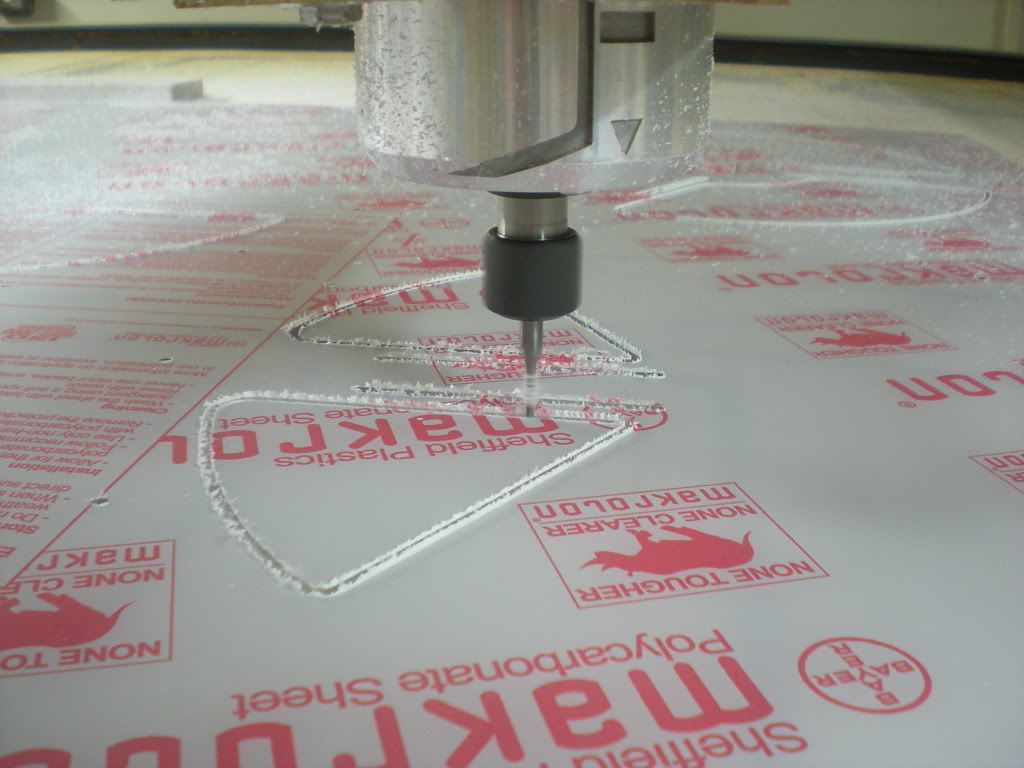
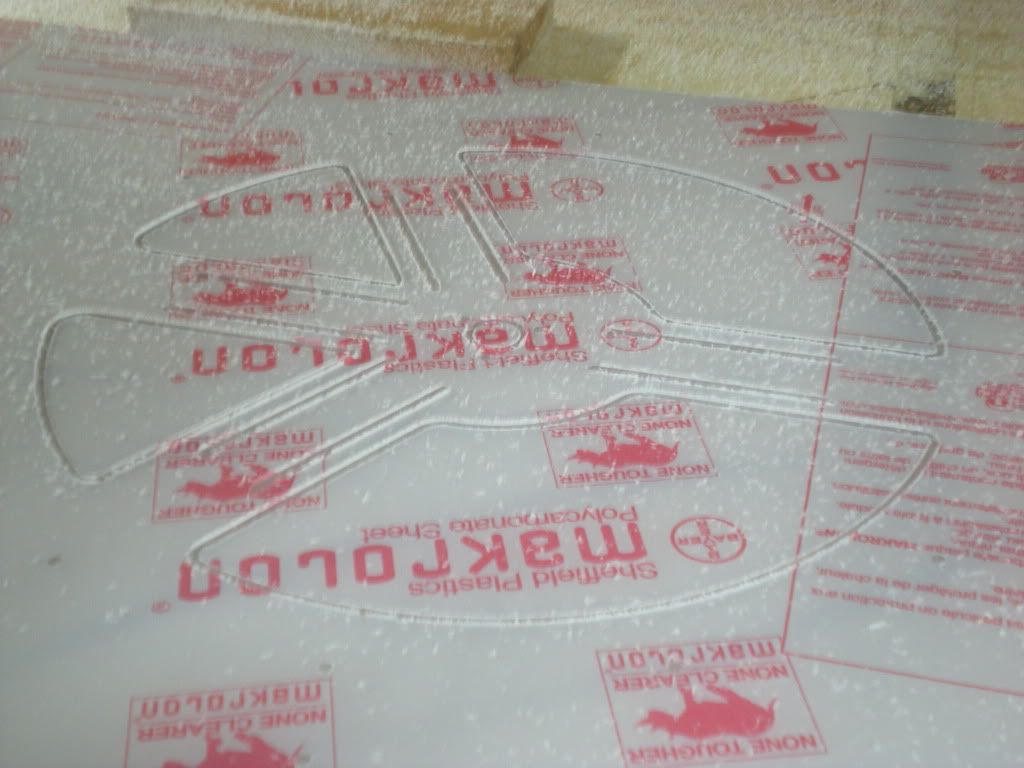
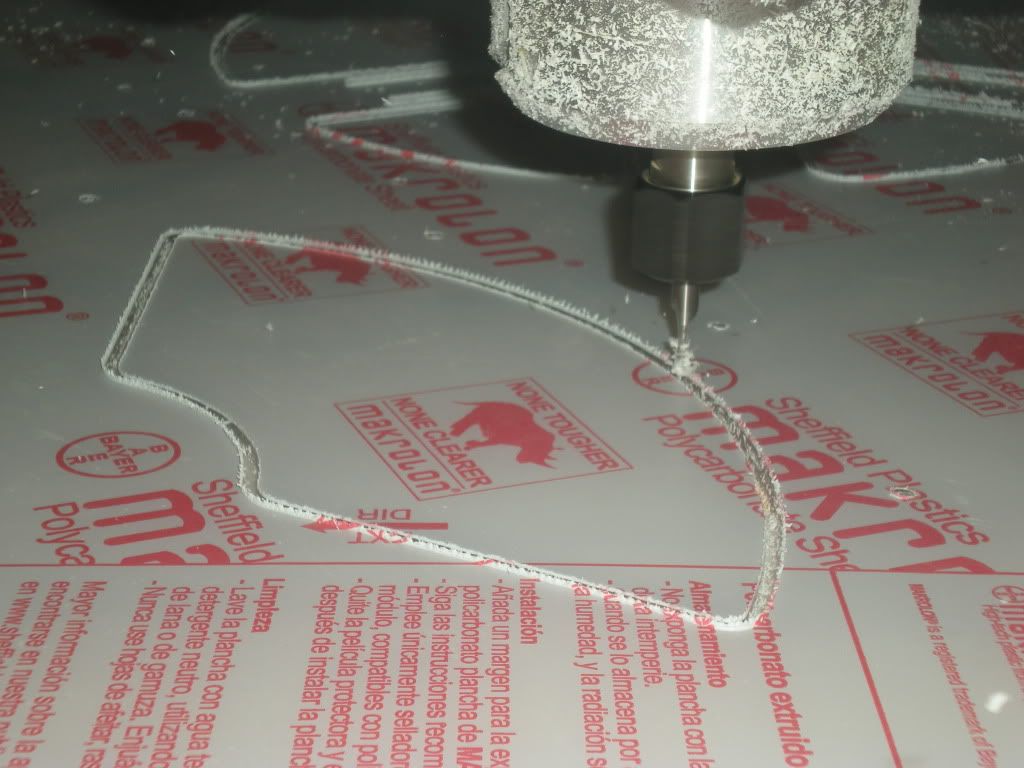
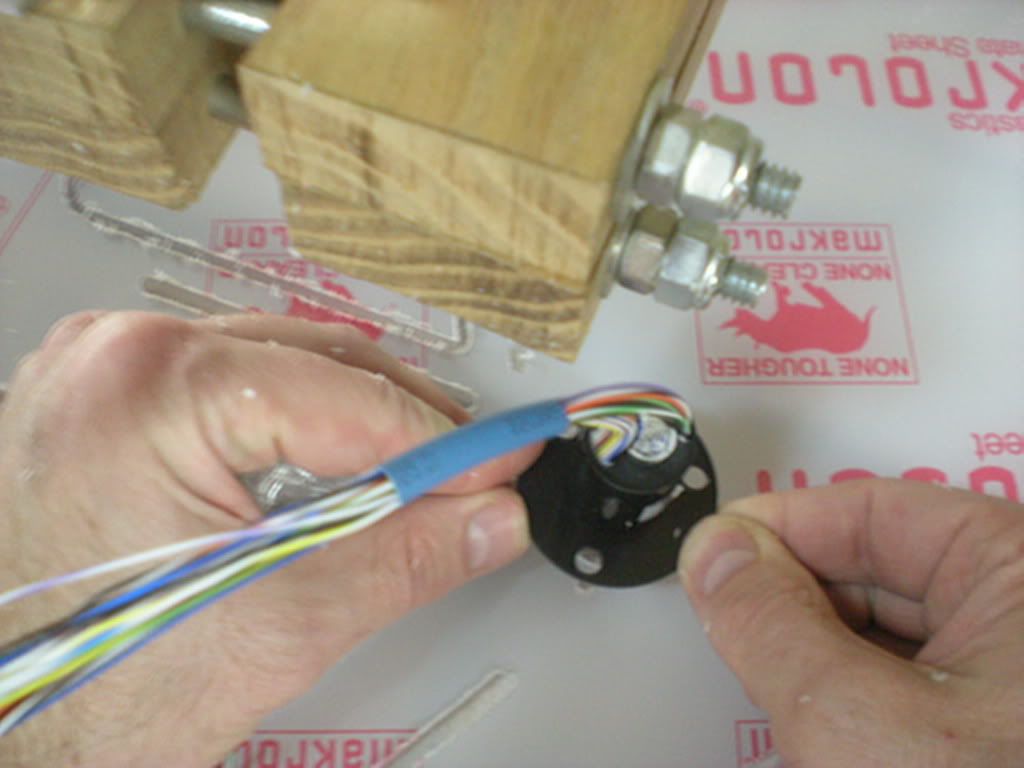
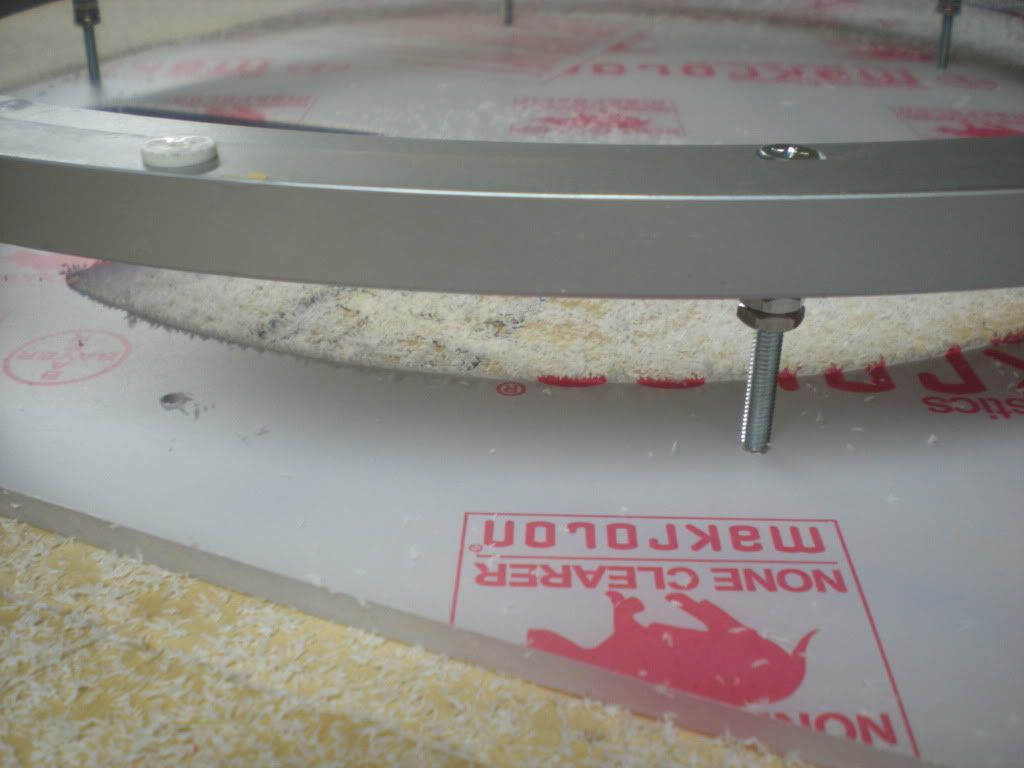
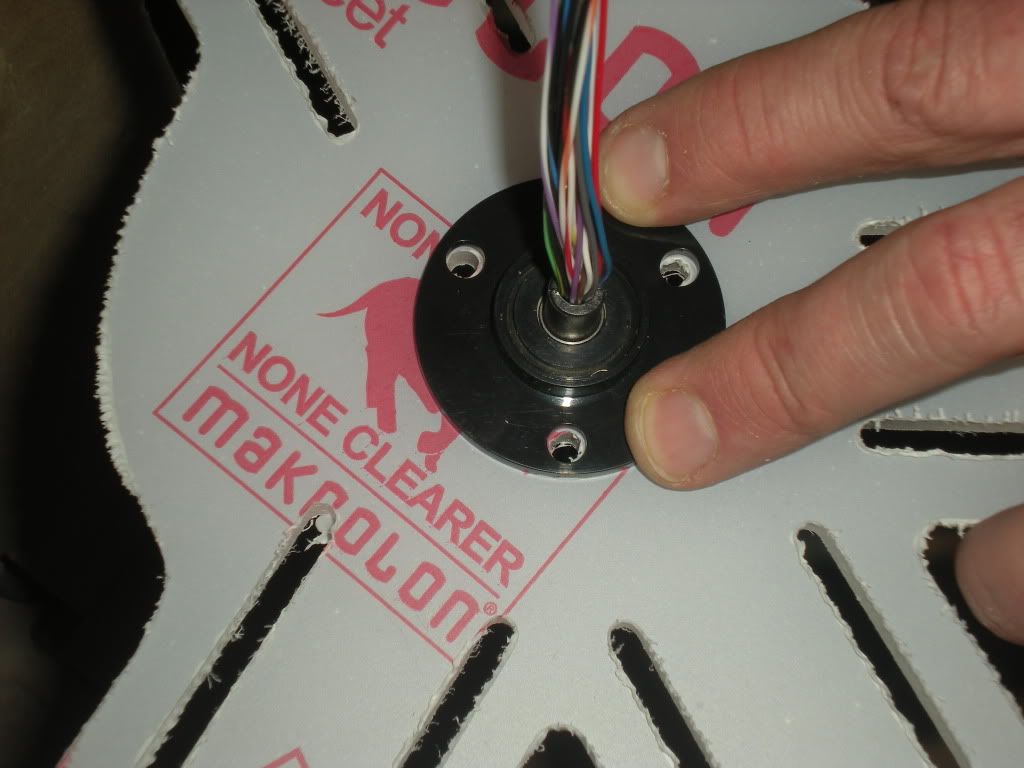
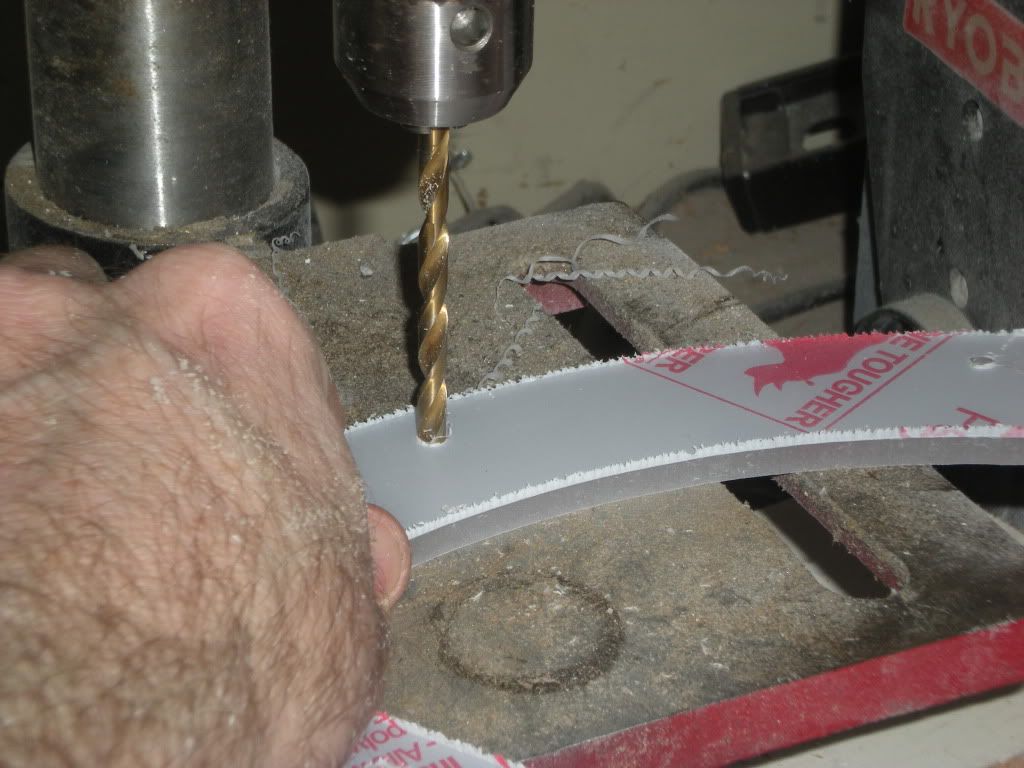
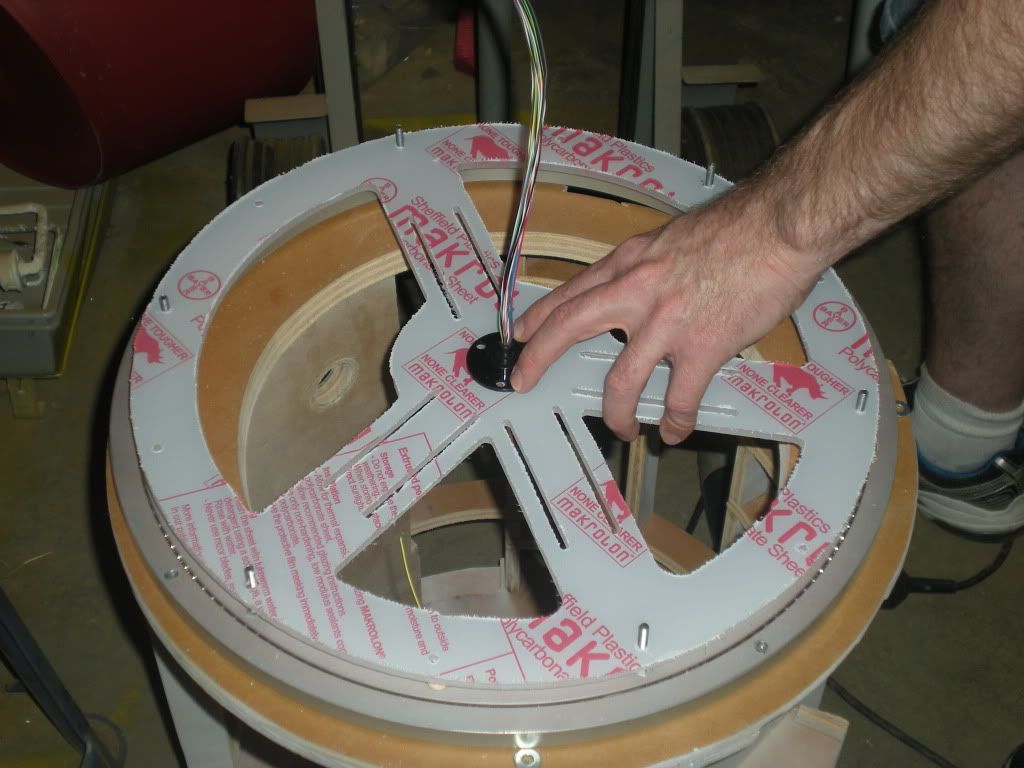
I started moving the electronics to the body a couple of days ago. I laid everything out on the Plexiglas and marked their positions. I then took a roll of tubing I bought from Lowes and cut them into 1/4" pieces for standoffs between the components and the Plexiglas door. The Plexiglas can be brittle at times, so I drilled each hole with a small bit and swapped out the bits for larger sizes until I got every hole the size I needed. I picked up a fuse panel from Radio Shack and installed it so that a 7 Amp fuse is on the main power switch to the left and two 2 Amp fuses run the J.E.D.I. Control system and sound amplifier. I put blue painters tape around the outside of the electronics panel door to mark off the area the outer skin door will need to open and close.

Thursday, May 19, 2011

Electronics Panel Started

In my continuing attempts to divide the electronics between the dome and the body, I started installing an electronics panel. for my first attempt, I decided to use a piece of Lexan I had lying around. I cut it slightly larger than the back opening. I then picked up some cheap hinges with removable pins so I could pull the entire panel out of the body to work on it. I still need to chisel out the area where the hinges attach to the frame on the left side and install some type of latch or magnet on the right side. Once that is done, I can pull the panel off and start adding the Electronic components to it.

Tuesday, May 17, 2011

Sound System Test

After DemiCon I decided I had to get my sound system working because nobody could hear R2 with the cheap test speakers I had. I've been looking for some time for an amplifier and speaker combo that would work in R2-NU. I ran across a post by Paul Bussiere describing some new sound equipment; and after doing research I bought what I needed from Parts-Express.com. There are several posts on Astromech.net talking about how the VMusic2 system has a hard time dealing with feedback and noise, so I purchased a PAC SNI1 Noise Isolator. I did not hook it up because I didn't have the right connectors, so I used my phone for testing rather than R2-NU's electronics.


The amplifier does not have a potentiometer so I purchased a PAC LC1 Remote Amplifier Level Controller to handle the volume control.


My phone providing music for testing.

Saturday, May 14, 2011

Bottom Dome Ring Trimming

In order to install the Dome Base Plate and use the Slip Ring, I had to remove the center section of the Bottom Dome Ring.


The Bottom Dome Ring sits on top of the Dome Base Plate, it sits on top of the Rockler Bearing, and it sits on top of the frame. Because the Bottom Dome Ring wraps around the ouside of the Rockler Bearing and Dome Base Plate, I added nuts and wasters below and above the Rocker Bearing to to make sure the bottom edge of the Bottom Dome Ring stopped right above the top of the frame.

Friday, May 13, 2011

Slip Ring Soldering

I took my Slip Ring and Slip Ring Connection Board to work to ask one of our hardware experts, Russ Wilt, where the best place to buy heat shrink for soldered electrical connections. He had a personal stash that he was willing to part with and he offered to soldered the Slip Ring. I jumped at the chance. Russ was able to solder the slip ring in 15 minutes; it would have taken me over two hours. Thank you Russ!


I wanted to protect the wires and put heat shrink over all of the small colored wires, but I wasn't sure how to do it and still solder the connections. Russ suggested to put multiple pieces on the wires so they overlapped. Russ shrunk the bottom-most wrap slip the topmost on to be shrunk later once all the soldering was complete. When we were finished, we used four different sizes of heat shrink to protect the wires.


In order to get the slip ring through the Dome Base Plate hole I rolled the wires slightly, making sure not to pinch or break them. I then mounted it to the base plate.


Once the slip ring was secured to the Dome Base Plate I added overs to the DB25 connectors to make sure they didn't get damaged in the future.

Monday, May 9, 2011

Dome Base Plate

I happened to ask Clay Cardwell if he would be willing to cut out a Dome Base Plate for me if I brought over the material. Clay said sure and that he would want one too. He suggested that we ask others in the group if they would like to join in to reduce the overall material cost. In no time we had five Dome Base Plates spoken for. Jason Neurath stopped by Midwest Plastics and picked up 1/2" Lexan and took it over to Clay's. By the time I arrived, Clay had converted the PDF file I provided him to use on his CNC and was cutting out the Dome Base Plates.


Will the Dome Base Plates were still being cut, Clay and I held my Rockler Bearing and Slip Ring over the design to see how everything would line up.


Once the plate was cut, we used the drill press to make larger holes for mounting the Dome Base Plate to the bearing. We found that the Slip Ring's mounting holes matched up, but the Rockler Bearing had two holes that were slightly off. I used the Dremel to make the holes larger to accommodate.


Everything fits great now!

Slip Ring Connection Board Soldering

I had a lot of help soldering my slip ring connection board last night. Thank you Clay for all your help! There are two boards. One will be placed in the dome and the other will be in R2's body.