Tuesday, June 23, 2009

Rockler Bearing Installation

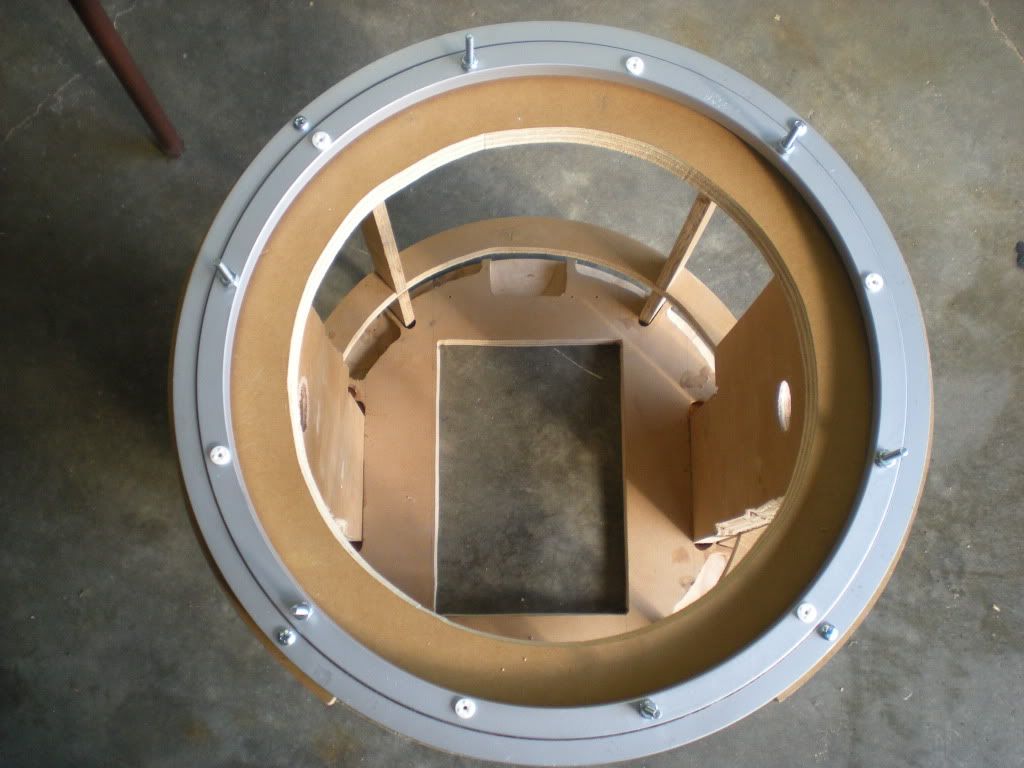
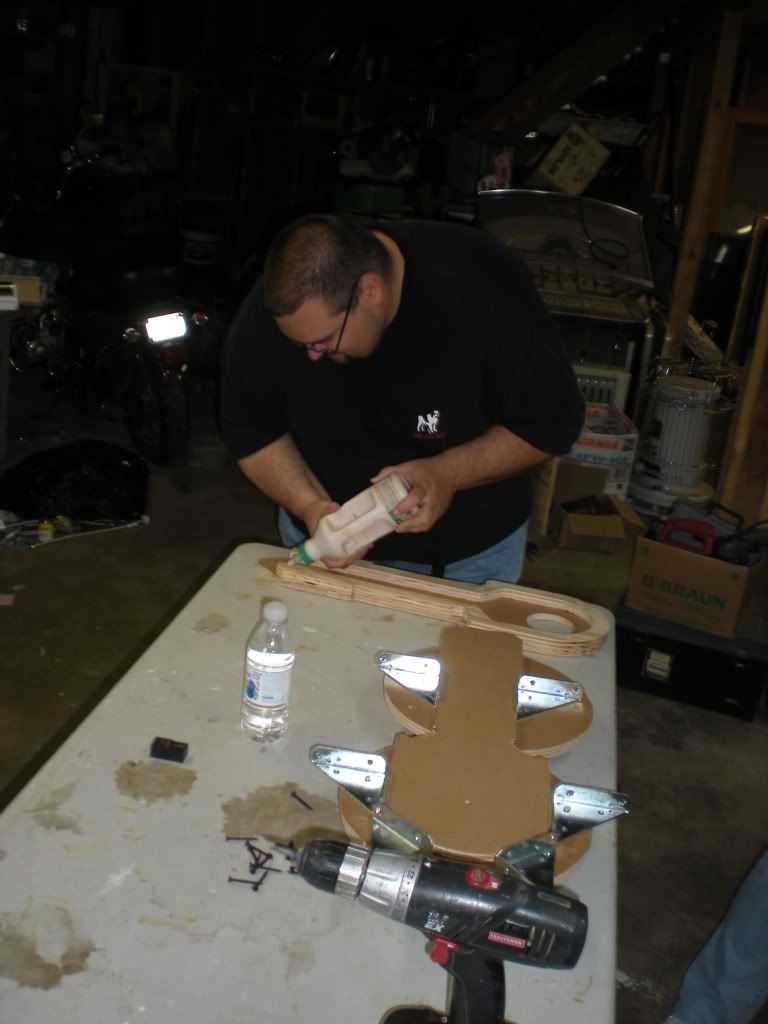
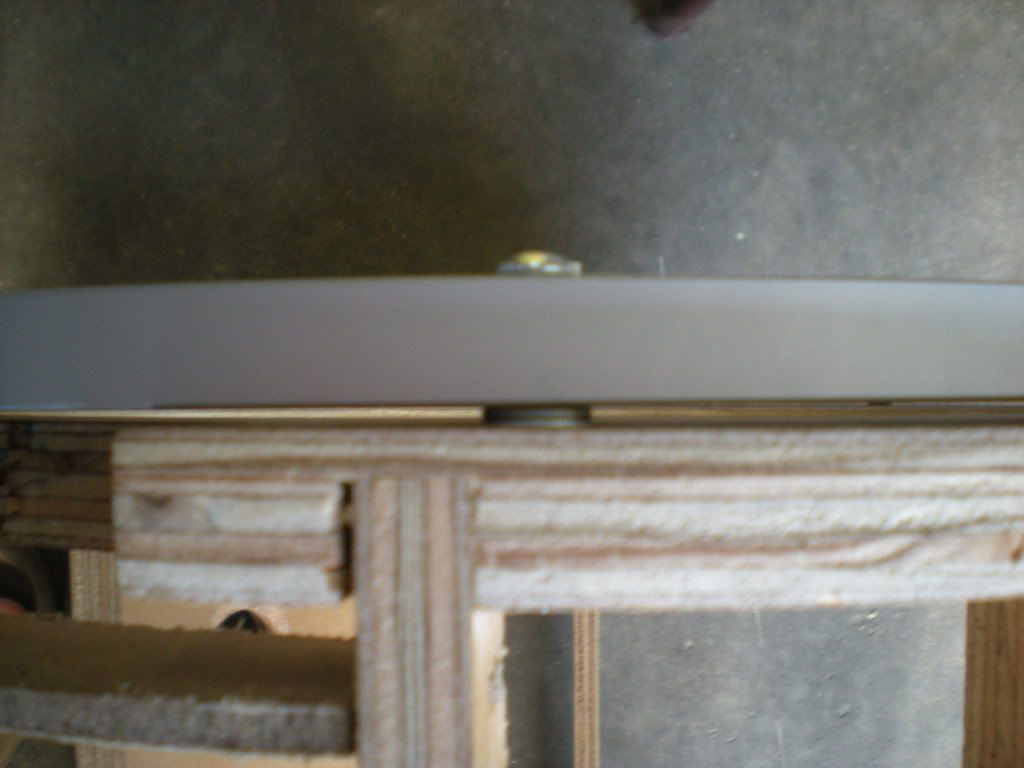
The Rockler Bearing is a Lazy Susan mounted to the top of the frame that allows the dome to turn 360°. The outer ring is attached to the frame and the inner ring holds the dome. The bearing comes with eight pre-drilled holes in the bottom of the outer ring with plastic spacers/feet used to prevent it from resting completely on the surface it is mounted to. Four of the plastic spacers were removed and the holes were drilled completely through the outer ring.


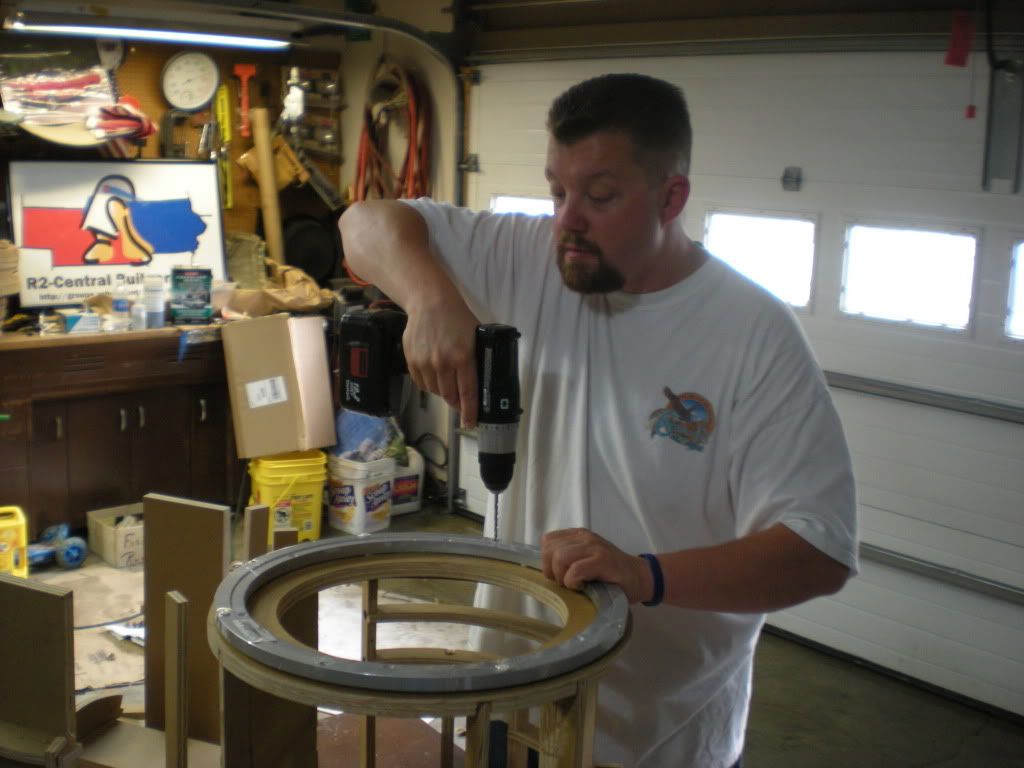
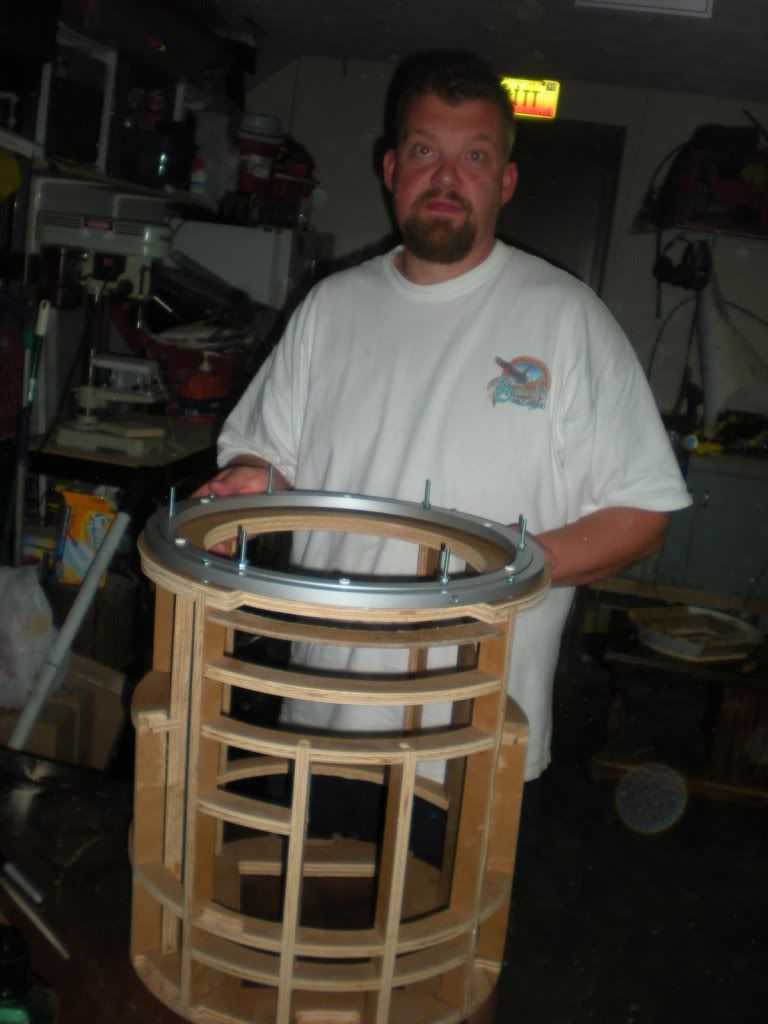
Once the holes were drilled in the outer ring, it was turned over, centered on the wood frame (done by feel because this will probably have to be adjusted later after the skins are added), and four 1½” sheet metal screws were used to attach the Rockler Bearing to the frame (no pilot holes where drilled). Two washers for each screw were added to the underside of the outer bearing ring to match thickness of the plastic feet of the outer ring. The mounting screws stick out the bottom of the frame slightly, so the should be replaced later with 1¼” screws.


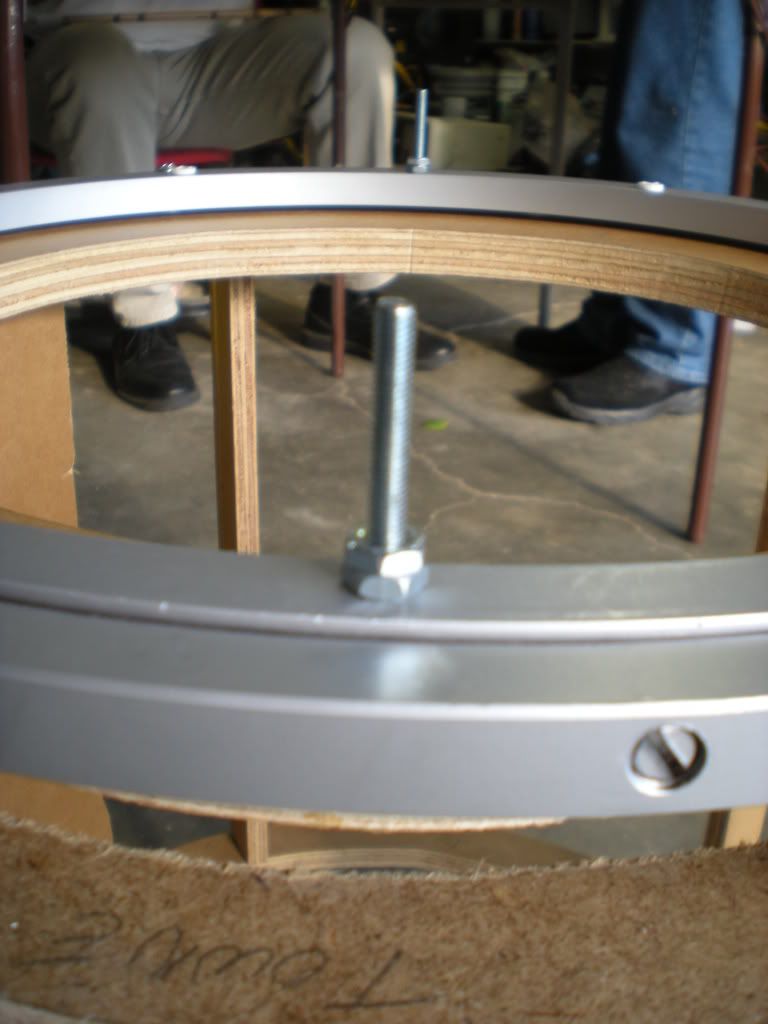
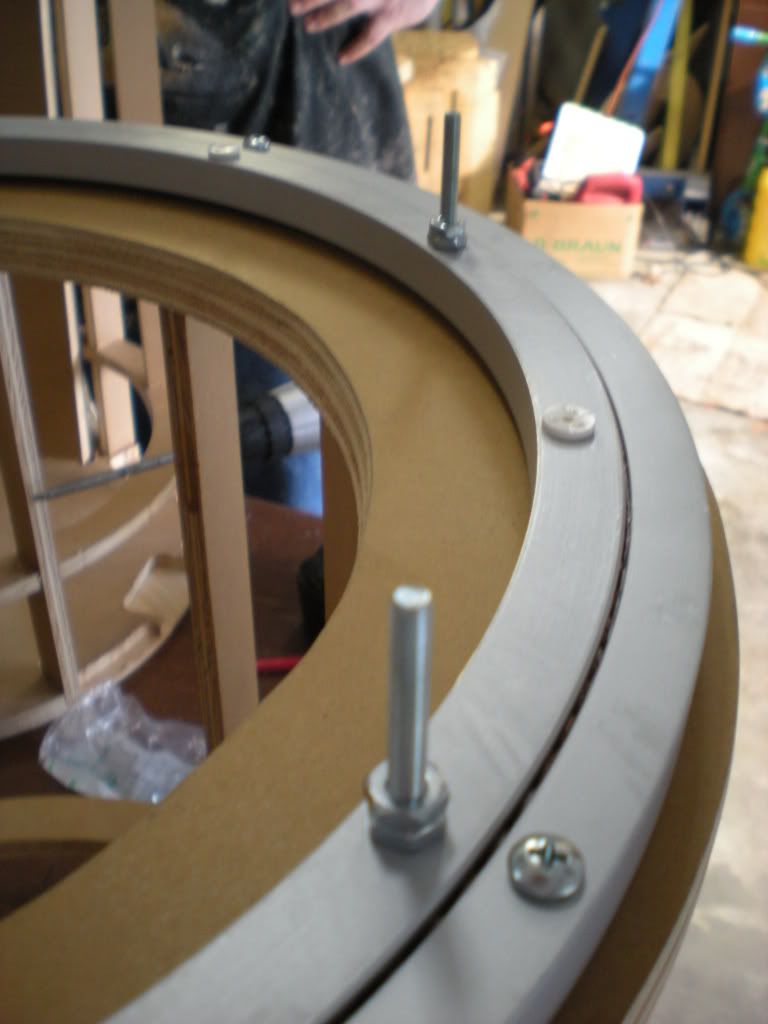
Six 2" bolts where inserted in the six countersunk holes on the underside of the inner ring. The bolts where held in place by two nuts. The plate that holds the dome will rest on the top of the nuts. Depending on how needed dome height, more nuts can be added to the six bolts.


After the ring was installed I checked to see how the bearing turned. It seemed a little stiff, so I loosened the outer ring bolts slightly and it turned easier.

Initial Skirt Assembly

The rest of the crew is farther ahead than I am with their skirt assembly. I cut the boards that surround the skirt hole to the correct height last week. Jason helped me put assemble my skirt by lining up the boards around the hole. As he held them in place I traced around the outside edge so we could line up the boards later.


With the guide lines drawn, I drilled pilot holes in the bottom skirt board. With Jeff's help, I attached one of the inner boards using drywall screws.


Using the lines and the first attached board as a guide, Jeff and I attached the remaining boards.


As you can probably guess, the screws should not be seen in the finished product; so will take them out one by one later and countersink the screws to make it easier to apply Bondo.


As I worked on my skirt, Brad and Serena were making ribs for his skirt. Serena measured the height and marked the locations of the ribs, and Brad sanded the ribs down to Serena's specifications. When Brad's skirt is finished, he plans to make either a fiberglass or resin mold to produce future skirts for the local club.

Frame Help

At our last build night Jason, Moose, and Jeff worked on their new frames. I helped out where I could, but mostly heckled and took pictures.

VEX Power Pack

I won a Power Pack and a Robot Battery Holder on eBay for $13.02. These items retail for $54.98 on the VEX Robotics website.

Thursday, June 11, 2009

R2-KT Shuttle Project

I received my R2-KT patches today! The 501st had a fundraiser to produce and sell R2-KT patches to raise money to transport R2-KT back and forth for charity events. The patches were $10 each, including shipping.

Tuesday, June 9, 2009

Dome Motor Holder

At another one of the build days I missed, the group made dome motor holders. Jason helped Jeff and I make our own motor holders using his as an example. We traced the pattern onto a ¾" piece of plastic and cut them out with the band saw.


Jason cut a mounting plate for us using leftover aluminum scrap and we used his pieces to drill holes in the plastic and mounting plate. I borrowed a couple of bolts to show how the motor holder would be assembled. The longer piece will hold the motor (mounted from below) and will be able to swing back and forth. With the aid of a wheel (mounted to the top of the motor shaft which sticks through the swinging motor holder piece) and a spring (attached to the swinging motor bracket piece and the frame), pressure will be put on the edge of the Rockler Bearing by the wheel causing the Rockler Bearing (and dome) to turn at the speed determined by the motor.

Skirt Work

The rest of the building crew worked on their skirts at the last build day; and since I haven't been to a build day in three weeks, I was a little behind. I started off by cutting my skirt ring edges down to size. I drilled holes at the corners of the skirt hole to allow me to cut along the lines and take out the unneeded wood.


After drilling the holes I remember that our lines where slightly off. I used one of the previously made skirts to redraw the inside cut lines. It was a good thing I drew my inner skirt hole too small.


Cutting out the skirt hole.


The skirt a 2½" tall. Since the bottom skirt plate is a ½", I had to cut 2" strips to surround the skirt hole. I had to cut the end of the skirt strips at a 45° angle because if they were left straight the outside corner of the skirt strip would hang past the outside of the skirt boundary.


Brad and I cut long strips for the flat edge of the skirt. These strips are trapezoidal in shape with a 3" in width and a 7.826" and 9.674" lengths. Each of the long sides get opposing 18° angles on the longer edges to make a 36° total angle from the bottom of the body to the skirt plate. Sorry there were no more pictures other than the following, but I was busy working.


More Group Leg Gluing

Jeff Schipman started off his R2 Building tonight by doing some more gluing on his legs.

Wednesday, June 3, 2009

Temporary Receiver

I took Talon's advice and purchased a 7 Channel 75MHz receiver from MultiPlex on eBay for $5. This definitely beats the VEX Signal Splitter for $19.99. Talon says he owns one an was able to connect his VEX control crystal into it and use his VEX Transmitter.