Friday, May 28, 2010

Inner Dome Hole Cutting

I needed to get the holes cut in the inner dome today, so I started out by drawing/tracing the inner dome hole locations.


I used the previous plunge and rotate method with the Dremel to cut the holes, and then I used a wine bottle wrapped in sand paper to smooth the circular holes.


Four year old Joshua loves to watch and help build R2 when he can, so I lifted him up on the work bench and gave him a sander. He did a GREAT job!


Finally, all the inner dome holes are cut!

Frame Priming

I hadn't used a spray can in at least five years, so I decided to prime my frame with some White Krylon Indoor/Outdoor Primer. I think I may have put it on a little too heavy because I ran out. I'll finish after a trip to the store.

Monday, May 24, 2010

Radar Eye Mounting

I drilled the radar eye holes I marked last night. Once the holes were drilled, I duct taped the radar eye in position. I drilled from the inside of the dome through the newly created dome holes to mark the hole locations on the back of the radar eye.


Once the holes were marked, I needed to make the holes deeper to hold the mounting screws. I added tape to my drill bit to act as a depth gage so I didn't drill to far into my radar eye.


I used some linesman pliers to snip the heads off four 6-32 x 1-1/4 bolts. I then used Tech-Bond to glue the bolts into the holes on the back of the radar eye.


Once the glued dried, I mounted the radar eye by putting the bots on the back of the radar eye through the holes of the dome and holding them in place with washers and nuts.

Dome Cutting And Gluing

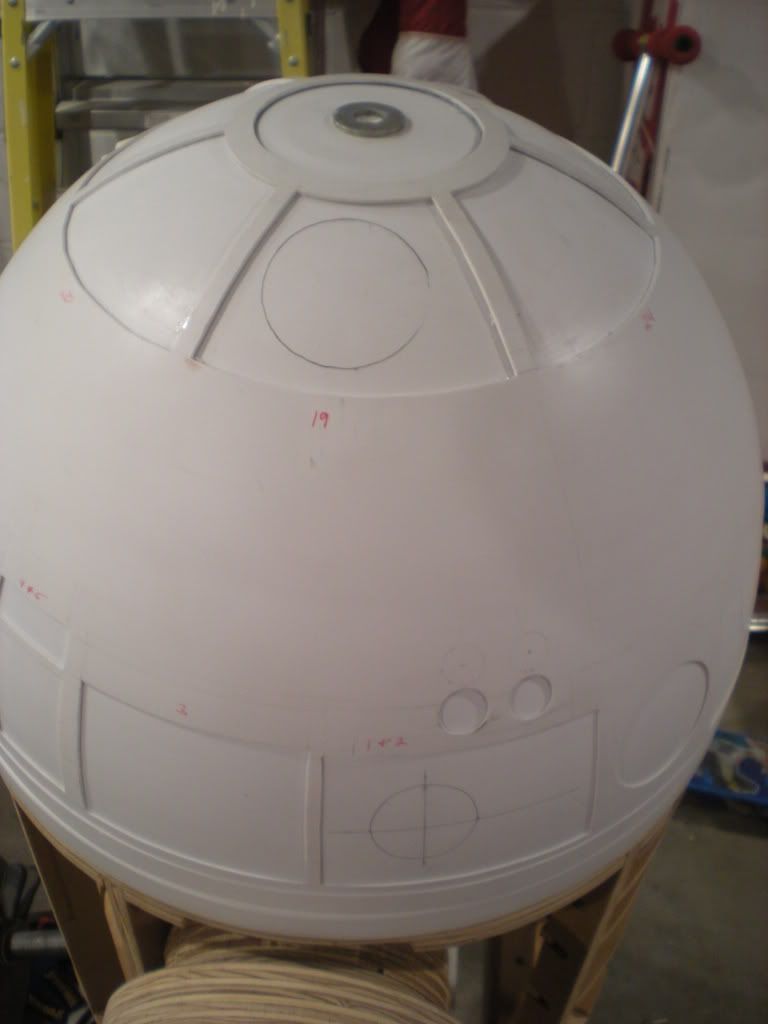
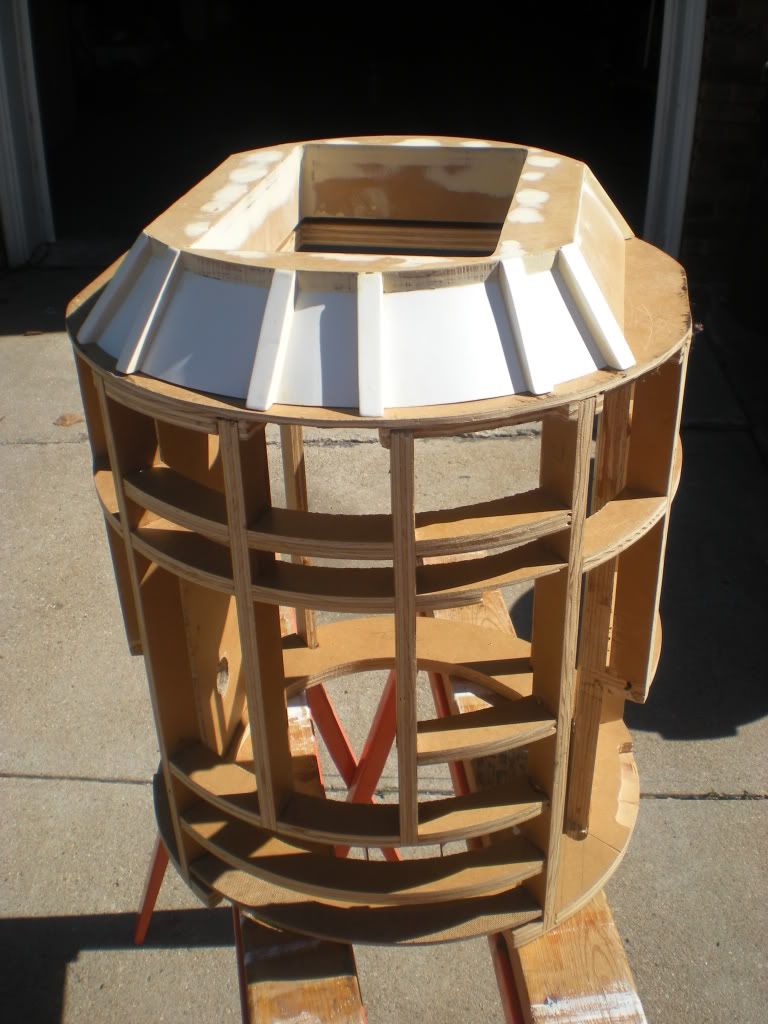
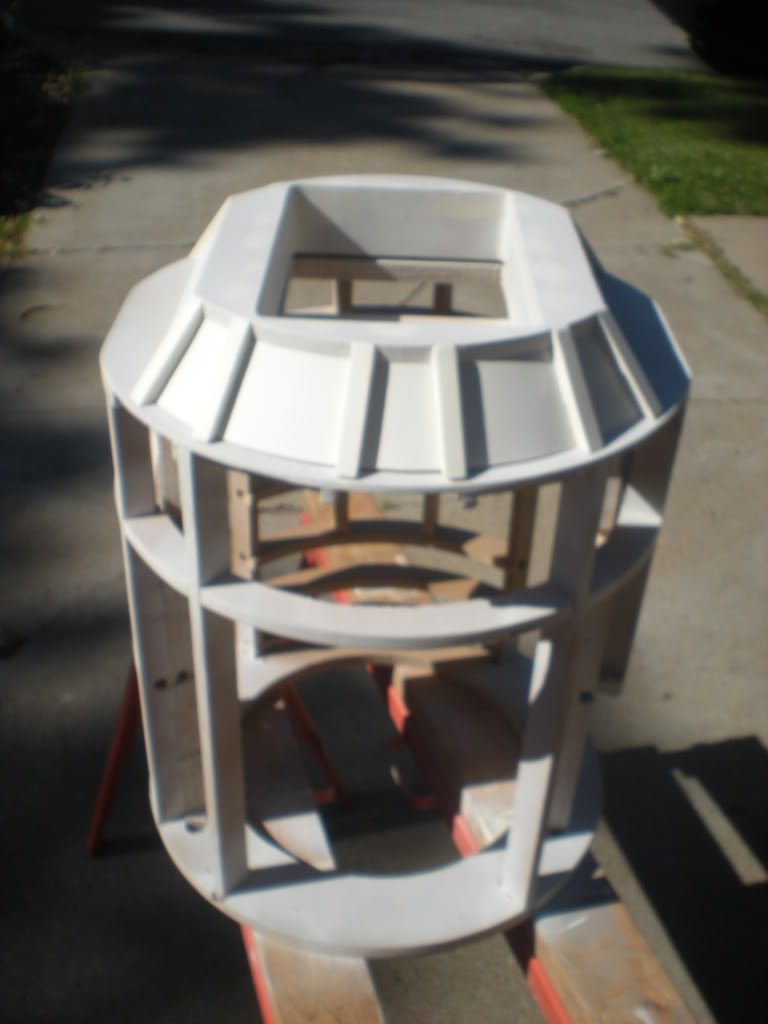
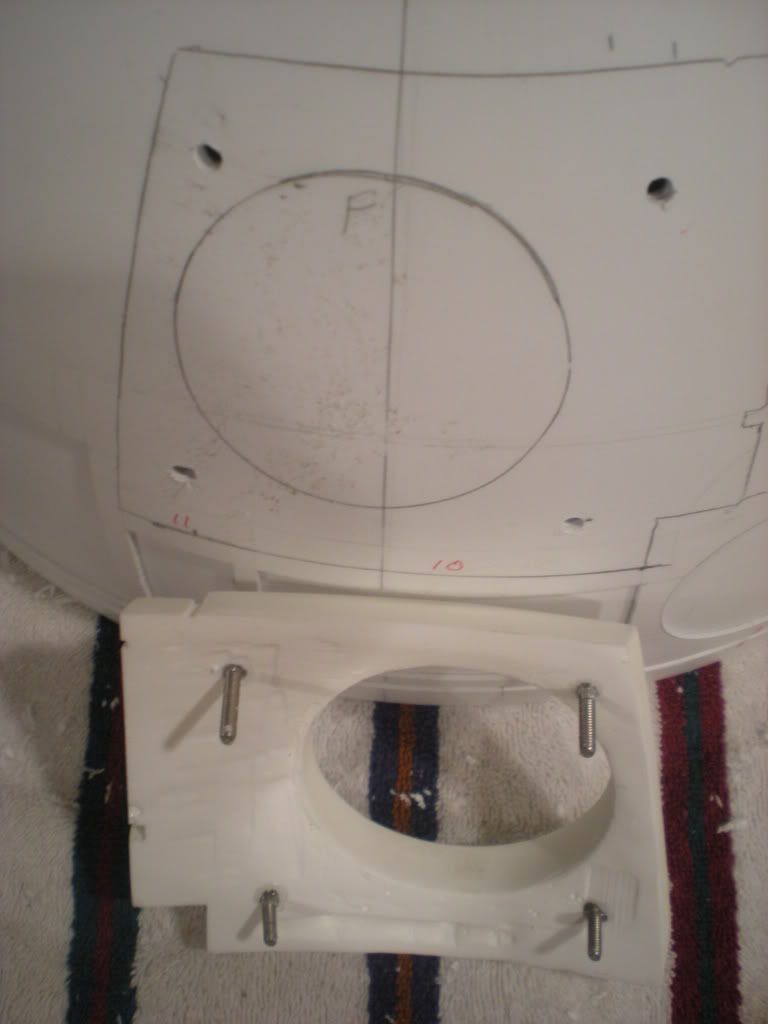
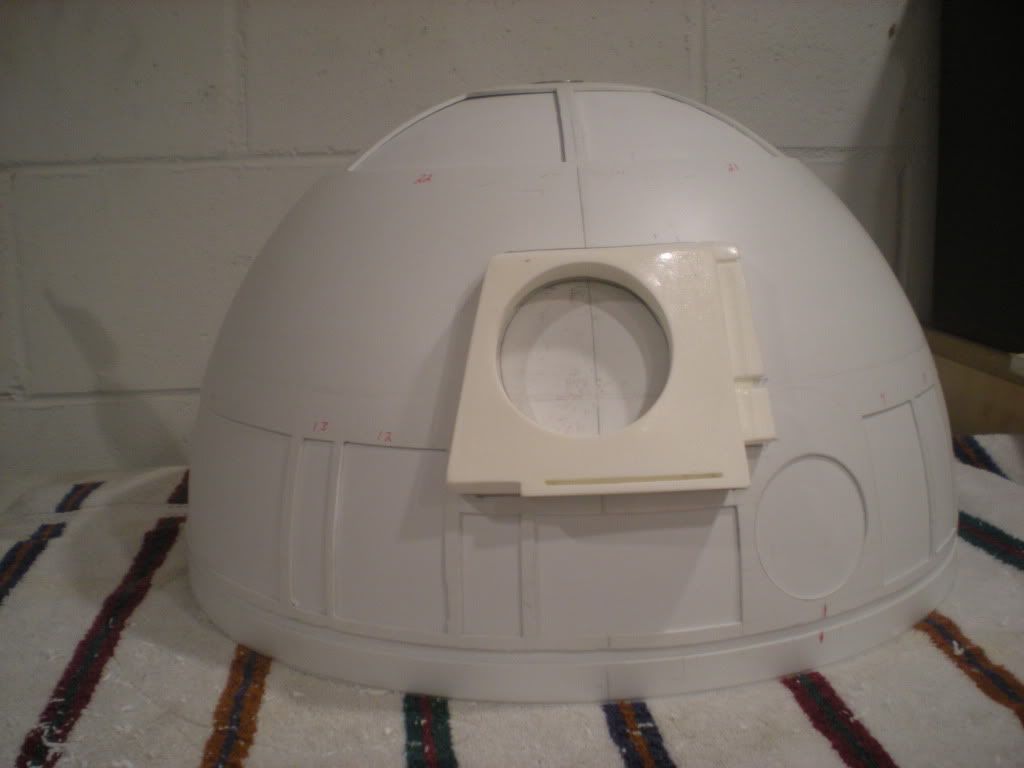
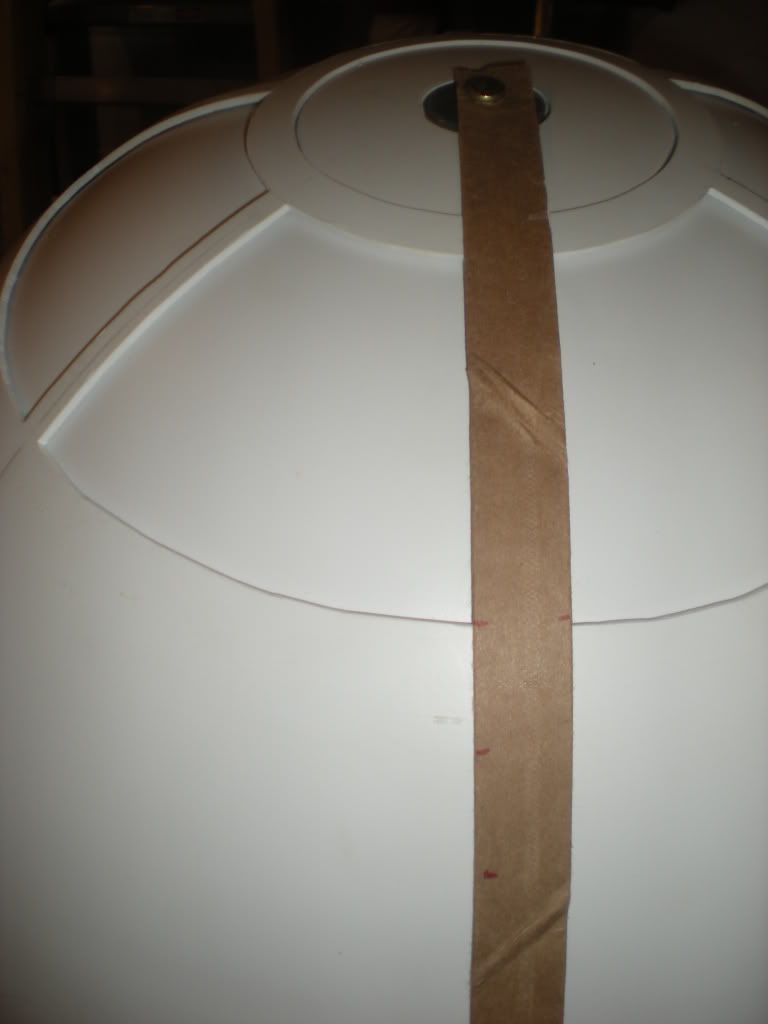
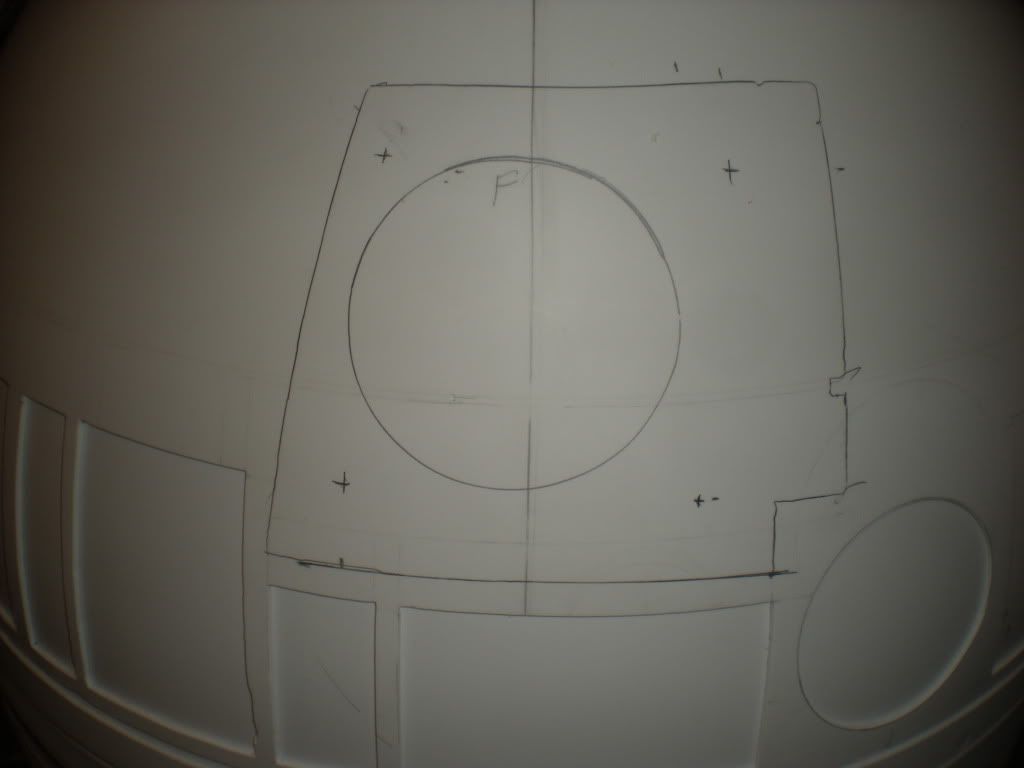
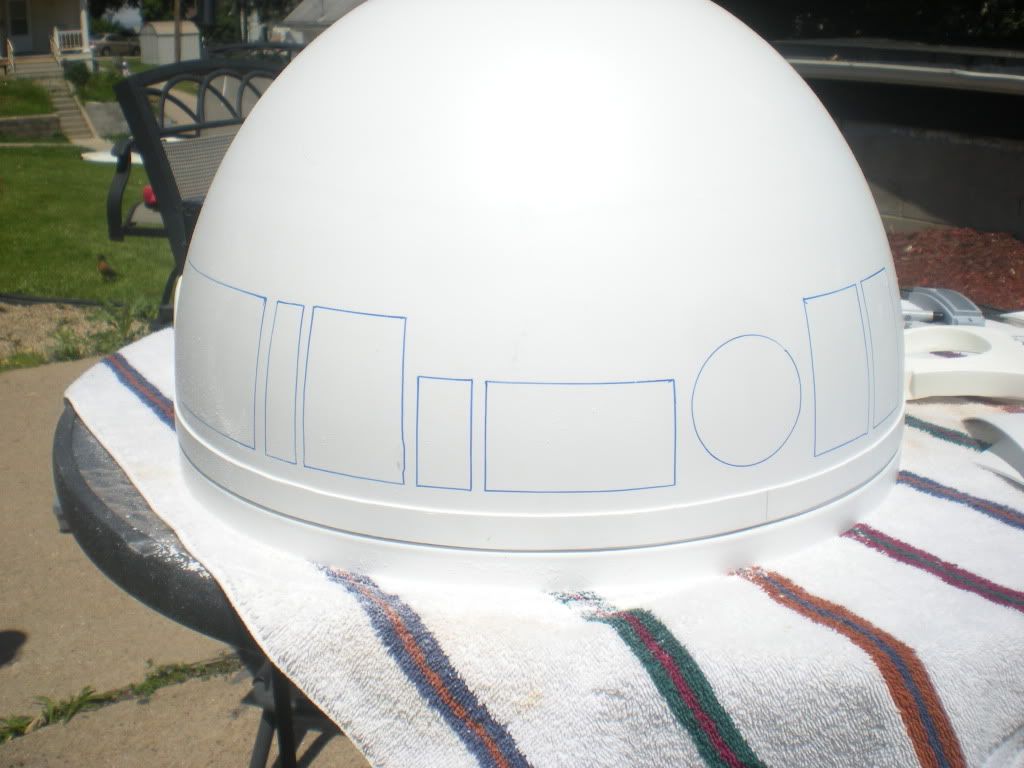
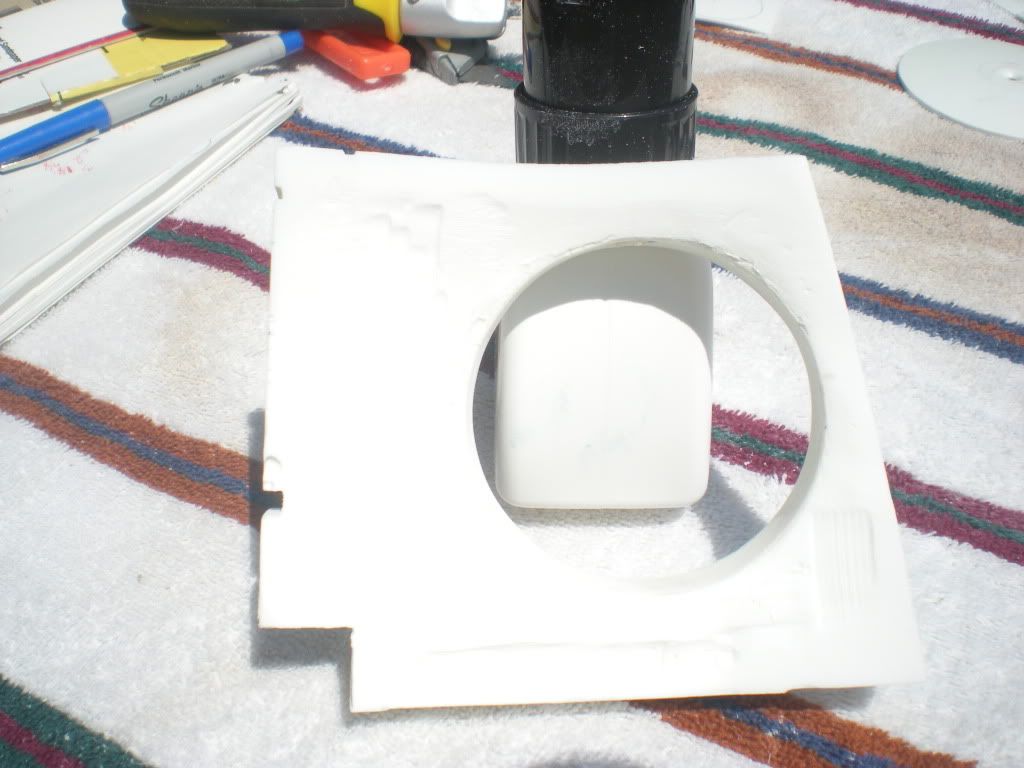
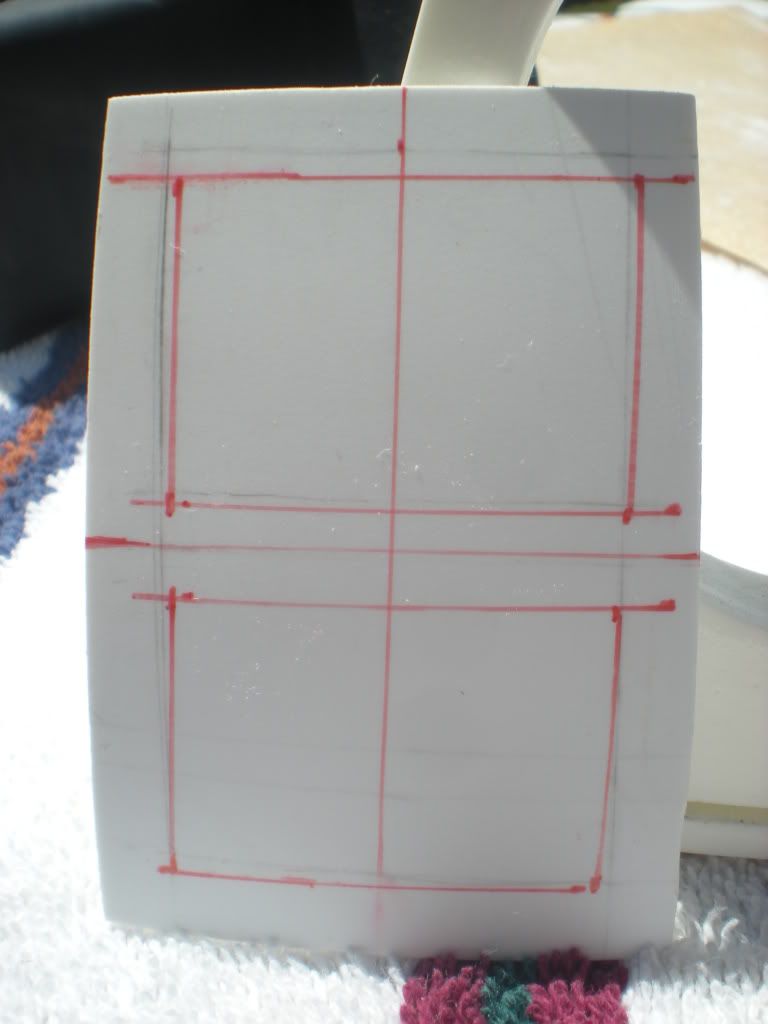
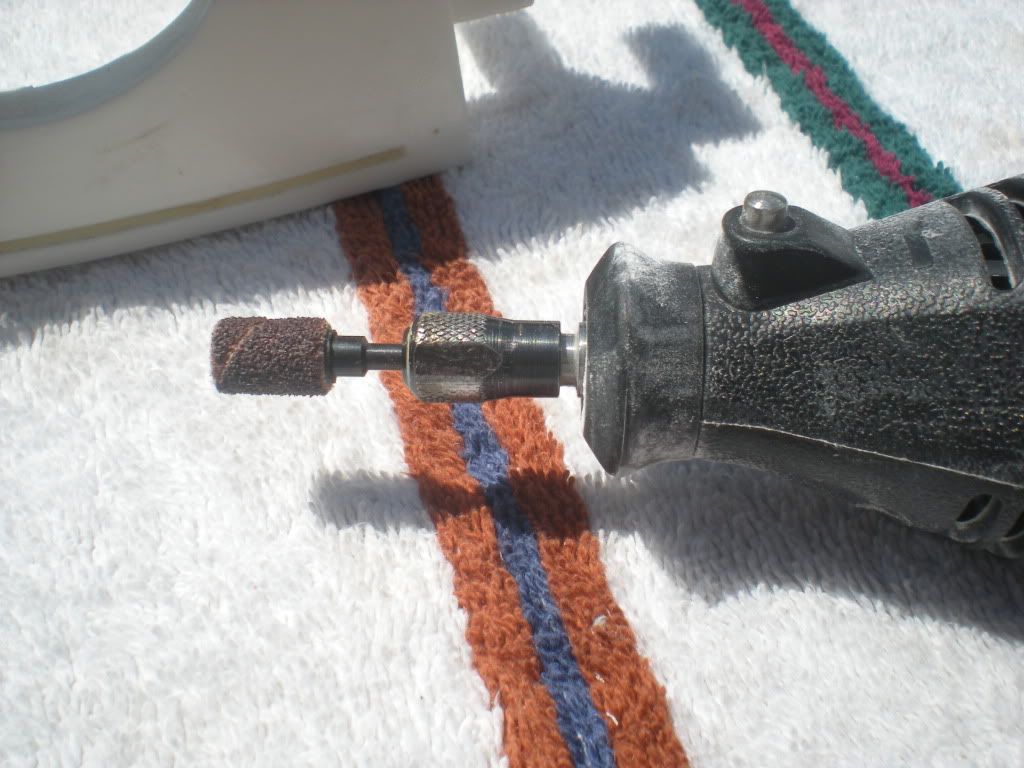
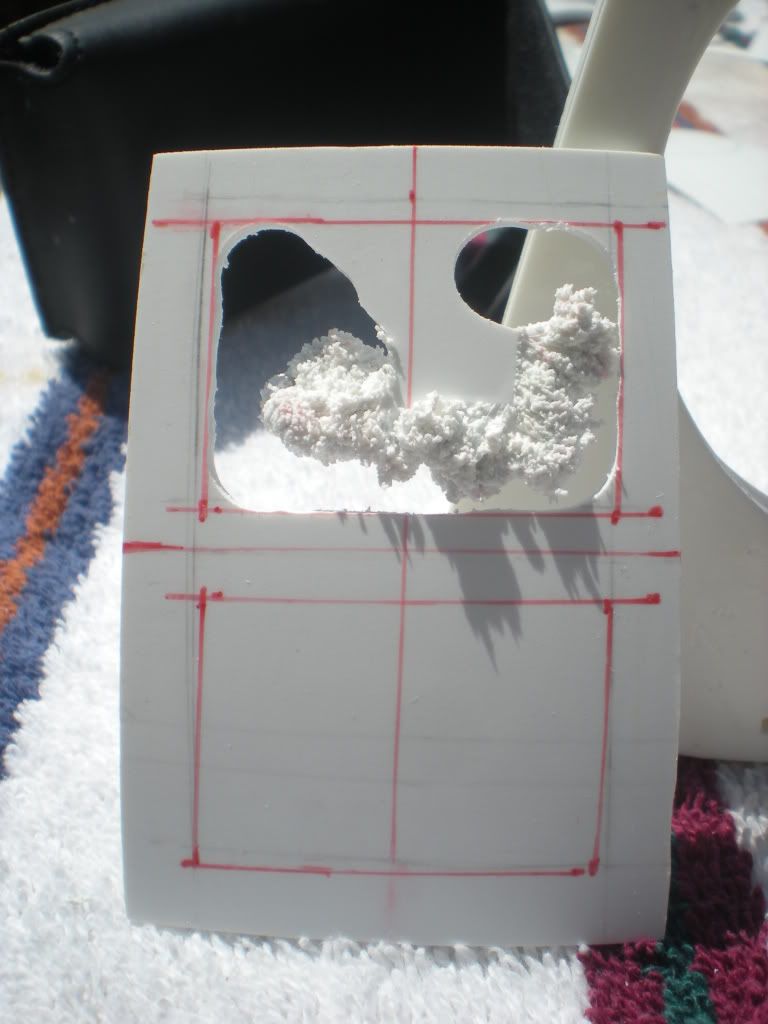
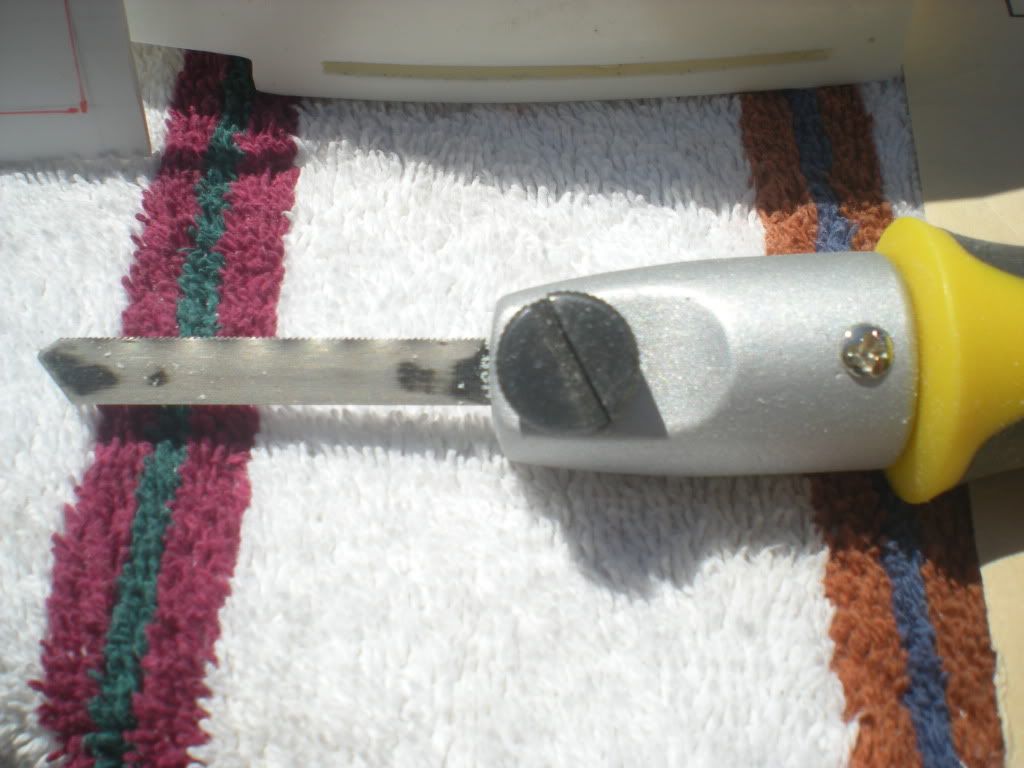
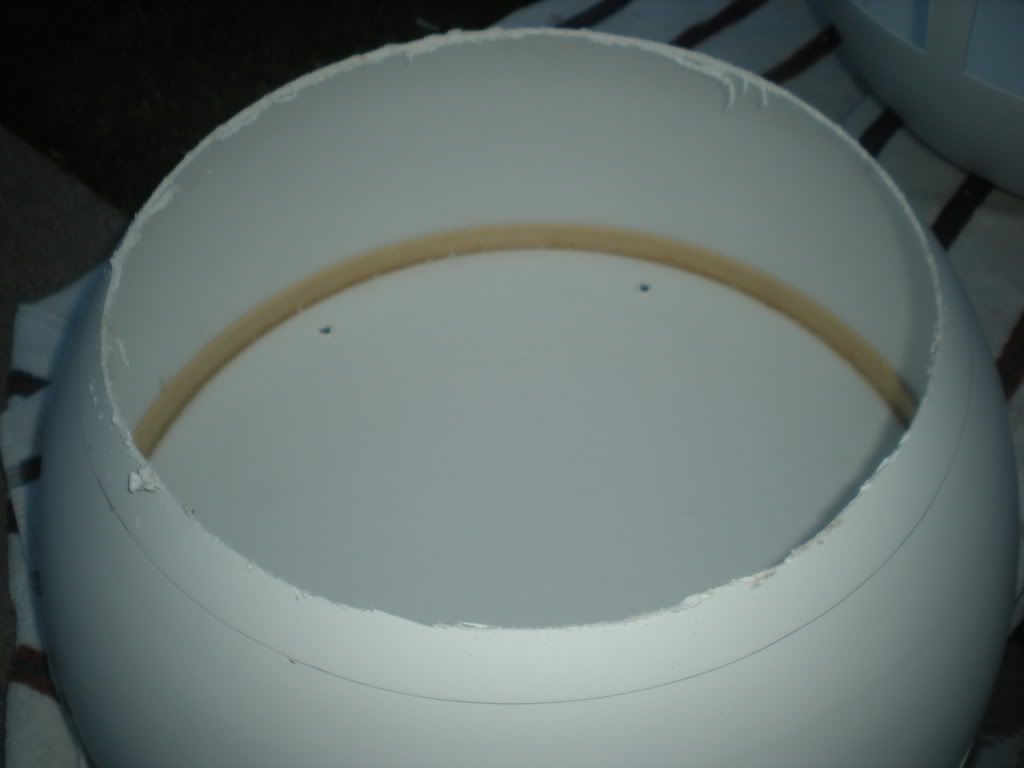
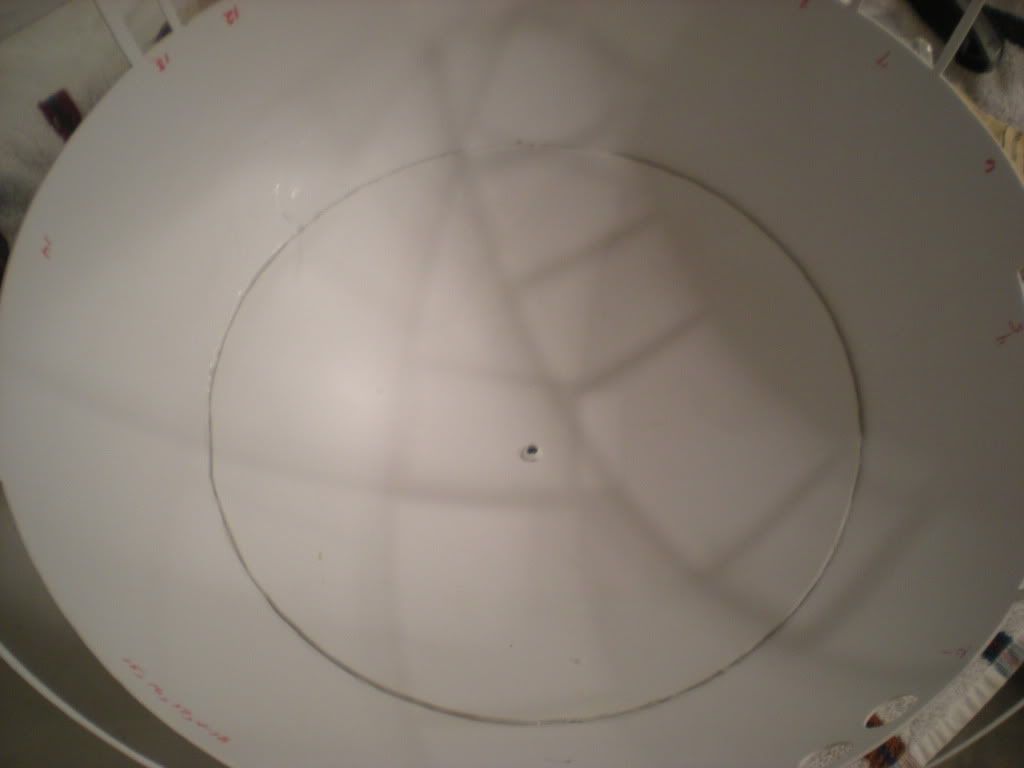
I've been nervous about cutting the inner dome; but tonight, I decided to go for it. I've done all the reading on Astromech.net I can, so there is no more excuses to delay. I put the inner and outer dome together one last time and traced the location of the top dome plate on the inner dome so I could line it up when gluing. I used a Dremel to cut along the top line, sanded the edge to make sure it lays flat against the inside of the outer dome when it is glued, and gave the inner dome piece a light sanding with 220 grit paper.


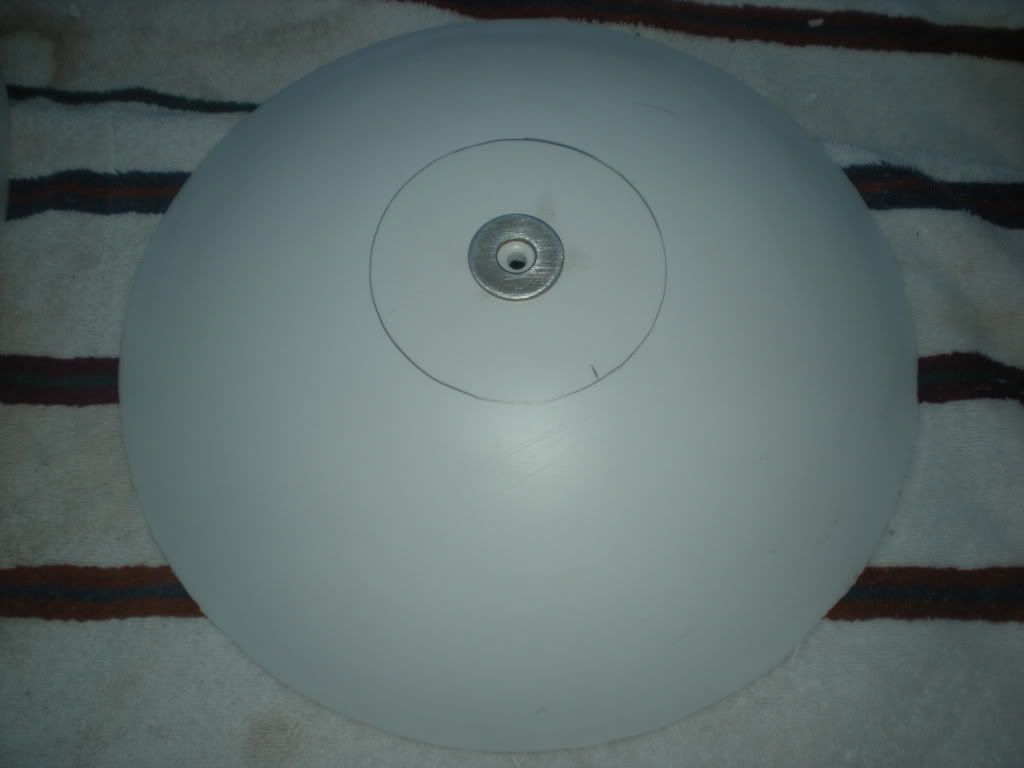
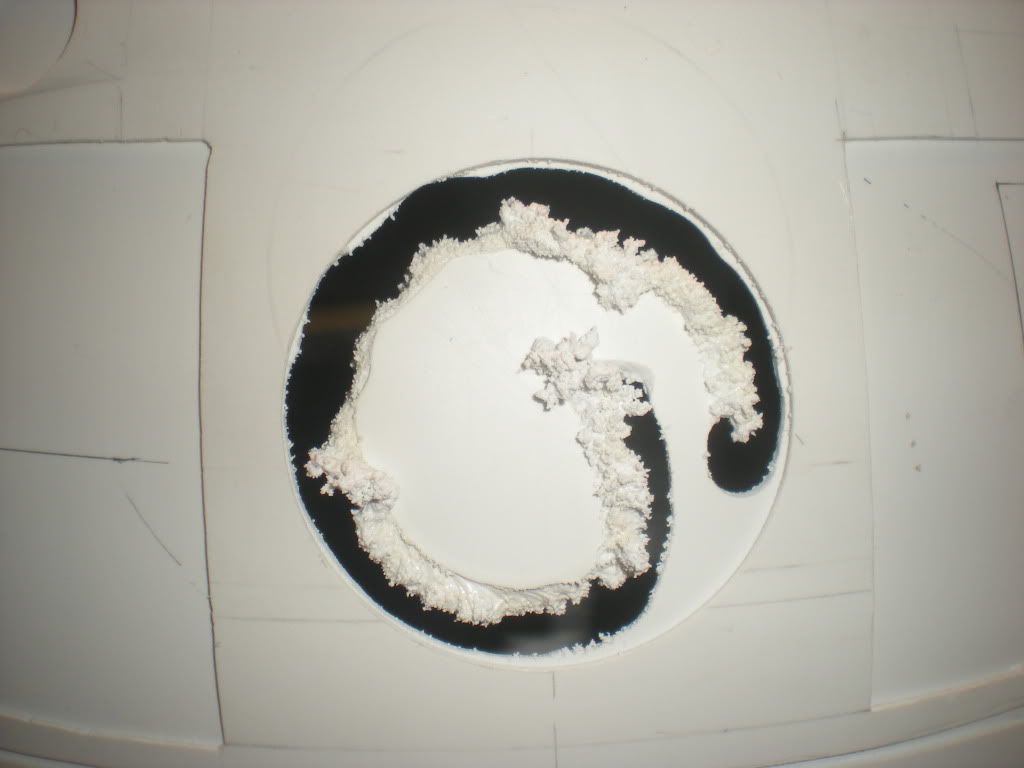
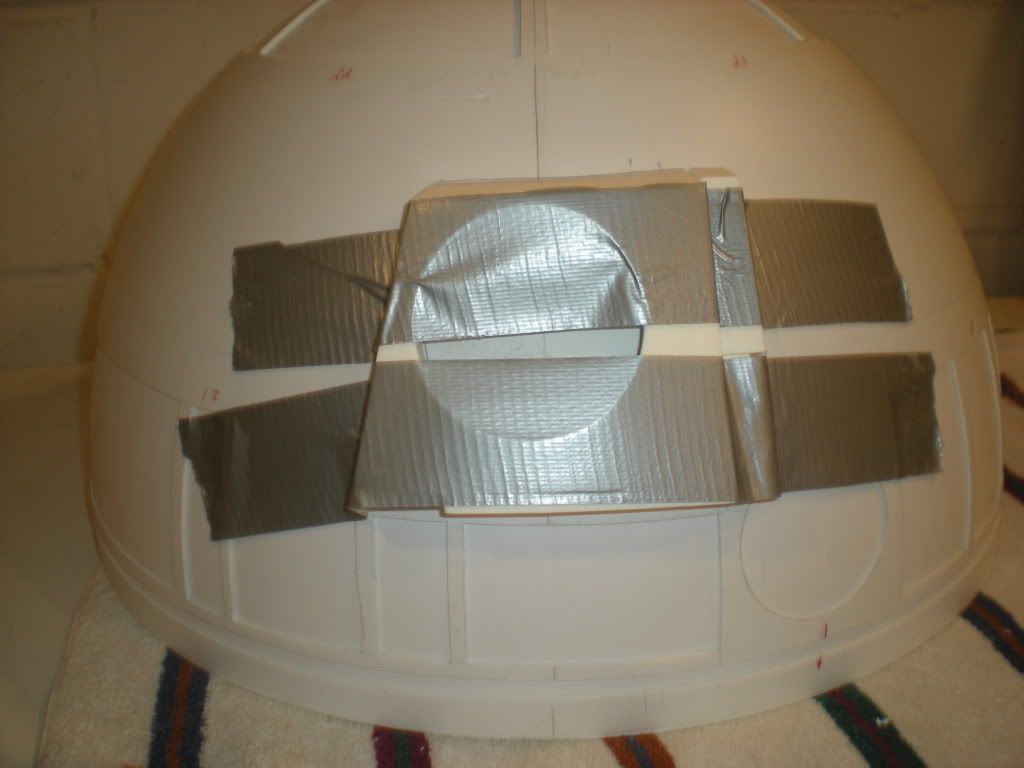
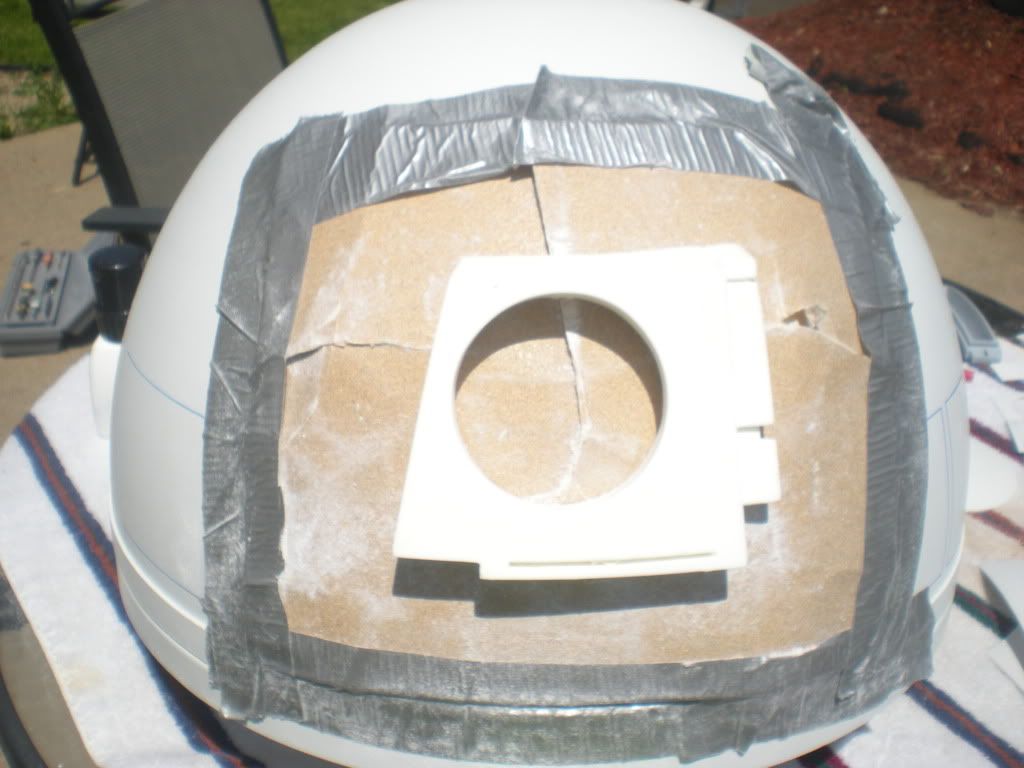
WHAT A MESS!!! Tech Bond was NOT the material to use to glue the dome together. I put the glue on the inside of the outer dome and I sprayed the activator on the outside of the inner dome. It was too hard to line up the dome piece before I accidentally touched the dome pieces together in a couple locations. By the time everything was lined up the activator had evaporated and the glue had dried so a bond was not made. I had to re-sand the inner and out dome pieces, put the dome pieces together, and glue the dome section by section.


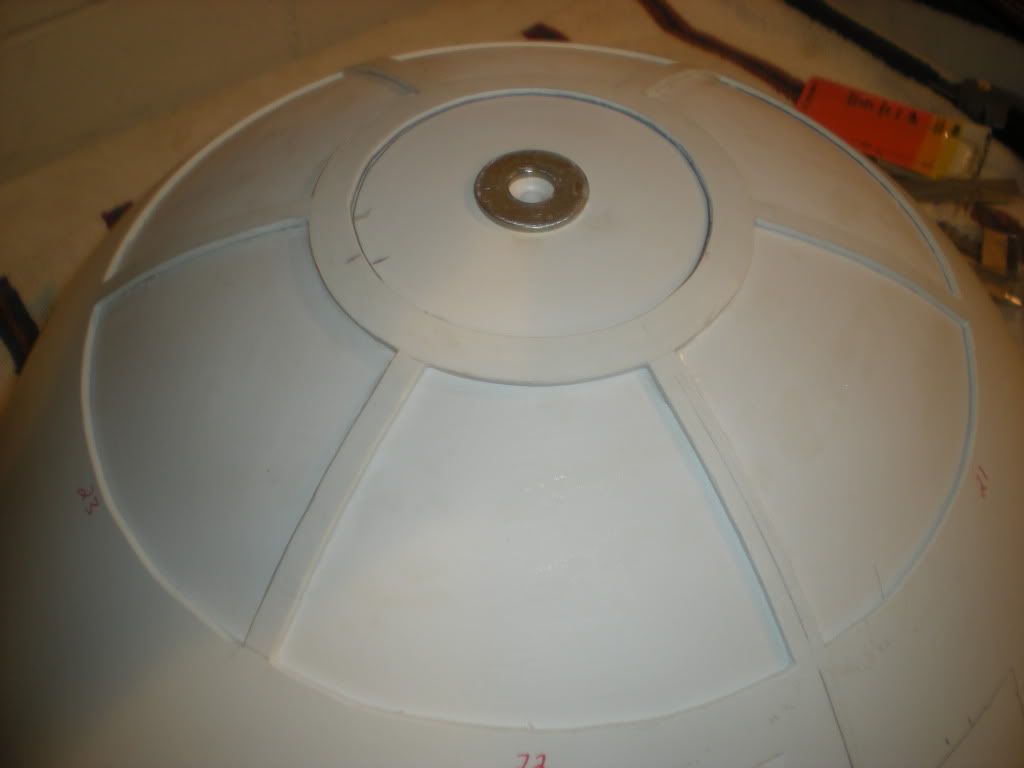
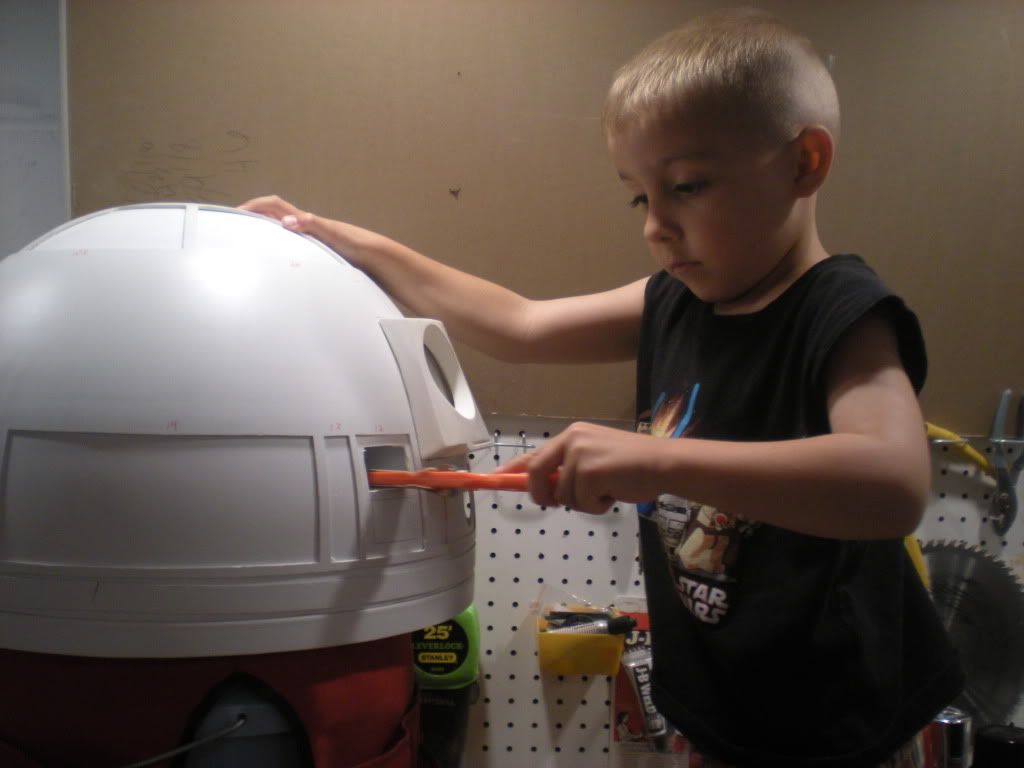
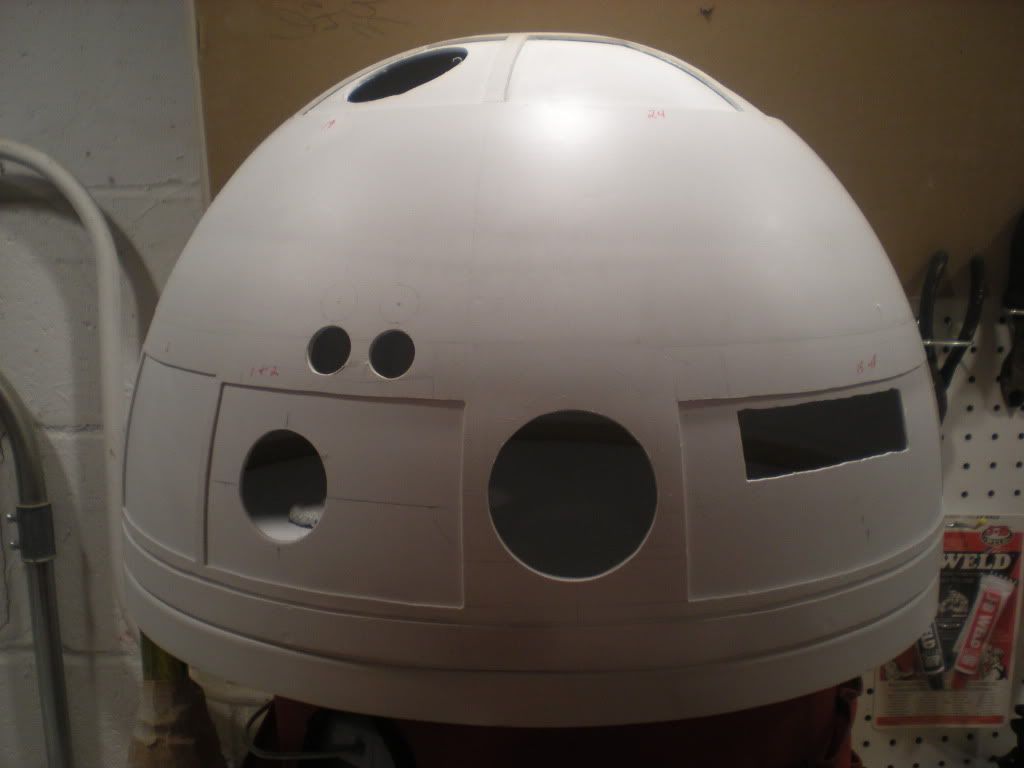
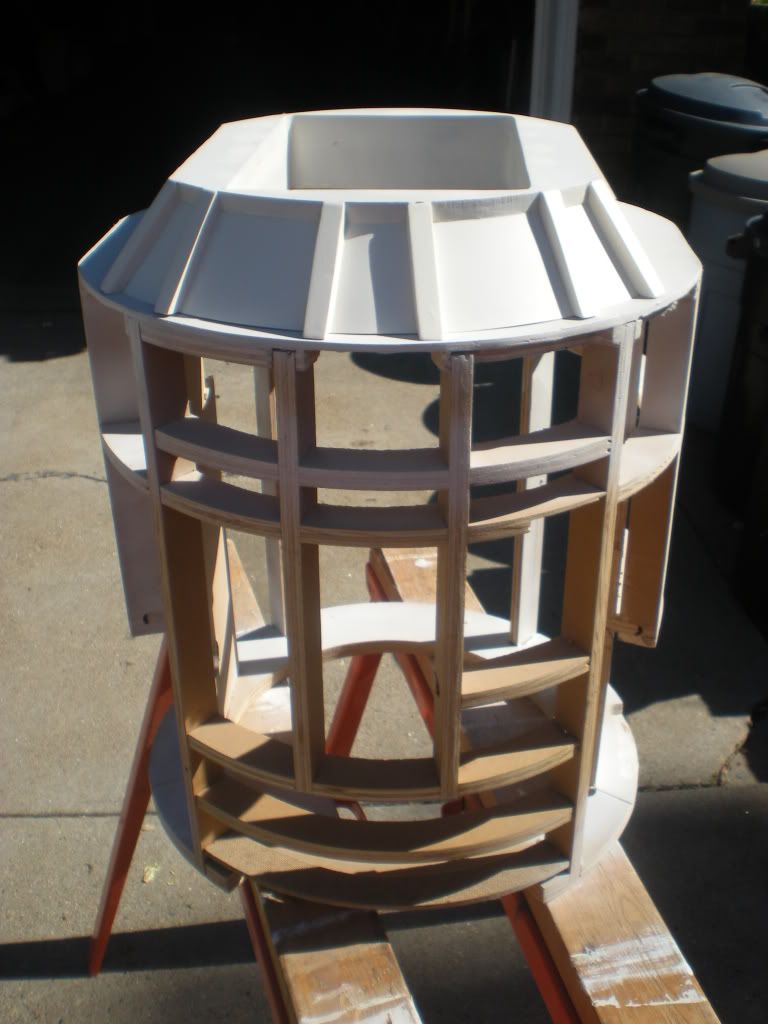
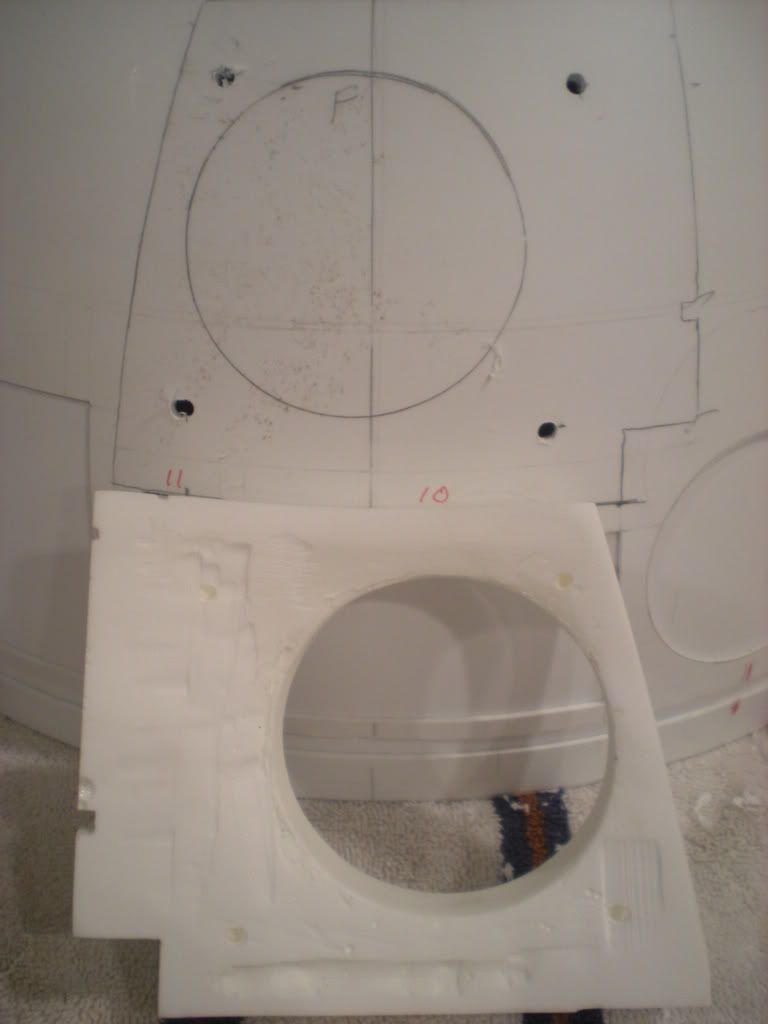
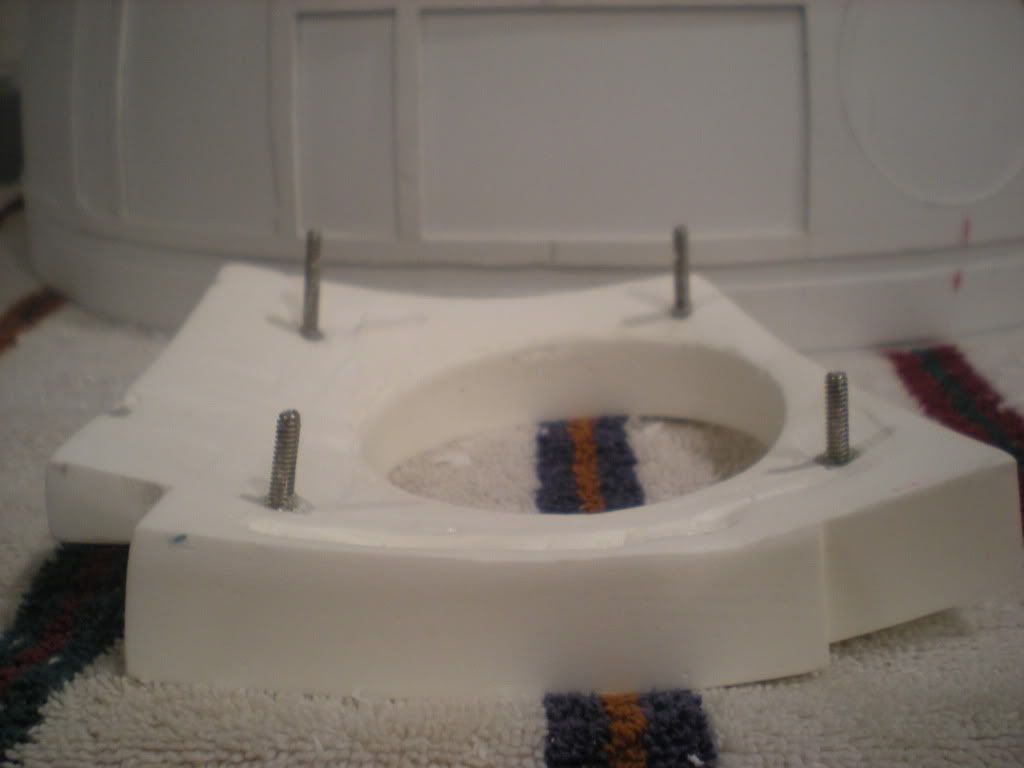
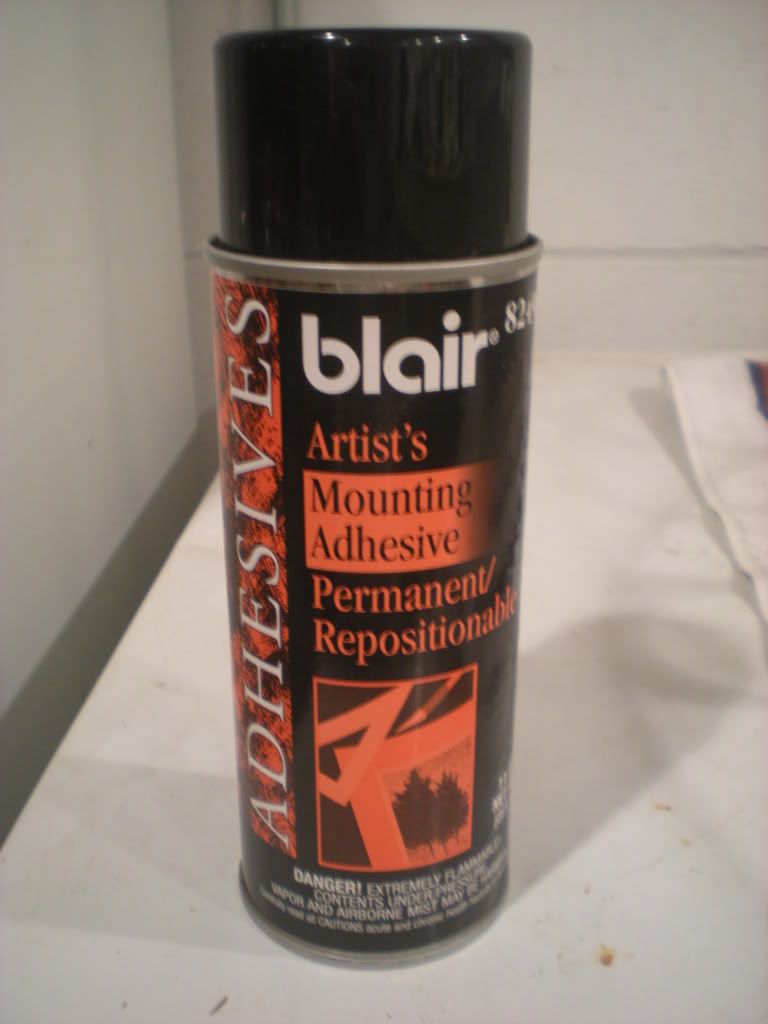
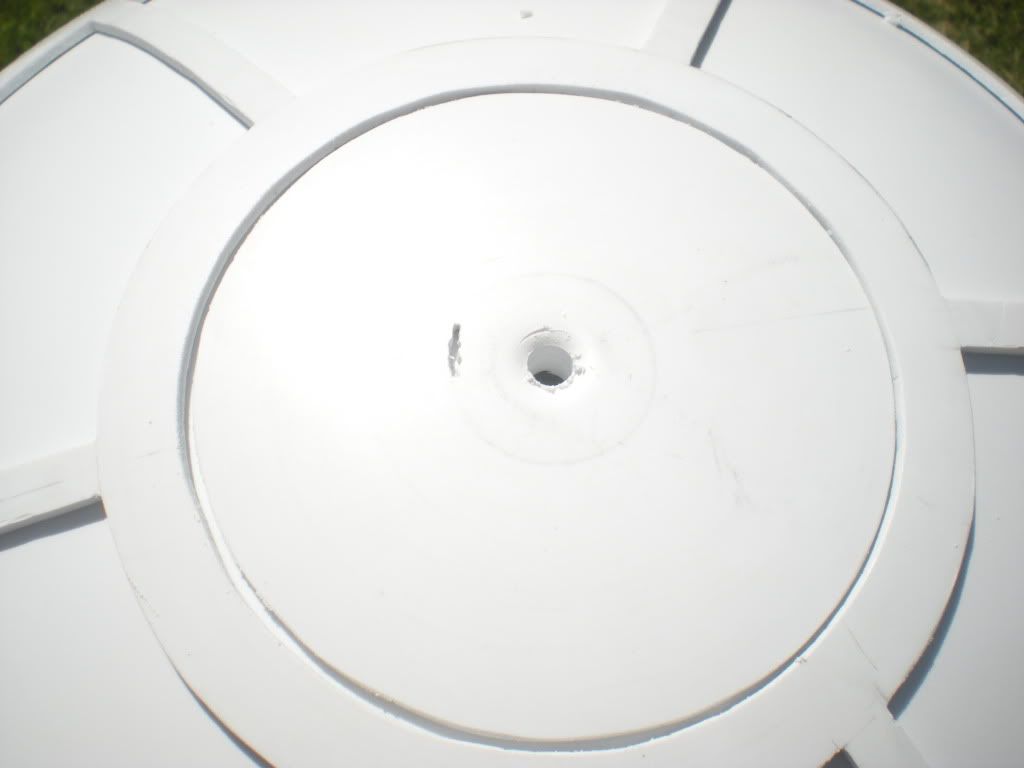
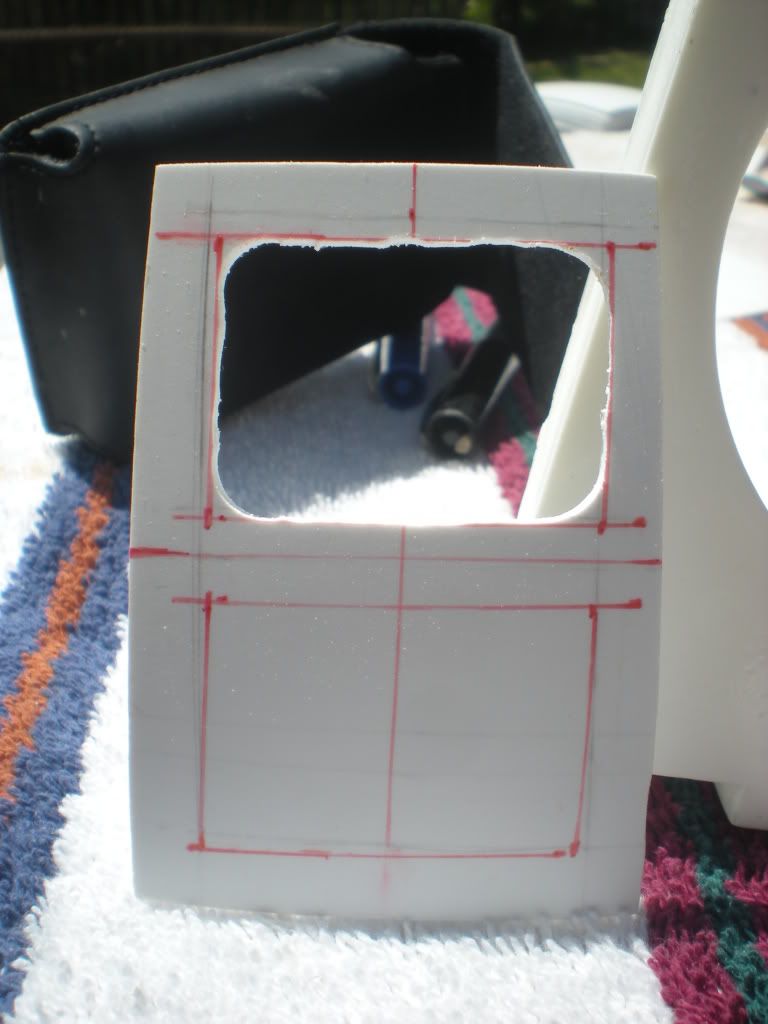
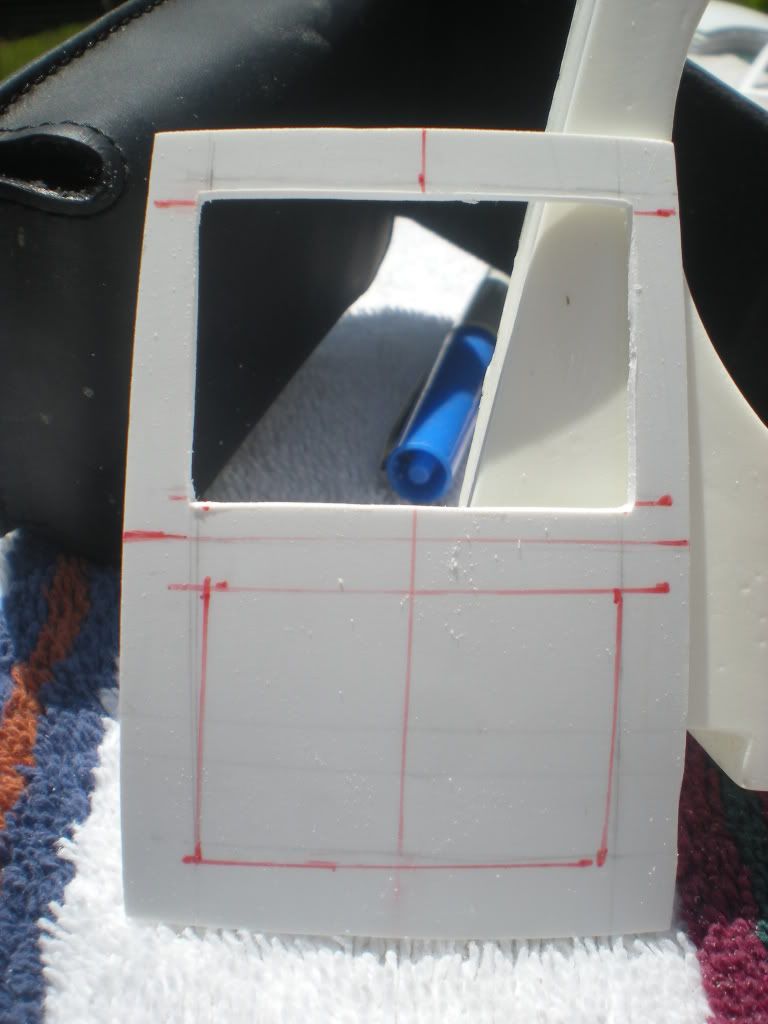
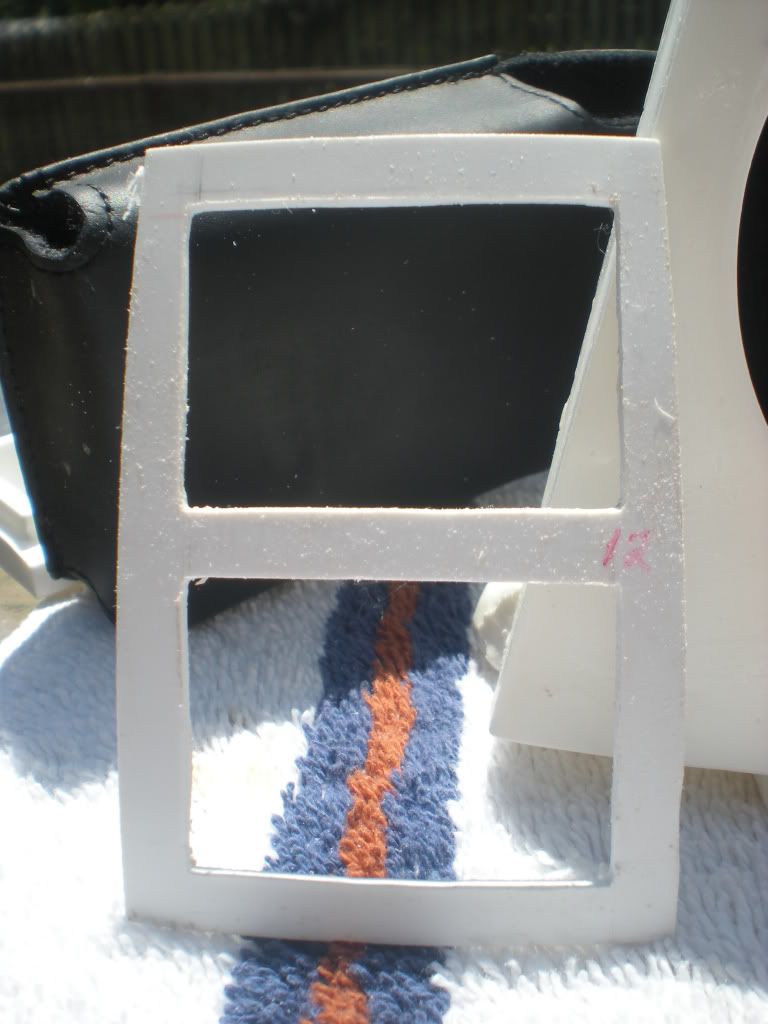
I decided to do something different when gluing the lower portion of the inner dome to the outer dome. I decided to use Blair Artist's Mounting Adhesive. This will eventually make a permanent bond; but in the interim, I can move the pieces into place without fear of quick drying. I cut the inner dome along the remaining line (to leave a gap between the upper and lower inner dome sections), sanded the edge to make sure it lays flat when gluing, and gave the outside of the inner dome a light sanding with 220 grit sandpaper. This worked much better. I then glued the upper edge of bottom dome piece with Tech Bond to make sure it didn't move until the artist's adhesive set.

Sunday, May 23, 2010

Dome Prep

I had plans to work on my R2 all weekend, but the weather was so nice I ended up working on the my house for the majority of the time. About 9 PM on Sunday night I finally got to do a little work. I used Tech-Bond to glue the washer to the top of the dome. With that out of the way I determined that the best way to get a snug fit between the inner and outer dome was to cut the inner dome. I used a piece of paper sack to measure the distance from the top of the dome to the bottom of he dome panels. I then measured done one inch to determine where I was going to cut the dome. I measured down another inch to show where the new top of the lower portion of the inner dome would be. I was going to cut and glue the dome, but I was informed that it was almost 10 o'clock at night and waking the kids by using a Dremel would be a mistake.


With not cutting on the agenda for the evening, I drew the radar eye the outside of the dome and marked the holes for drilling.


I was running of of things to do that were quiet so I decided to call it an evening by hand sanding my radar eye, front logic displays surrounds, rear logic display surround, and holoprojectors. Once sanded, I washed them with soap and water and let them dry overnight.

Tuesday, May 18, 2010

Dome Topper Panels/Details

I've been debating with how to do the top dome detail. I decided to used a washer and door hinge pin.


I decided to use a 3 1/2" Satin Brass pin because it has the head size I was looking for. I drilled out the dome top panel and the inner dome top just large enough to push the pin shaft through.


I then decided to use a 1/17 x 0.98 Brass washer because it provided the correct thickness, overall diameter, and gap between it and the hinge pin. I placed the washer around the hinge pin and traced it.


I then used a Dremel to remove the styrene from the dome panel. I wrapped sand paper around a wine bottle so I could slowly sand the hole larger (while keeping a perfect circle) until the gap between the washer and the styrene panel matched the rest of the dome.

Radar Eye Sanding

The radar eye I have doesn't exactly match the contour of my dome. I traced the dome panel locations on my inner dome to show the radar eye location and duct taped sandpaper to the dome. I then sanded the radar eye using a horizontal motion in order to get the radar eye and the dome to meet properly.


The finished product!

Front Logic Display Panel

Some type of bug has been going around our house, so I was home from work today. Once I felt better I decided to spend a little time outside enjoying the sun and working on R2-NU. I didn't trust the lines I made for the front logic display, so I measured the front logic displays and redrew the lines.


Clay suggested I use my Dremel to remove the front logic display styrene. I plunged the Dremel sanding wheel into the center of the hole space and slowly worked the Dremel around inside the lines in a counterclockwise direction.


I then came back with a small saw to remove the rounded corner styrene. Once that was done I sanded all the inner edges until the front logic display surround fit in the hole.


I then repeated the process for the lower front logic display hole and test fit both front logic display surrounds.


This process worked so well I used it to cut out the P5 Picture Panel also