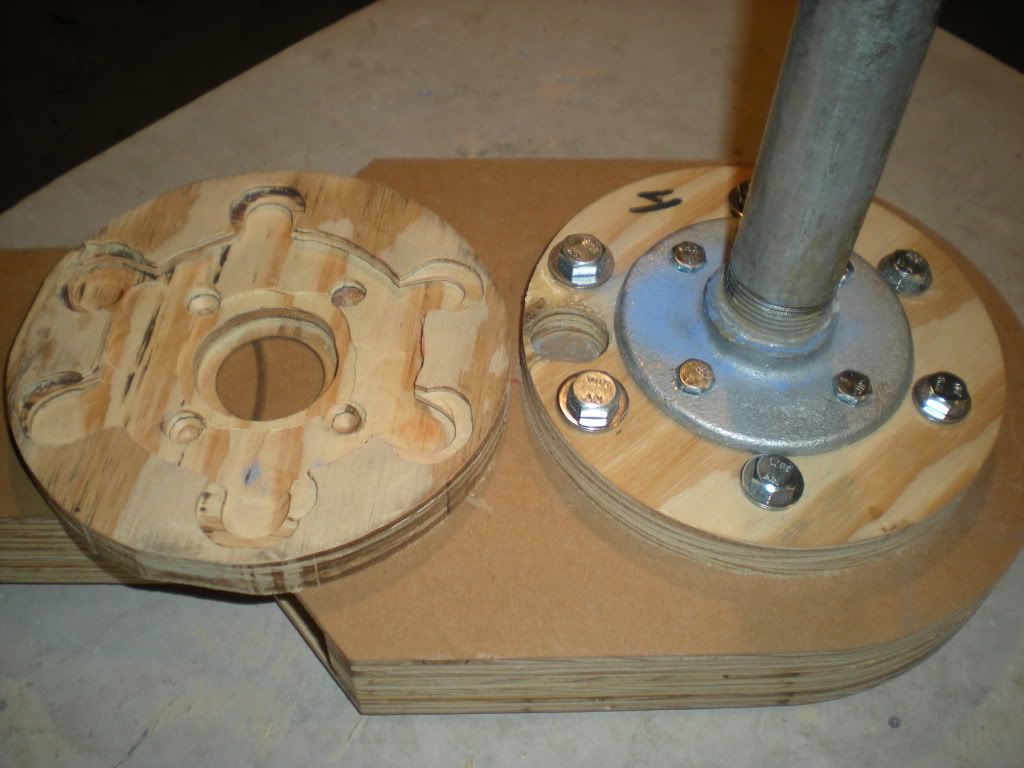
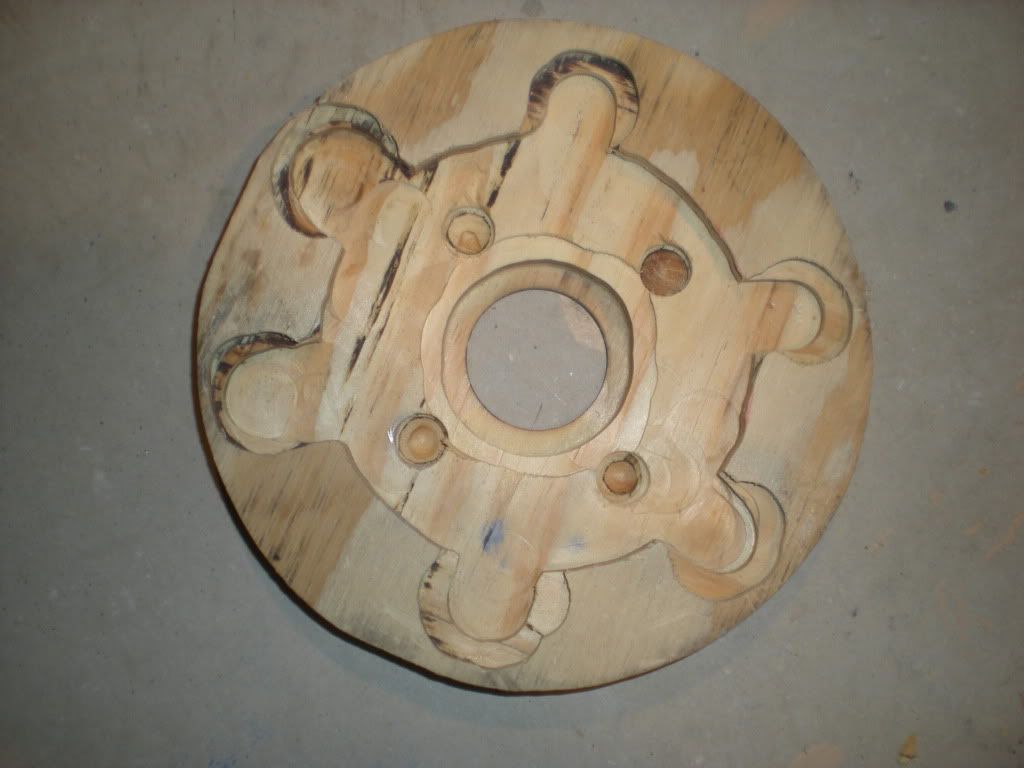
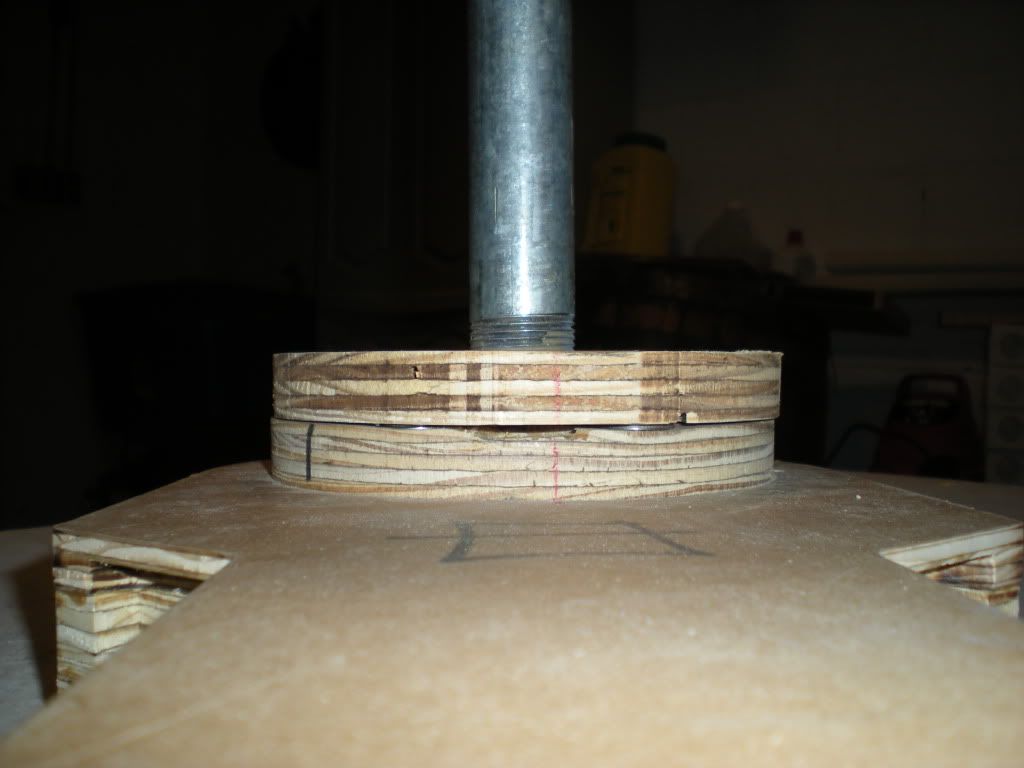
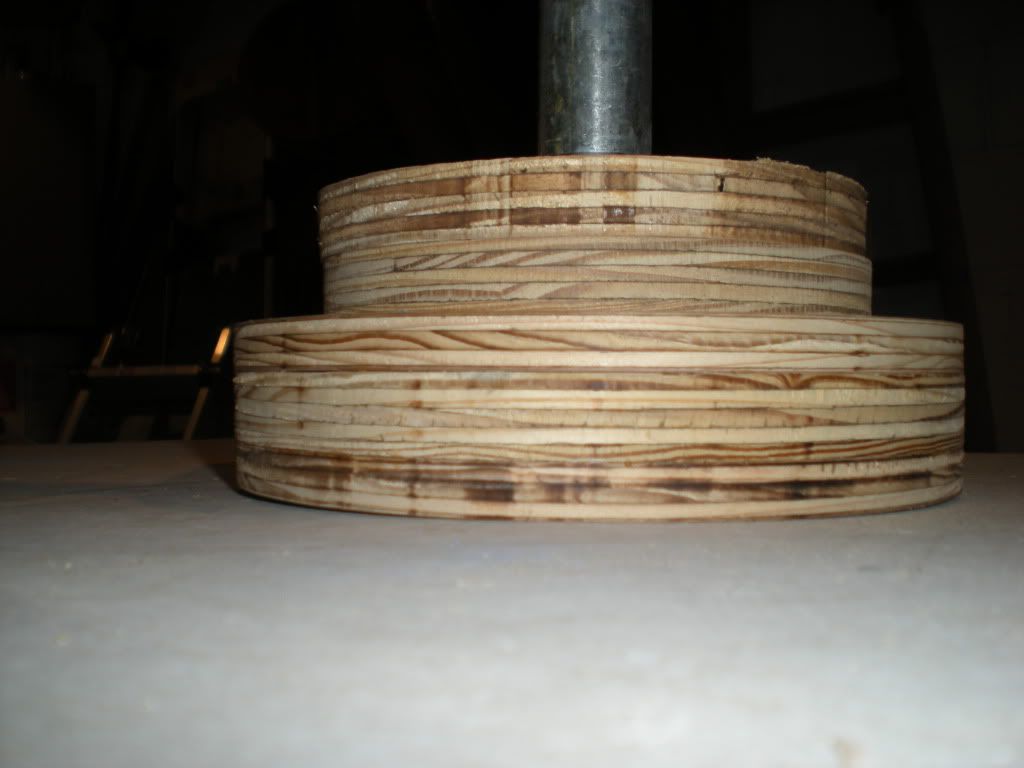
In order for the ¾” wood shoulder hub to fit flush against the existing shoulder wood I had to route out some of the wood to fit around the existing leg hardware.
I started this project by trying to add blue chalk to the hardware and pressing the wood shoulder hub against it to transfer the pattern. The chalk pattern wasn't very useful because the surfaces were uneven and the chalk came off as soon as the router was turned on. I then went to “Plan B” by measuring the width and depth of the of the flange and routing the wood little by little. Once the wood was routed out for the flange, I drew a reference line on the shoulder hub and the leg so I could line everything up later. I used the brute force method and smacked the innermost portion of the shoulder hub to put bolt head indentations in the wood to show me where to route the wood for the outermost bolt heads. I used the same procedure to transfer the bolt head locations for the innermost bolts; but rather than route these, I used a ½” drill to drill the wood to the needed depth.
I then measured the washer height for the outermost ring of bolts and routed the wood accordingly. The final step required me to route the inner most hole (next to the leg pipe) a little more. There is very little wood left, but still enough to line up the shoulder hub.
I was able to get one shoulder hub routed tonight. Without taking the skin width into account, there is still a 5/8” gap that will still need to be filled by a solid piece of wood.


No comments:
Post a Comment