
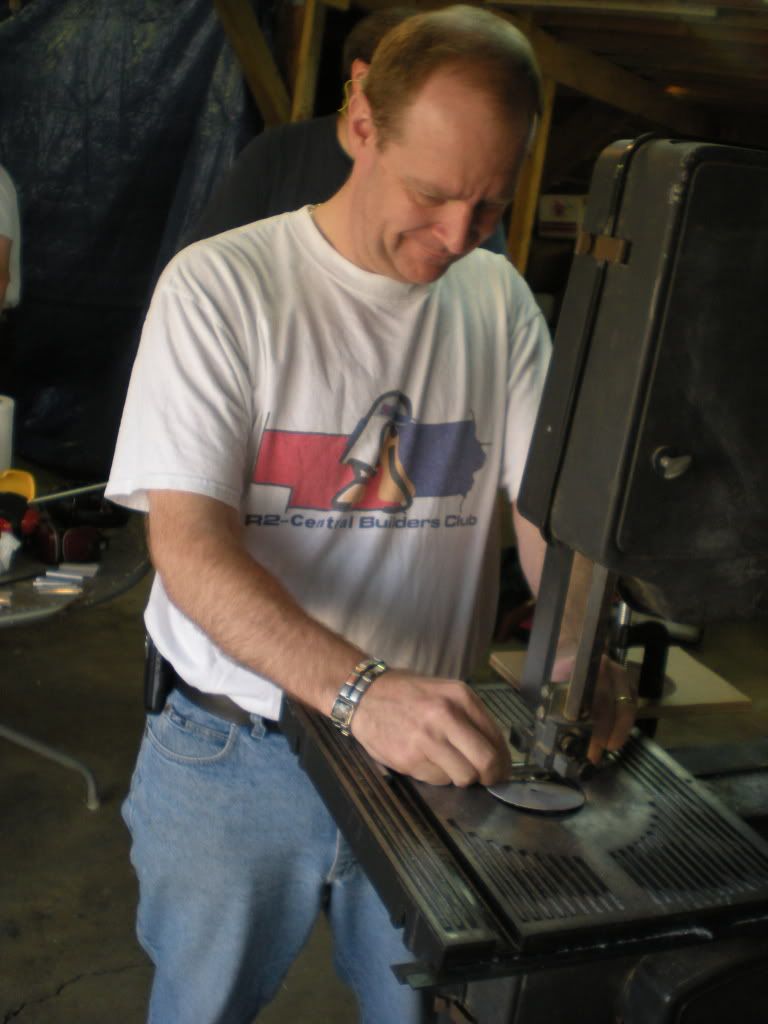
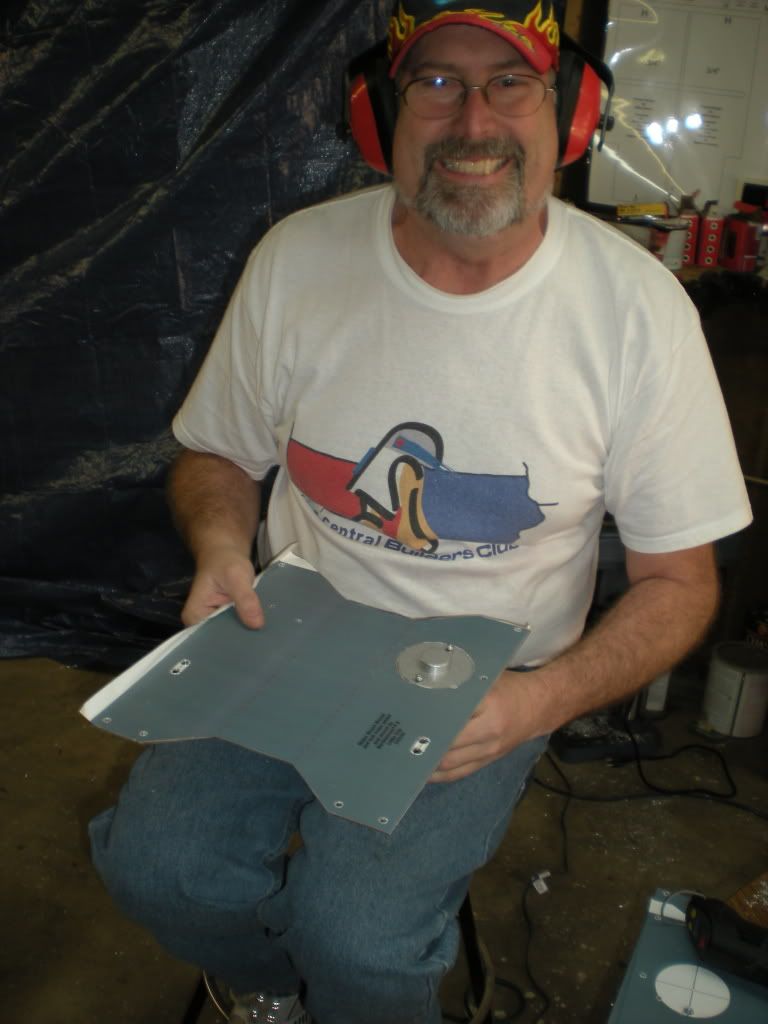
We had a really BIG build day where we mainly focused on the Motor Mount Ankle building. All the motor mount aluminum pieces were cut to size on a previous build day. Clay started us out by cutting out the ankle pieces on the band saw.
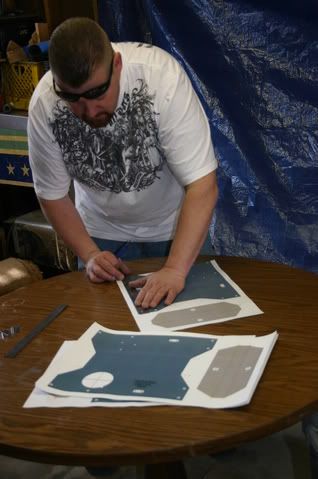
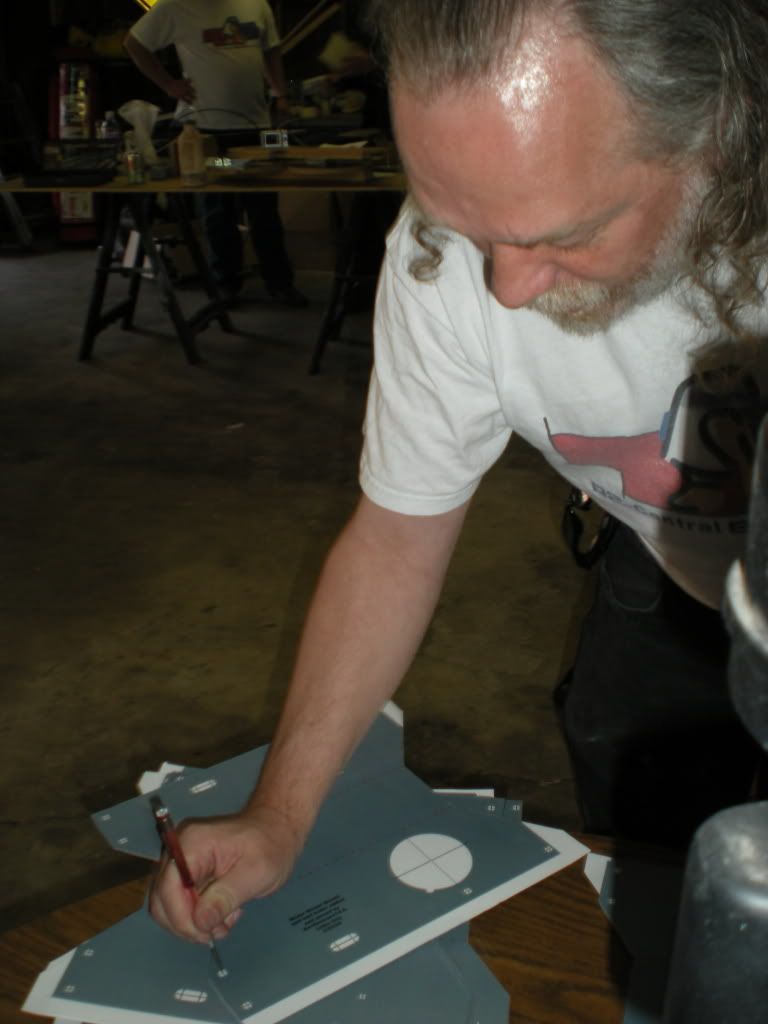
Moose and I worked together to slightly modify the Dan Baker plans for the motor mounts/ankles to shift the motor closer to the axle and move the spacer holes to allow for a plate to support a small omniball. Dan Barker's original design uses the omniballs in the outer legs like wheelie bars. We decided that we wanted to use them for actual support and have them touch the group all the time. During the week I got 16 sets of motor mount/ankle plans printed. Talon, Brad, and I used straight edges and razorblades to cut out two sides of the plans. That way we can line up the square edge of the plans with the square edge of the previously cut aluminum.
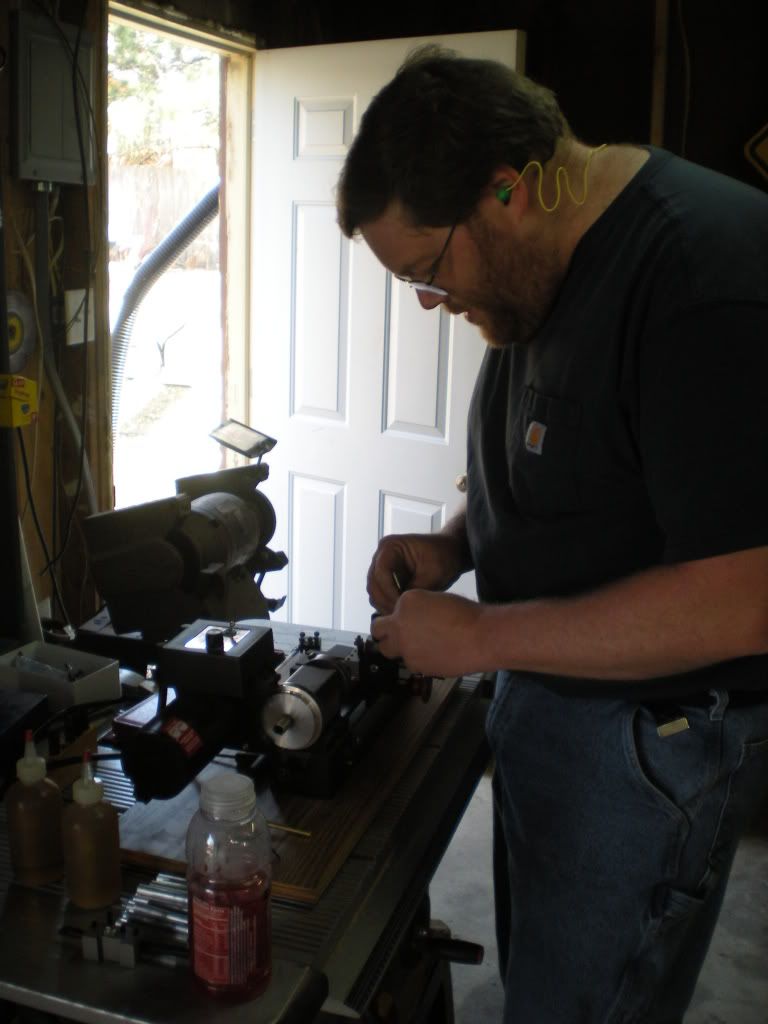
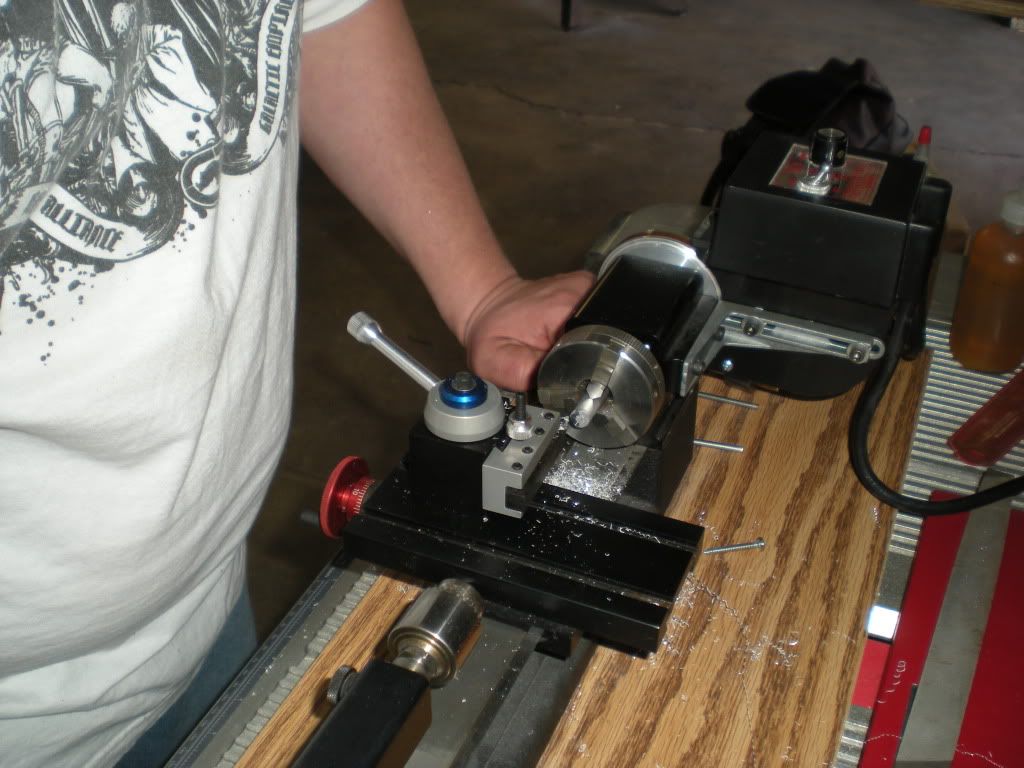
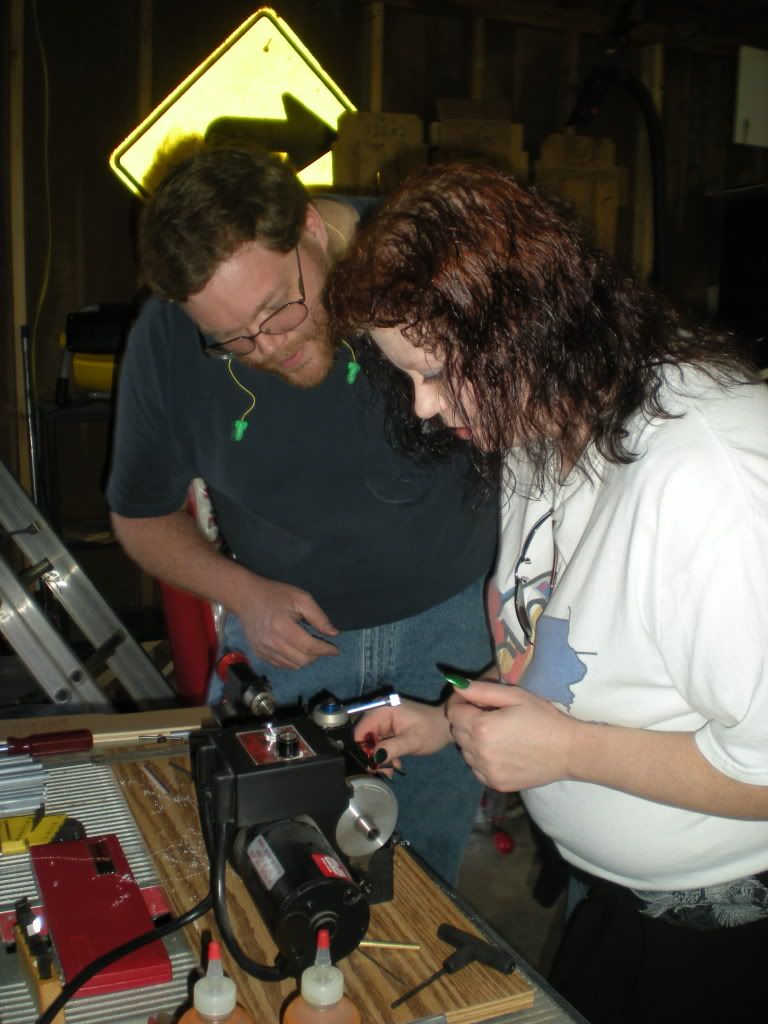
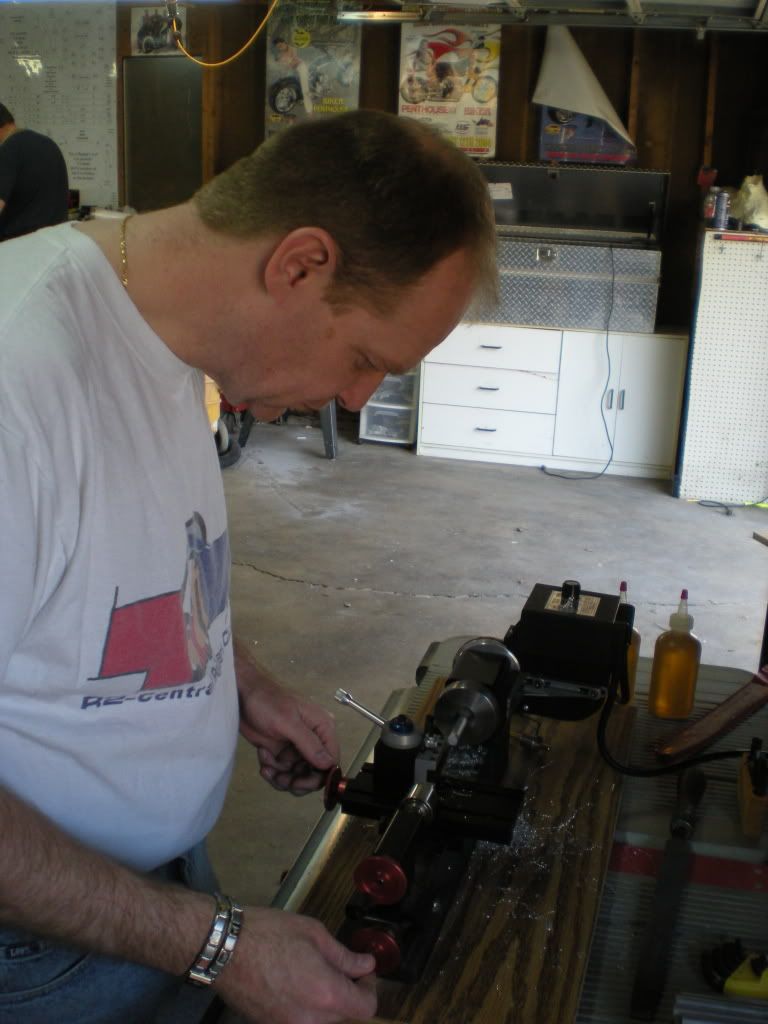
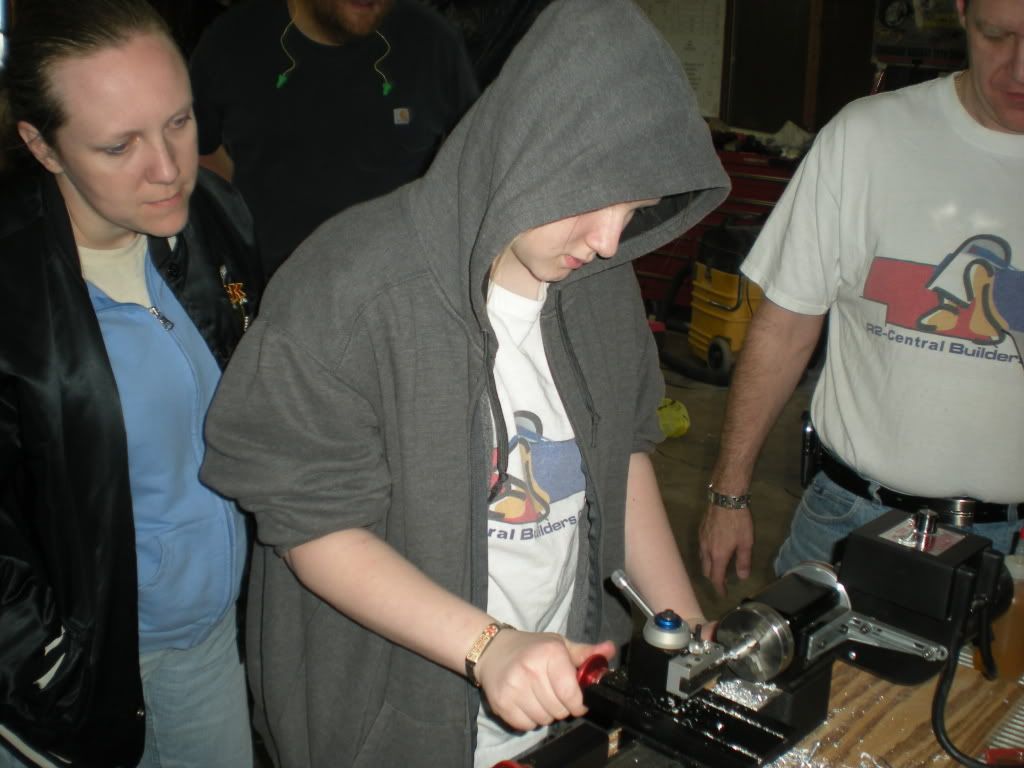
Steve and Clay cut the aluminum dowels close to the needed size. Steve setup his metal lathe for the aluminum spacers and everyone took a turn, with a little bit of training, doing metal spacer work. We first made sure one side was perfectly square and then took off sharp edge with the file. Steve then changed the lathe around to add a stopper and the second side of the metal spacers where cut and filed making them the exact size needed.

We then proceeded to mark and drill the holes for the spacers, axles, and motors. Talon marked the center point of all the holes and the rest of the crew took turns first drilling a small pilot hole with one drill press while someone else used a different drill press to make each hold the needed size.
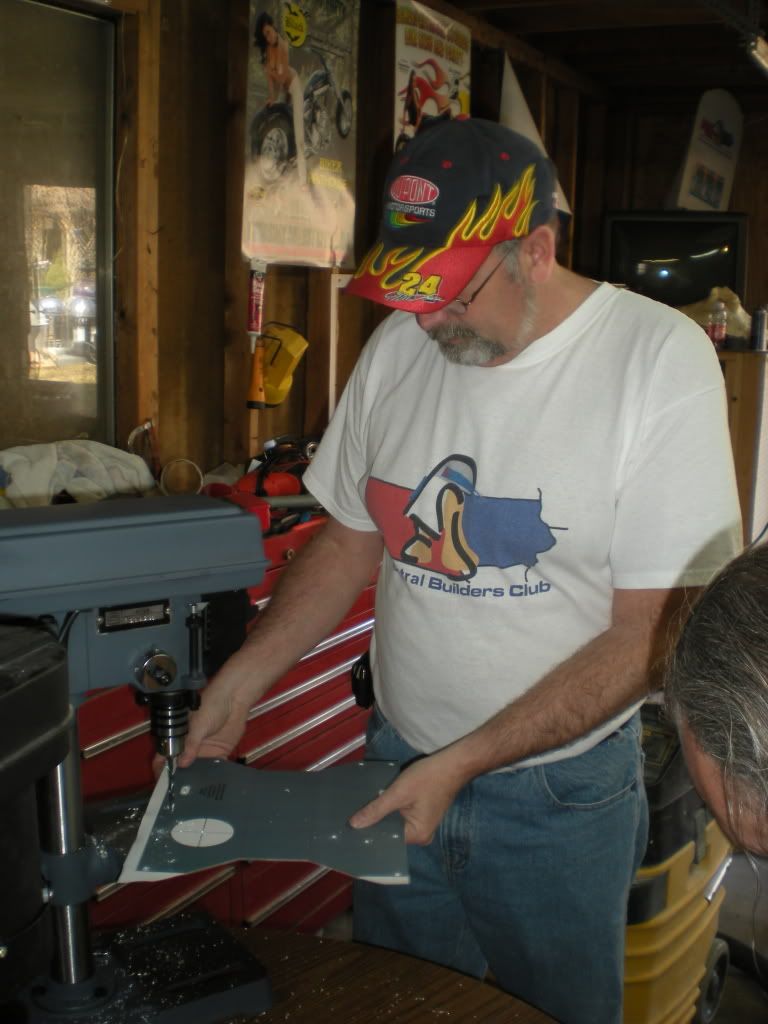
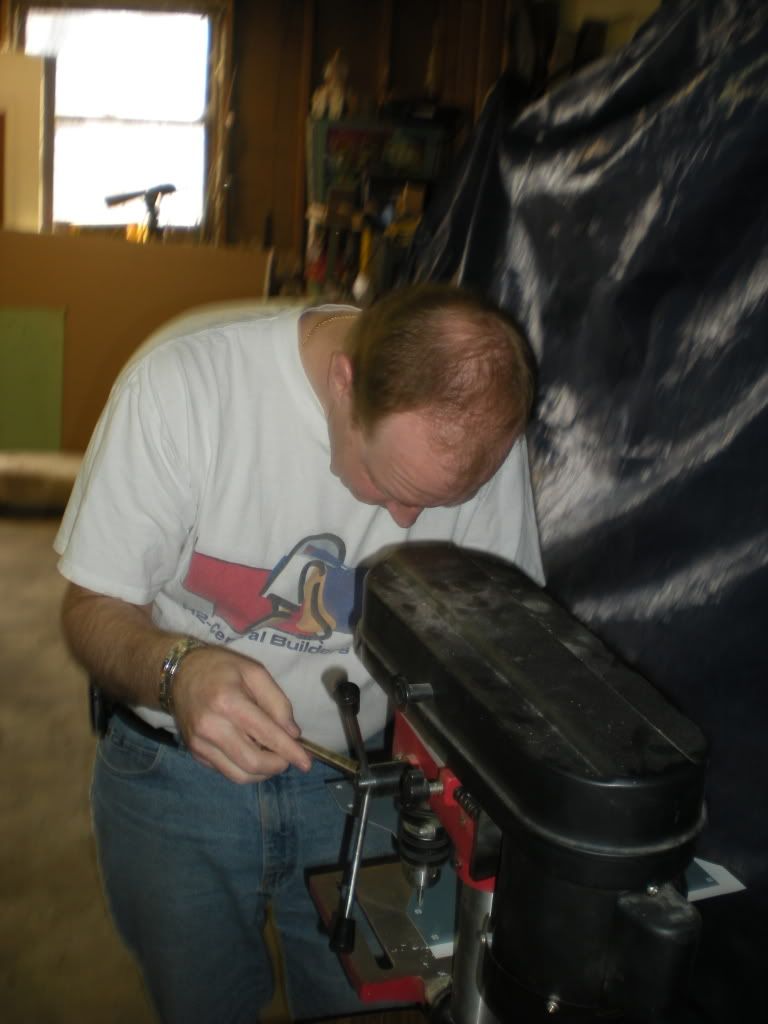

Once the holes were drilled, Clay and I used a saw to cut out the motor holes and extend the size of the axle holes.
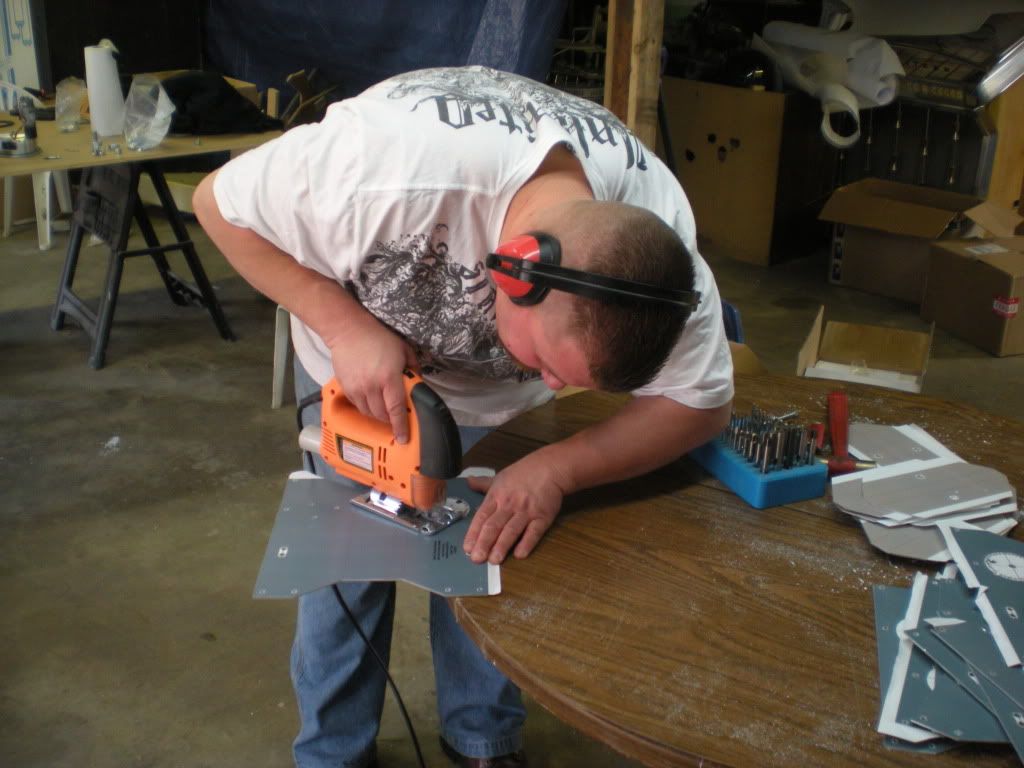
Brad, Jason, and Clay used files and Dremmels to slowly grind the holes so they were just large enough to house the motors.


No comments:
Post a Comment