Tuesday, January 26, 2010

First Group Build Night Of 2010

It was the second group build night of 2010 but the first one I was able to attend. Most members said they couldn't make it; and at the last minute a few others got stuck at work or doing family things. My first group build night ended up being another builder and myself.

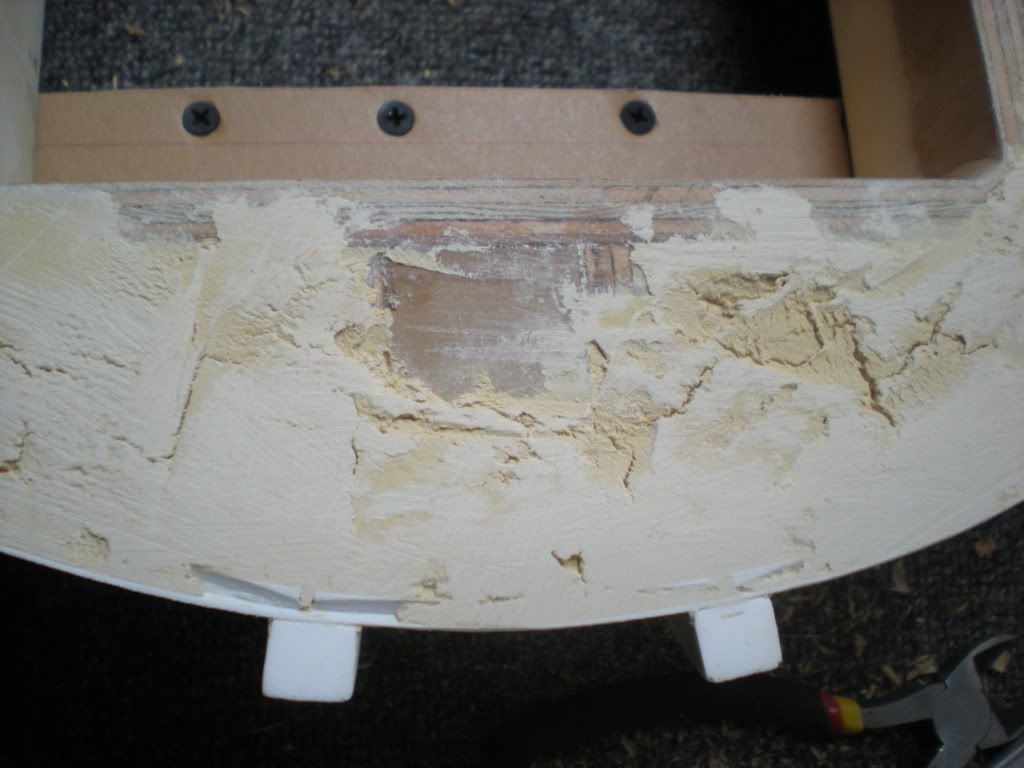
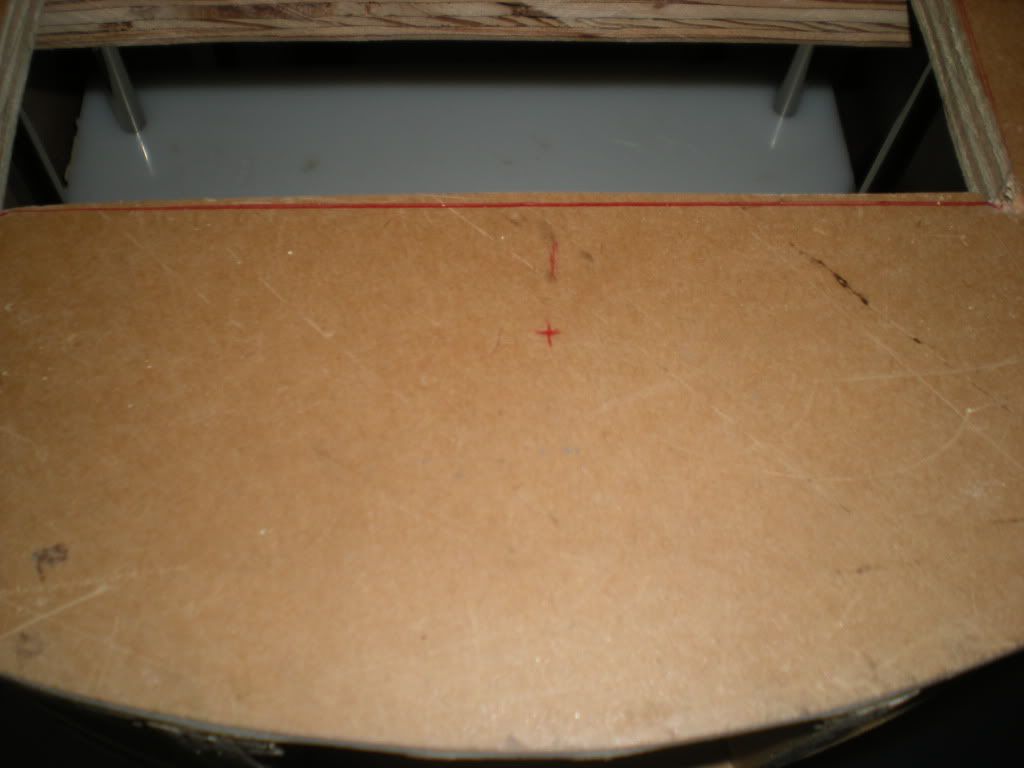
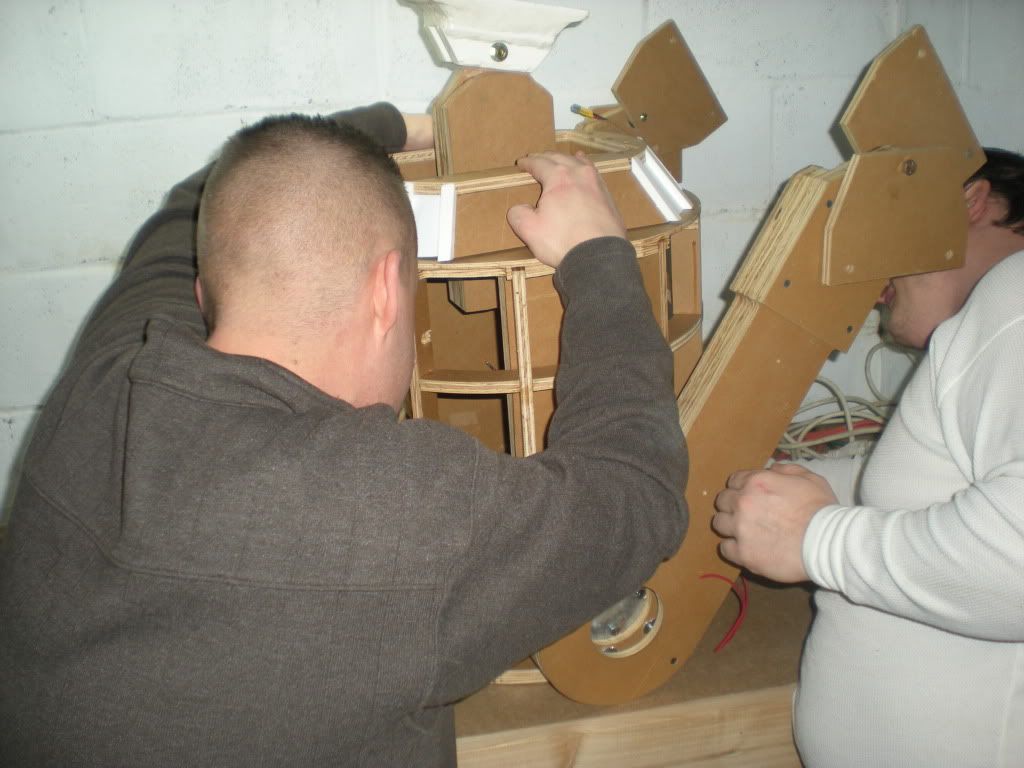
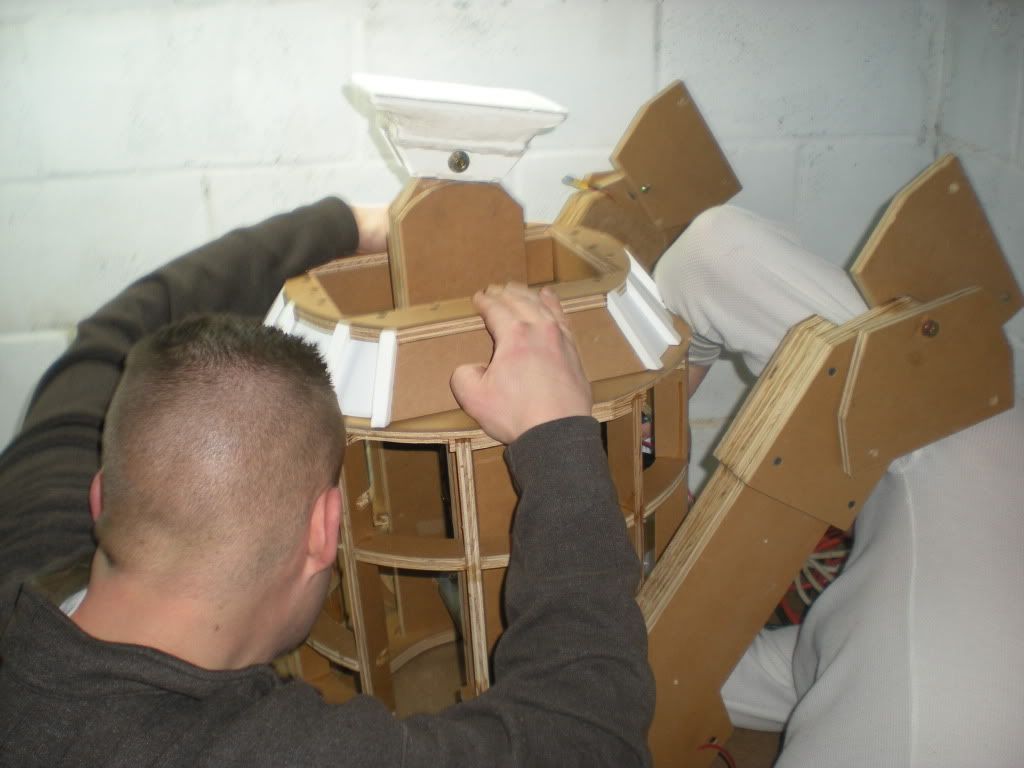
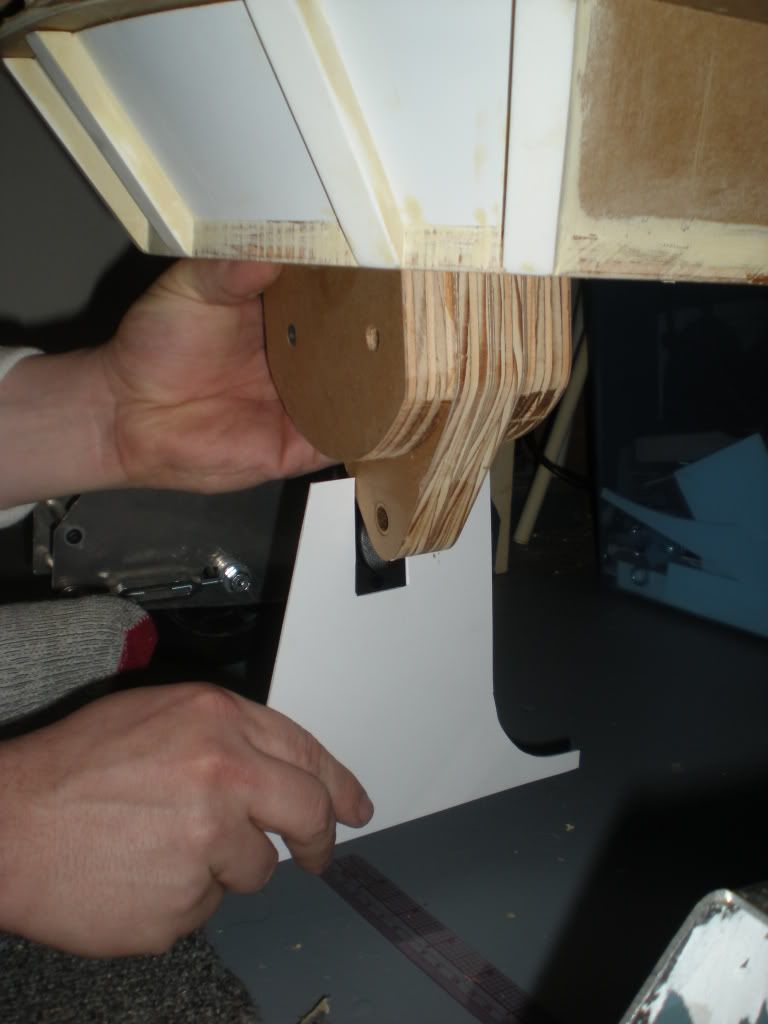
Most R2 skirts have only styrene on the front and back. Because people usually lift their R2s by grabbing the skirt, I filled the area inside the skirt behind the styrene with wood putty. I started out the evening by sanding the wood putty on the bottom of the skirt. I turned my frame upside down and centered my skirt on the bottom frame plate. The hole cut in the bottom of the frame plate is a pretty close estimate. I marked where the extra wood on the bottom part of the frame will need to be routed off. While I held the skirt in place, a rough mark was made where the center of the wood skirt tabs (used as an anchor to screw the frame and skirt together) line up on the bottom of the frame. We then took the skirt off and measured the distance from the skirt hole to the center of each skirt tab.


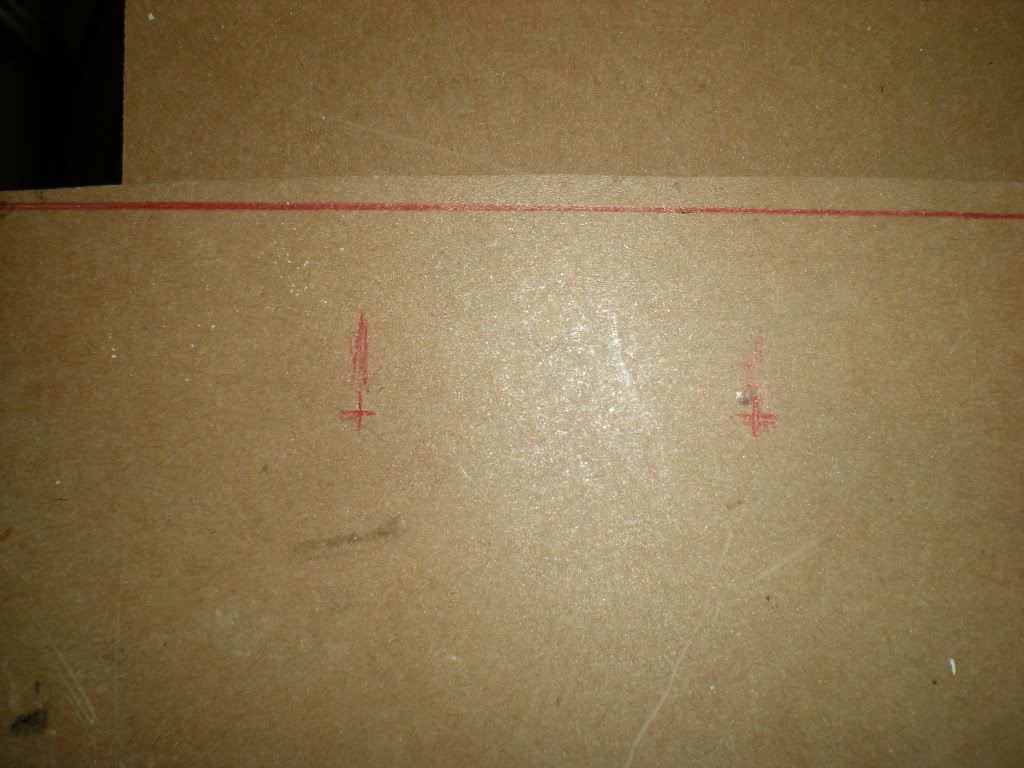
The skirt tab center measurements were transferred to the bottom frame plate.


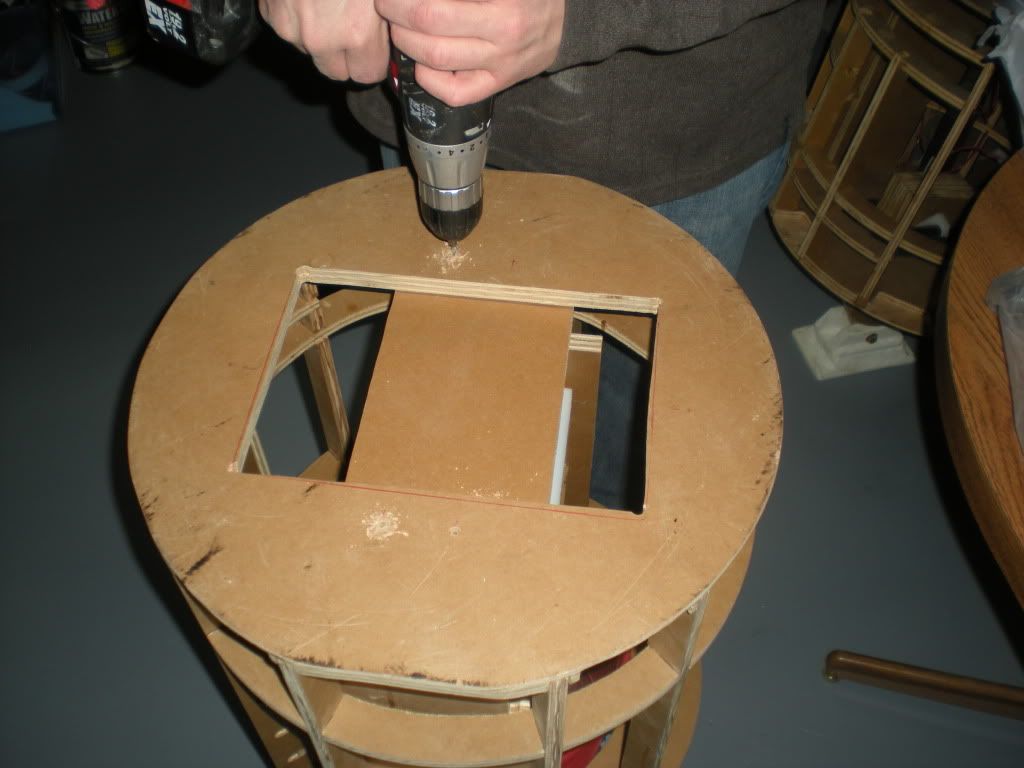
Once all the skirt tab centers were located, I drilled pilot holes.


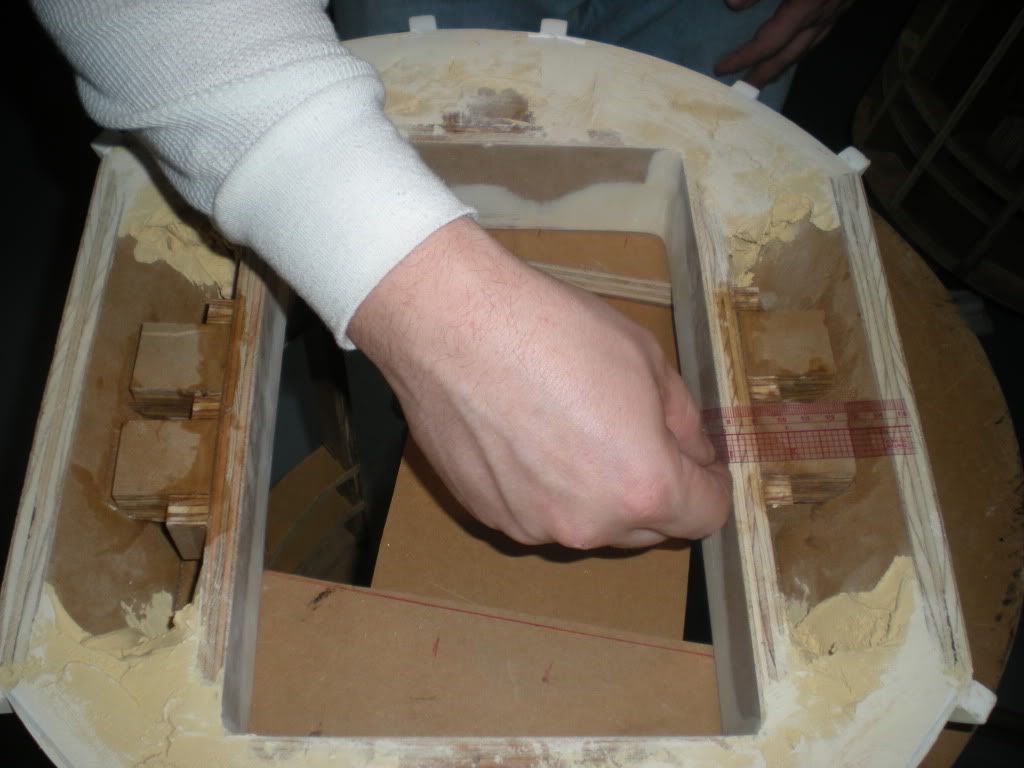
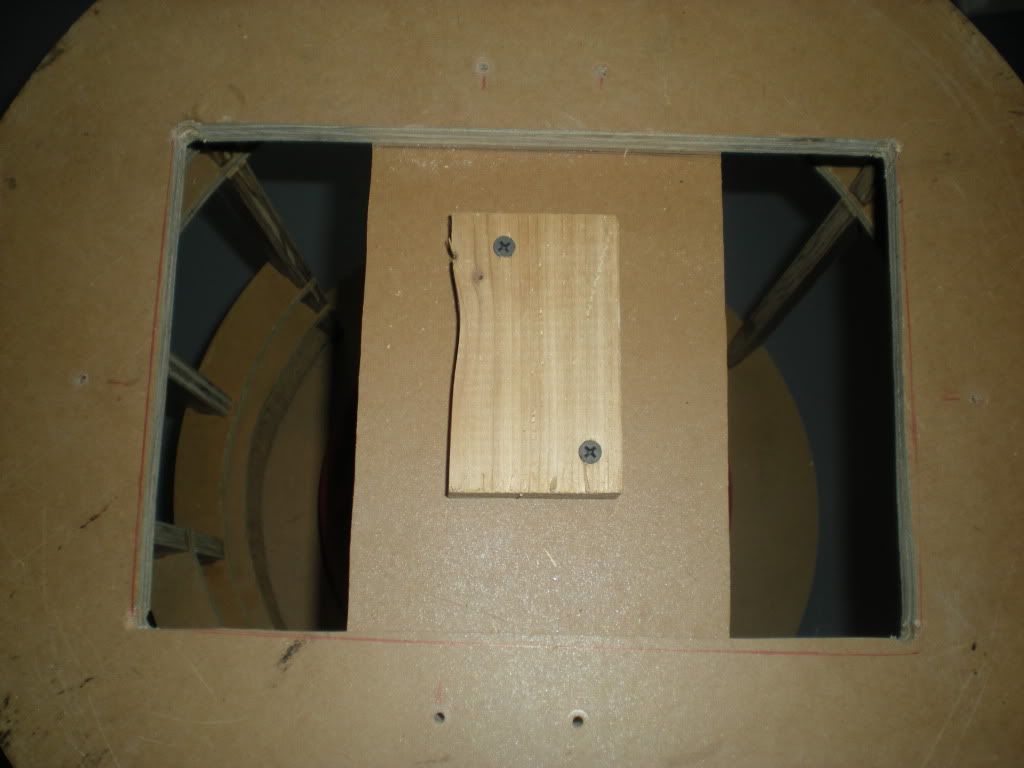
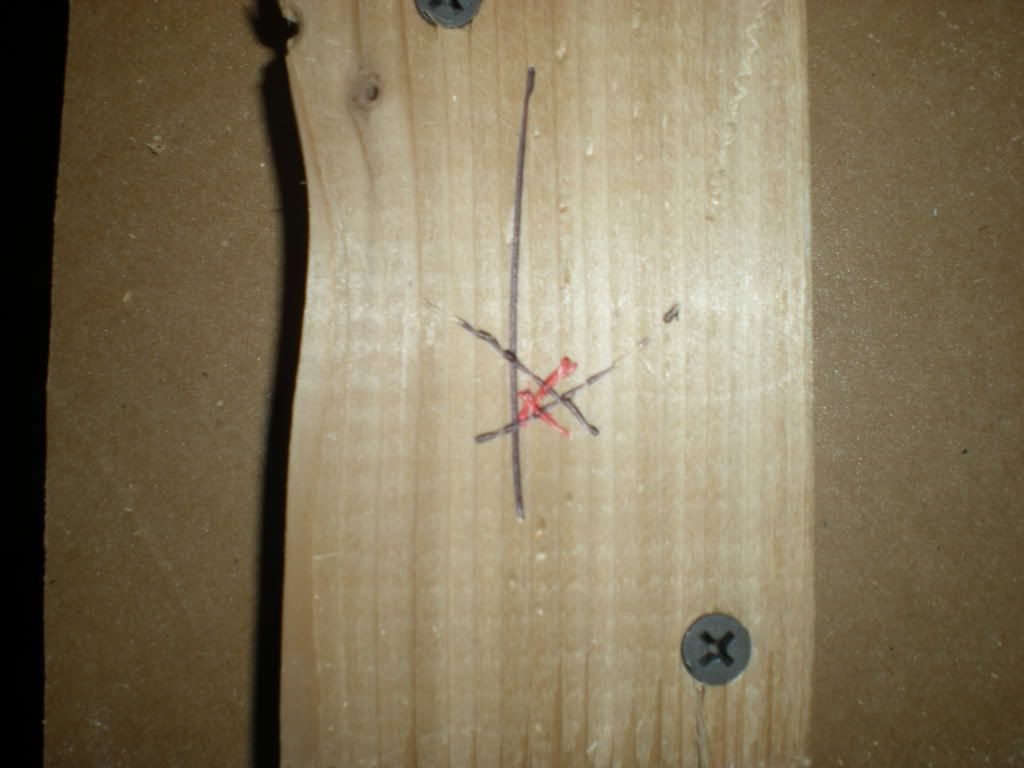
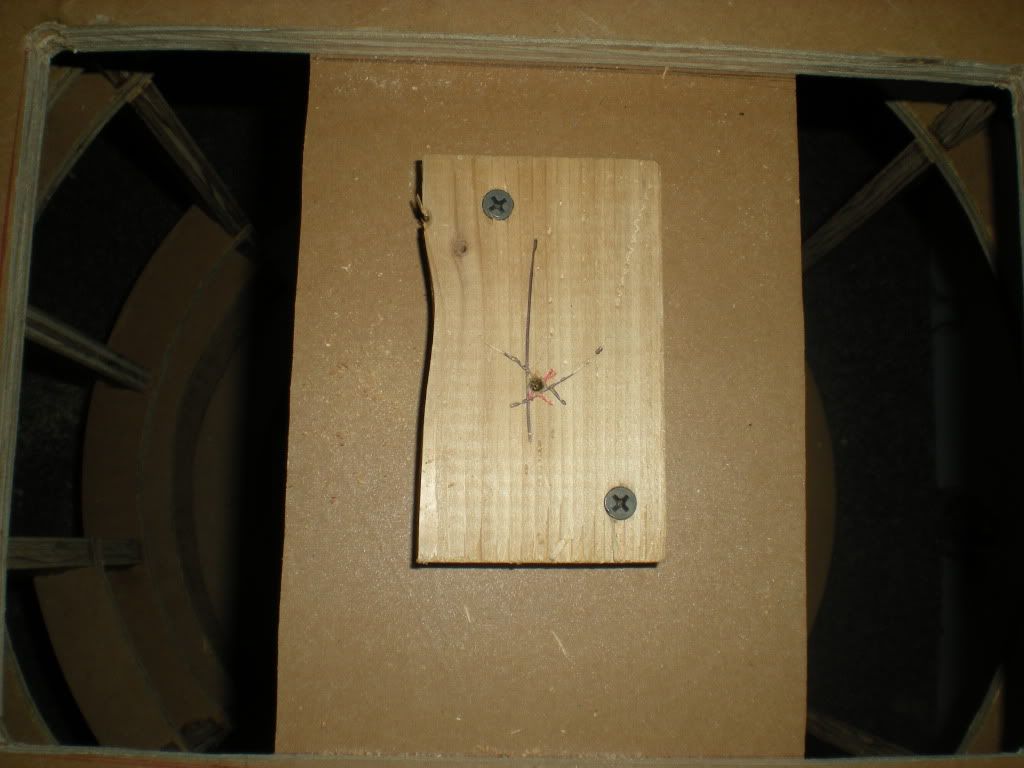
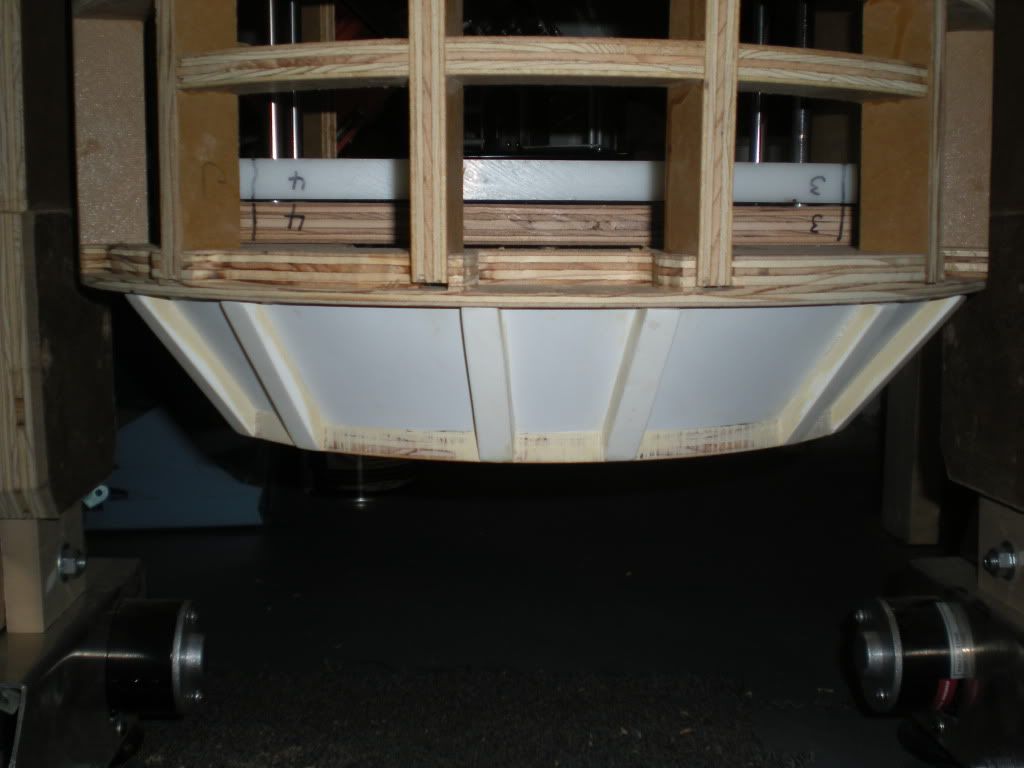
I needed to mark where the center leg should be mounted on the white slide plate for the center leg. So I attached a 3/4" board (the same width of the frame base plate) to the bottom of the center leg base plate (the center of which will be cut out later) in order to make a flat surface to measure and mark the center. Because the frame base plate is not a perfect circle the diameter was not 18" across everywhere. We picked three random points on the outside of the frame base plate and used a ruler as a compass to draw three 9" arcs on the temporary center boards. The intersection of the three arcs gave a general center area where I drilled a center hole. On another day, I will level the frame and drill a small hole through the center leg base plate into the center leg slide plate to mark the center.


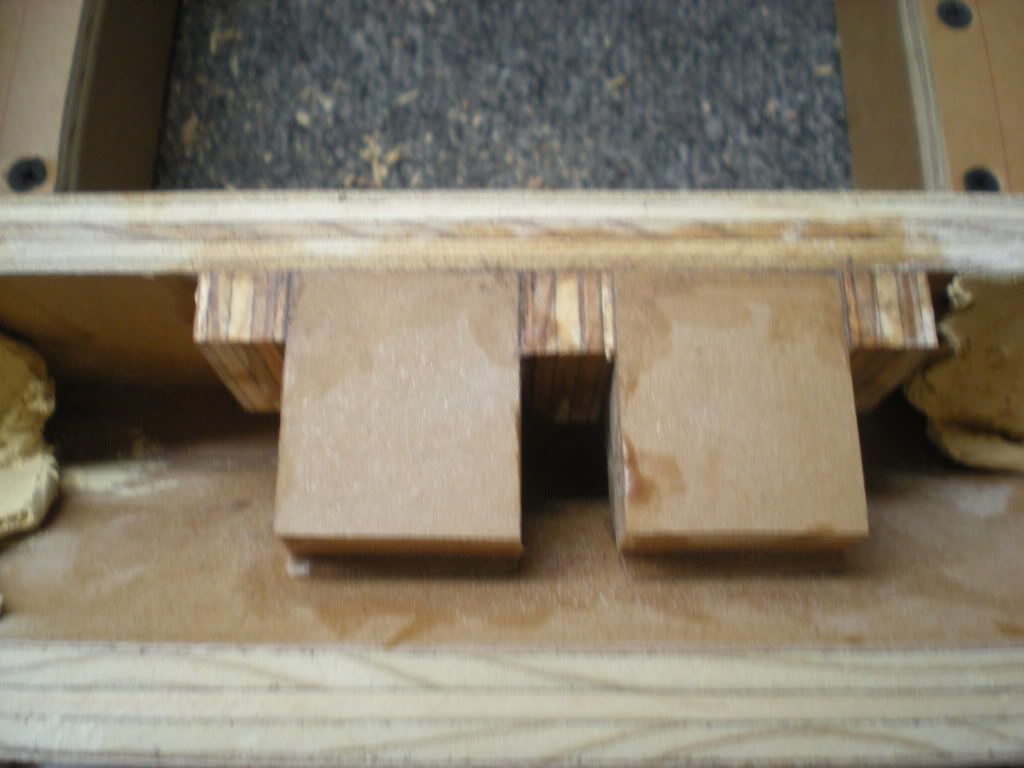
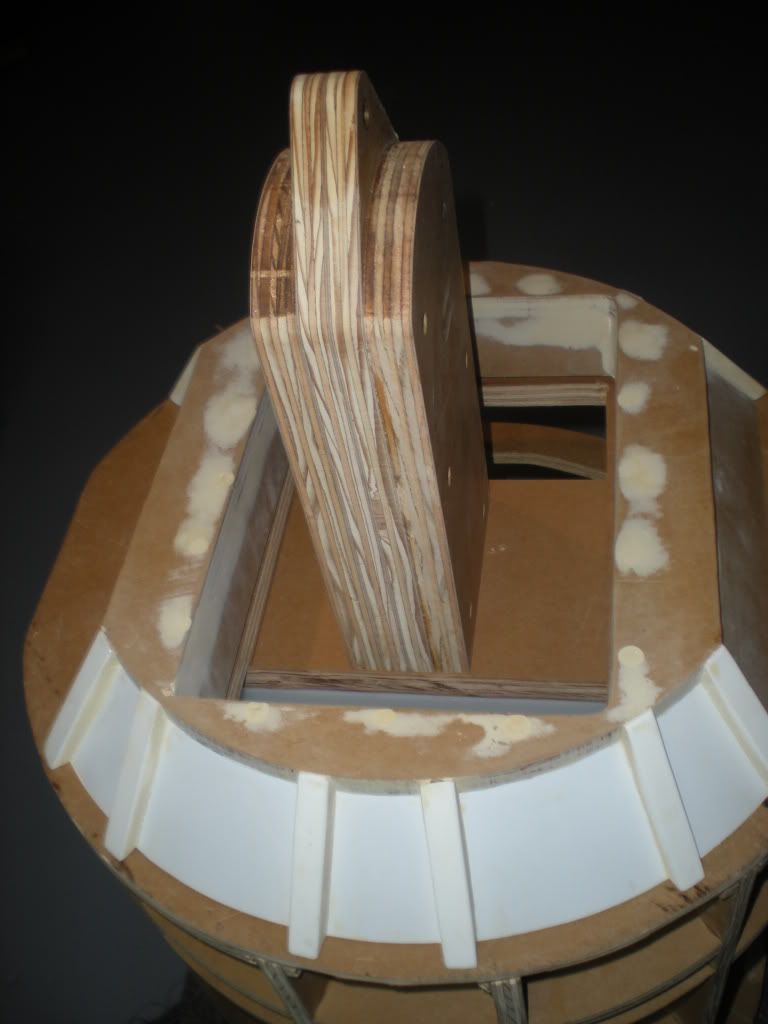
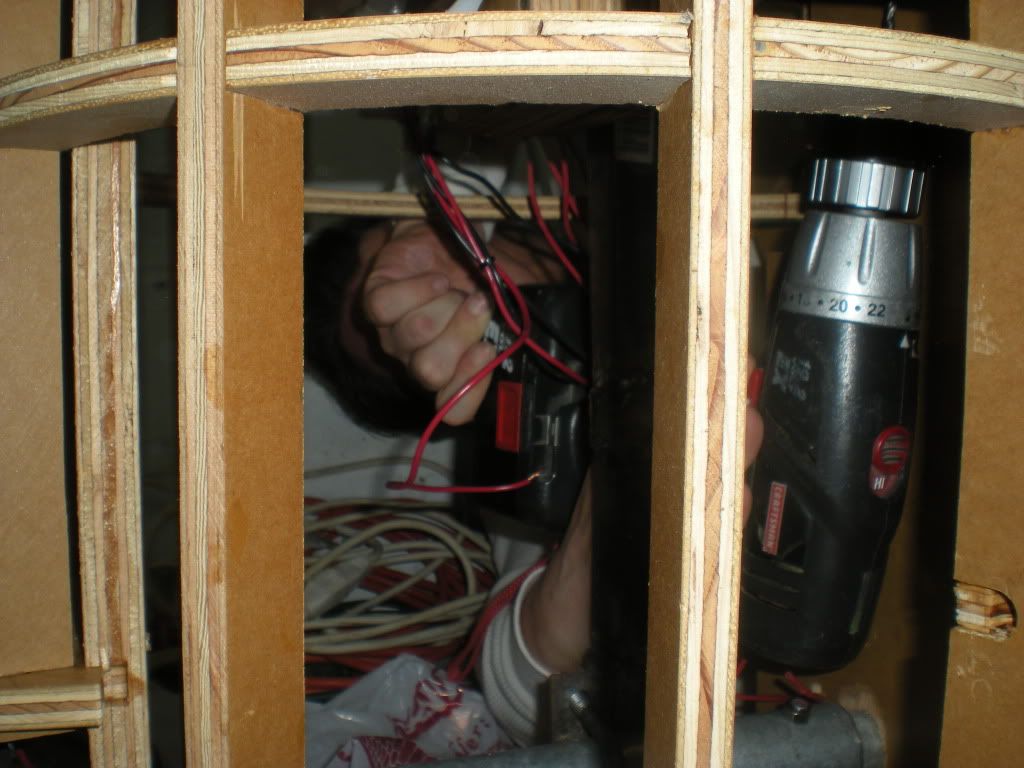
With the center leg location marked, I center the skirt again. While it was held in place, I screwed (by hand because the center leg slide bars got in the way of the drill) the skirt to the frame going through the bottom center leg plate, through the frame bottom plate, and then into the skirt tabs on both sides of the skirts. I then screwed the front of the skirt to the frame. I rested the center leg on the center leg base plate for the picture to get a general idea of how it will sit.


With my skirt attached, we worked on "ED." We centered the skirt, marked it's location, and drilled pilot holes in the frame base plate and skirt tabs.


I held the skirt in place while it was attached it to the frame.


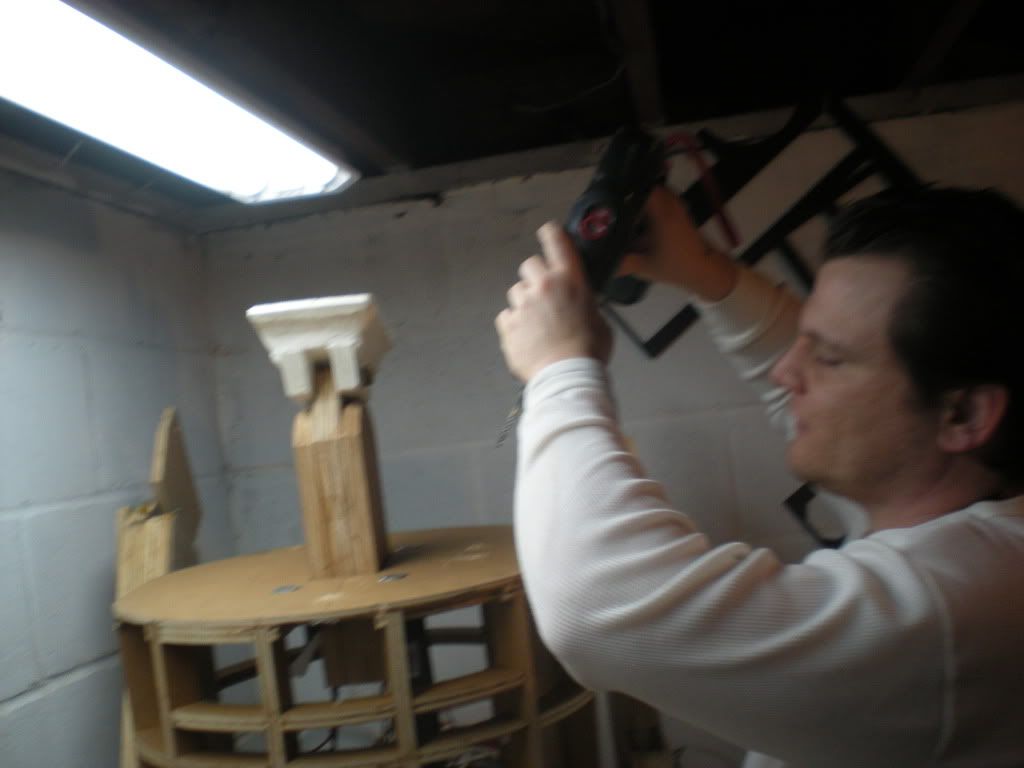
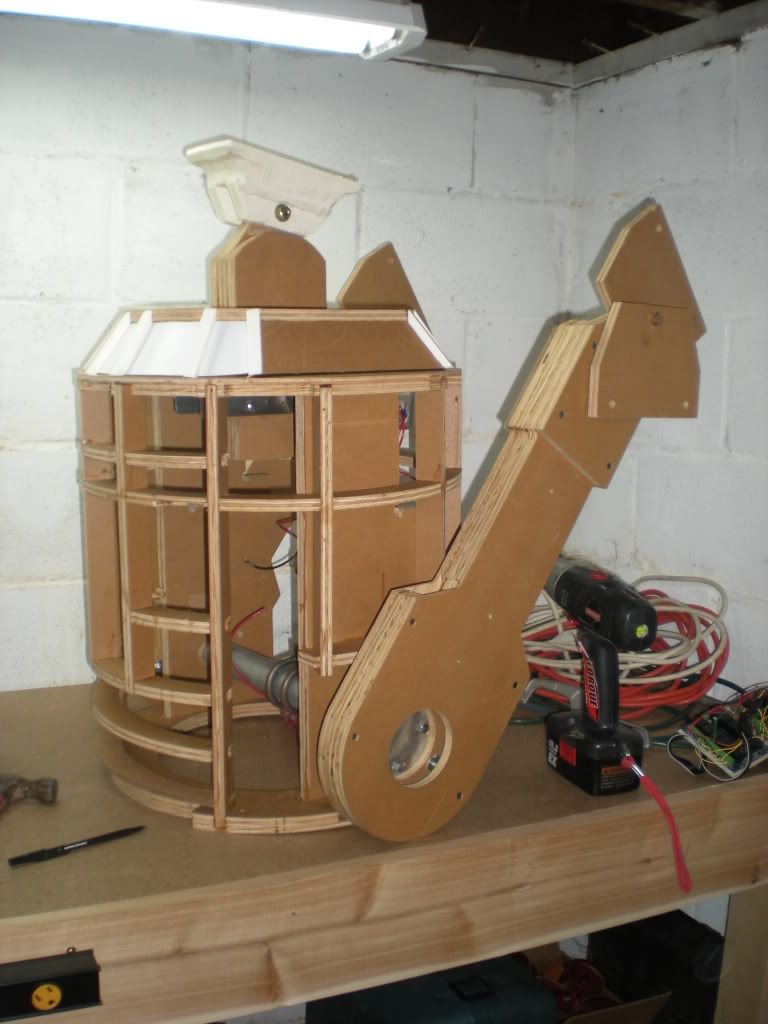
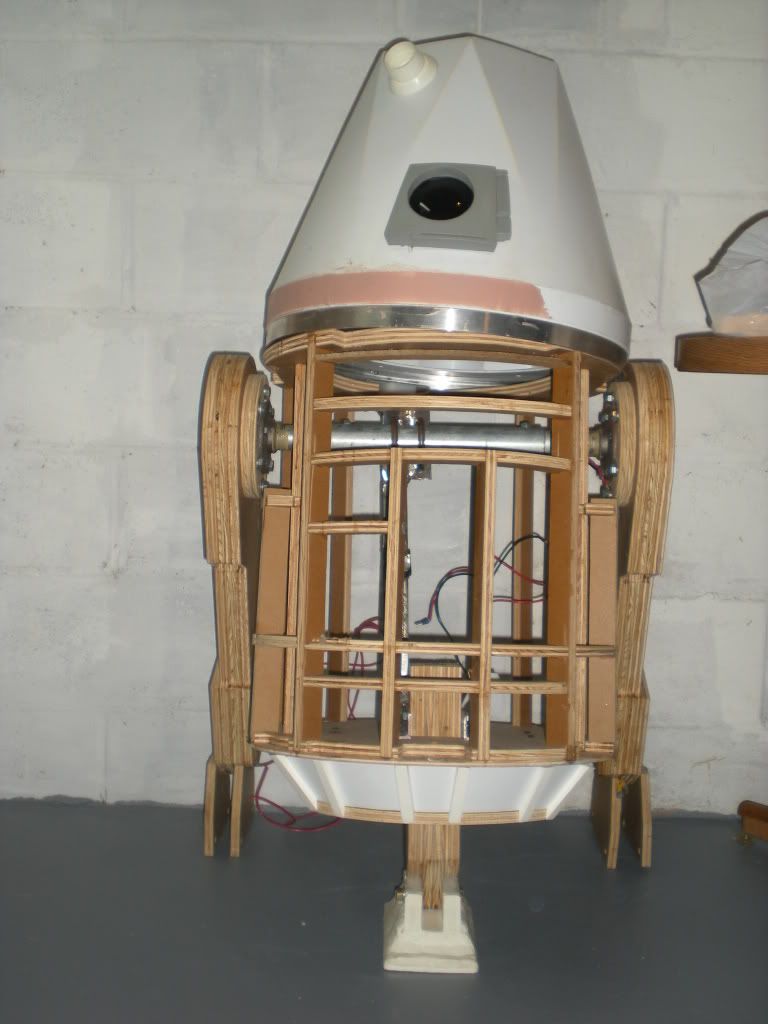
With both of our skirts attached, I put R2-NU's legs back on to take a look at it as it should appear when my R2 is finished. Discussion turned to my center leg height, so we used one of the outer leg styrene foot shell pieces to give us a general if the center foot height/reveal.


What group build night would be complete without one final picture of the completed work?


Sunday, January 10, 2010

Dome Edge Sanding

I sanded the dome panel openings off and on over the Christmas Holiday. No pictures because it is hard to tell the sanding differences. I now have to sand the panels themselves and the bottom of the dome ring to make sure it is even with the skins.

Saturday, December 12, 2009

2009 Holiday Air Affair

The 2009 Holiday Air Affair was another success. As an R2 Builder, I took on a lesser role this year opting to spend more time with the kids. Santa arrived on an Ashland Fire Truck and was escorted in by Stormtroopers.


Hannah and Joshua got to sit with Santa and tell him what they wanted for Christmas. Wouldn’t you know it, a huge building full of airplanes and the kids decide to play with blocks.


The R2 Builders gathered before everyone got there for pictures.


The crowds and the picture line formed. Everyone loves Star Wars, and Brad and Syrena (Darth Vader and Princess Leia) decided to ham it up.


I saved the best picture for last. One of the 501st members let some kid dress up in his Jawa costume. The R2 Builders got him to hold Brad’s R2 dome above his head (Brad suffered only a mild heart attack).


Tuesday, December 8, 2009

Star Wars In Concert Hits Omaha

Star Wars In Concert finally made it to Omaha and when it arrived it brought a blizzard with it. I was hoping the concert would be rescheduled, but no such luck. I was surprised to see how many people braved the storm. I guess when the Qwest Center tells you they won't reschedule or refund your money you find a way to get there (getting home proved to be a little more difficult, but that is a story for another time). The Rebel Legion, 501st, and the R2 Builders were at the concert; but unfortunately, they left their droids at home. I loved seeing all the Star Wars costumes and props.

The man that helped bring down the Republic!!!


I finally got my picture taken next to a back drop. There were LARGE crowds of people in line for every display area.


A senate guard and the Emperor's Guard! I use to have one of these as a kid. I told Michelle this and she looked at me like I had two heads.


C-3PO, the man...the droid...the Star Wars In Concert host.


Builders show off their new costumes!


Han Solo in Carbonite!

Wednesday, November 11, 2009

Center Leg Support

I needed a change of pace tonight so I decided to work on the center leg supports. I cut a piece of 3/4" plastic down to 5 1/2" x 12" to use as the sliding plate and then dry fit it to make sure I had enough room for it to move between the side supports of the frame.


I then cut to two 5 1/2" boards to sandwich the plastic and act as top and bottom anchors for the four sliding rods.


Moose and I then lined up the sides of all the boards and clamped them so we could drill holes through all three boards. That way they would all match and we wouldn't have to worry about the center plate binding when the center foot raises and lowers.


The top plate will be slightly below the center outer leg pipe and the bottom plate will rest base of the frame. We temporarily screwed the bottom board into the frame base plate (I will replace it later with bolts) and dry fit the remaining boards. The hole size is perfect for the top and bottom plates, but I will have to make the holes in the plastic plate a little larger to allow it to slide easier. As with framing a door, the center of the bottom board will be cut out once the sides are permanently attached.


The four rods were not cut and the top board was not permanently attached because I want to get the skirt installed and the center leg assembled to determine the exact location everything needs to be.