
It was the second group build night of 2010 but the first one I was able to attend. Most members said they couldn't make it; and at the last minute a few others got stuck at work or doing family things. My first group build night ended up being another builder and myself.
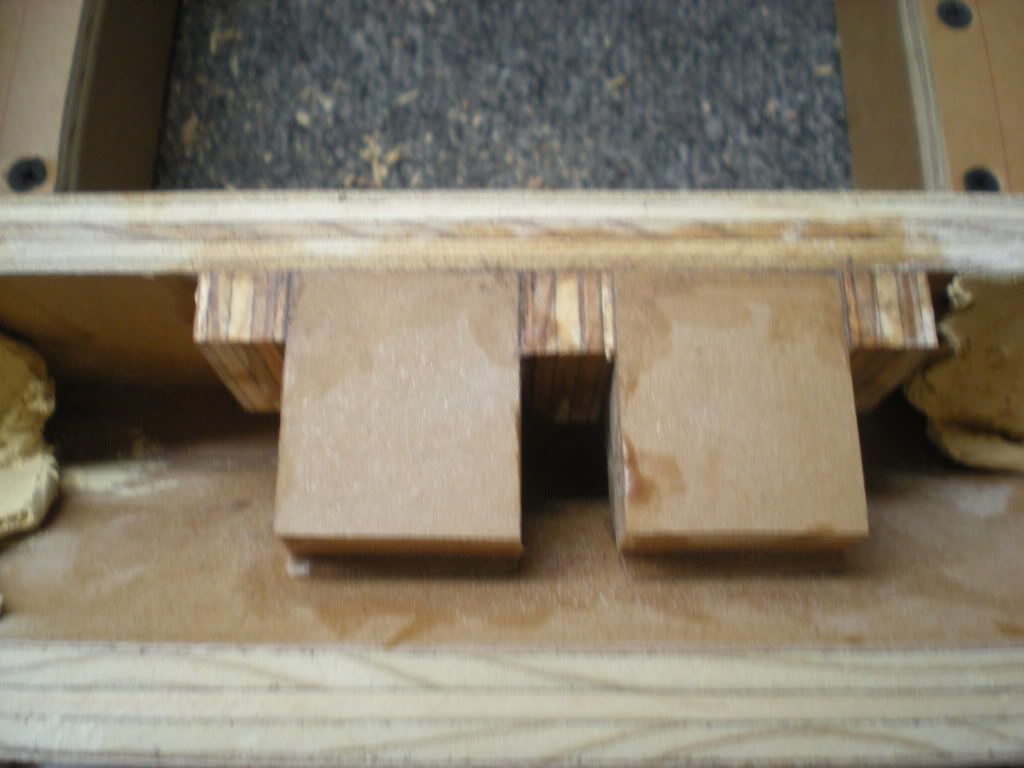
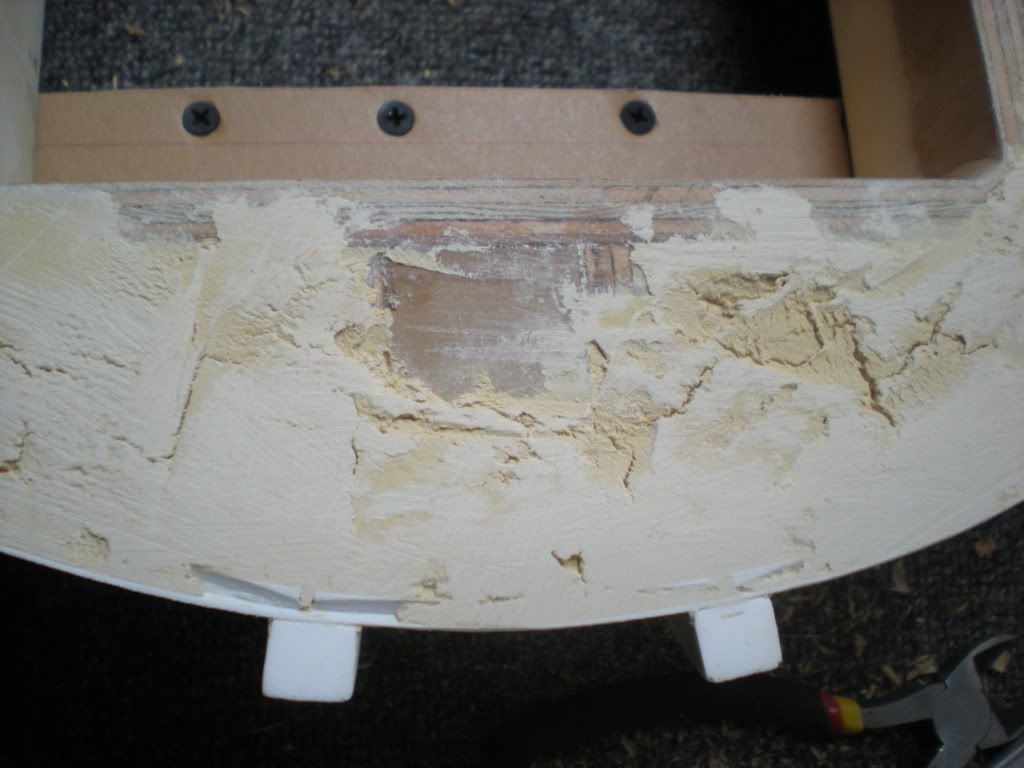
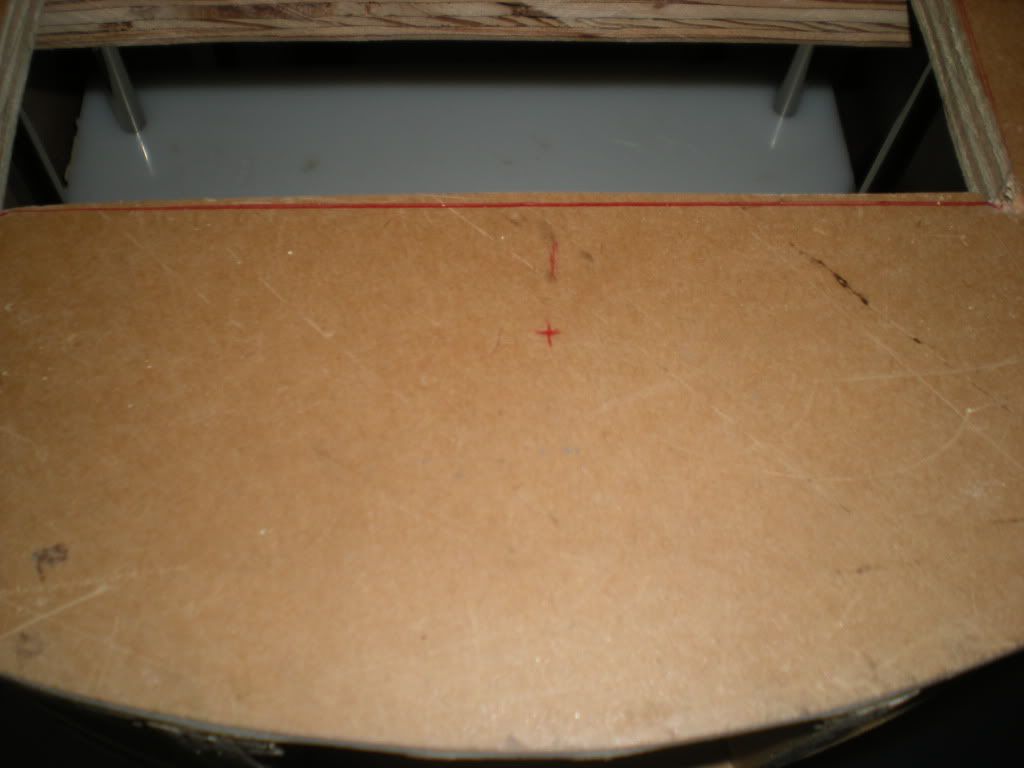
Most R2 skirts have only styrene on the front and back. Because people usually lift their R2s by grabbing the skirt, I filled the area inside the skirt behind the styrene with wood putty. I started out the evening by sanding the wood putty on the bottom of the skirt. I turned my frame upside down and centered my skirt on the bottom frame plate. The hole cut in the bottom of the frame plate is a pretty close estimate. I marked where the extra wood on the bottom part of the frame will need to be routed off. While I held the skirt in place, a rough mark was made where the center of the wood skirt tabs (used as an anchor to screw the frame and skirt together) line up on the bottom of the frame. We then took the skirt off and measured the distance from the skirt hole to the center of each skirt tab.

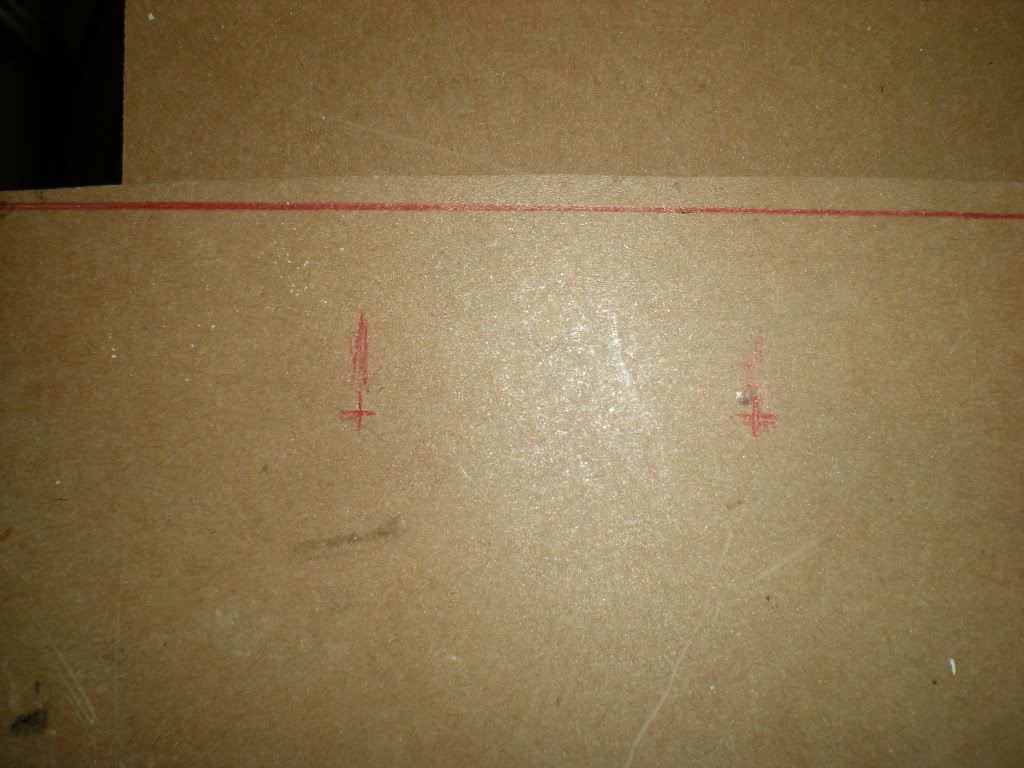
The skirt tab center measurements were transferred to the bottom frame plate.
Once all the skirt tab centers were located, I drilled pilot holes.
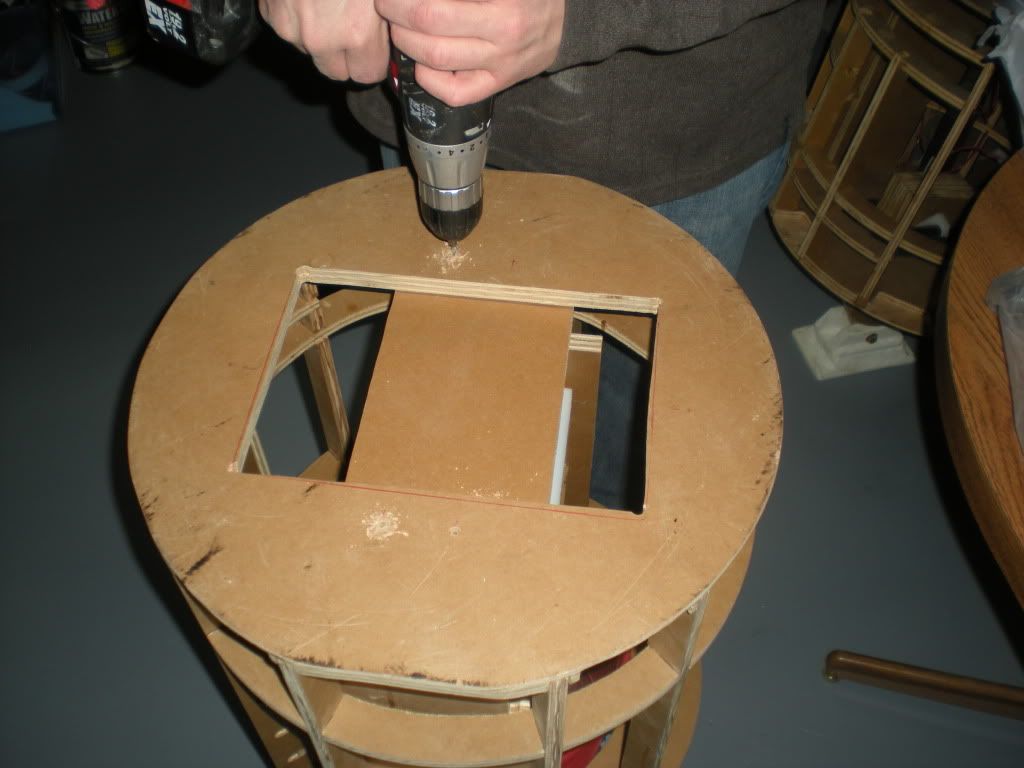
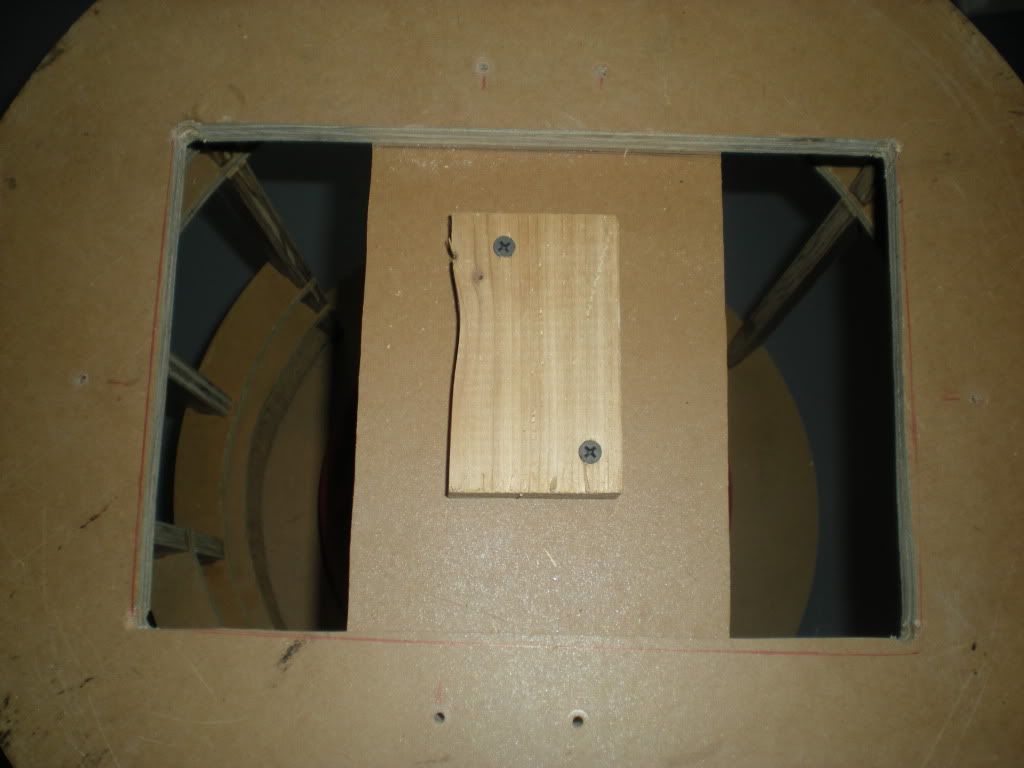
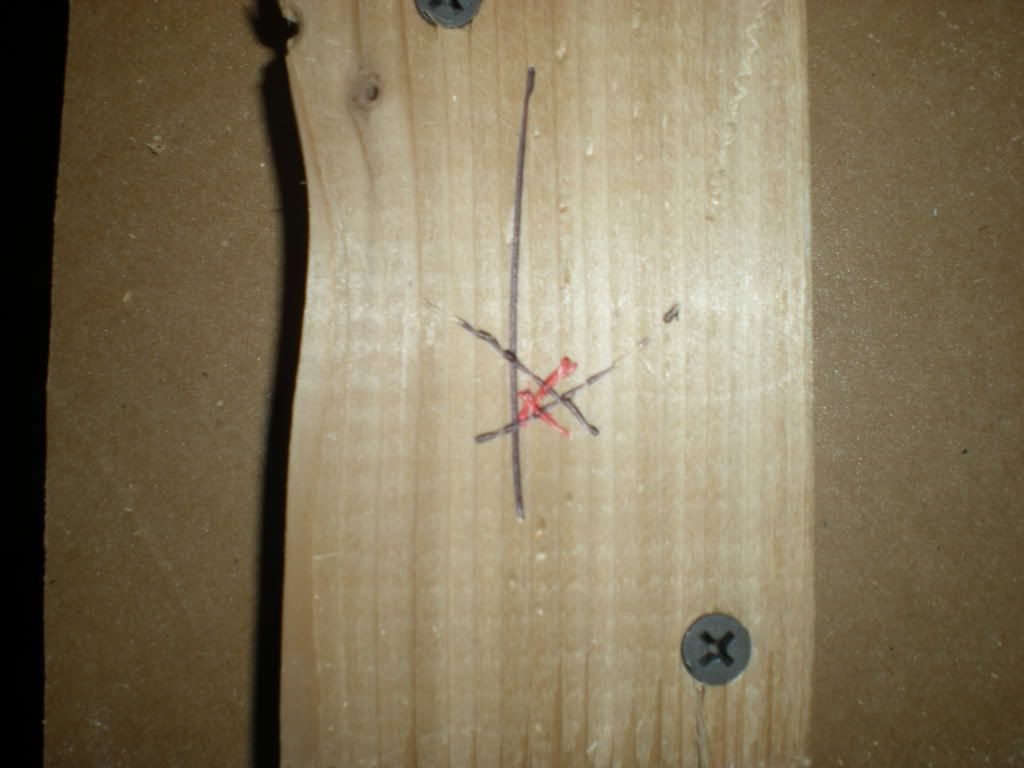
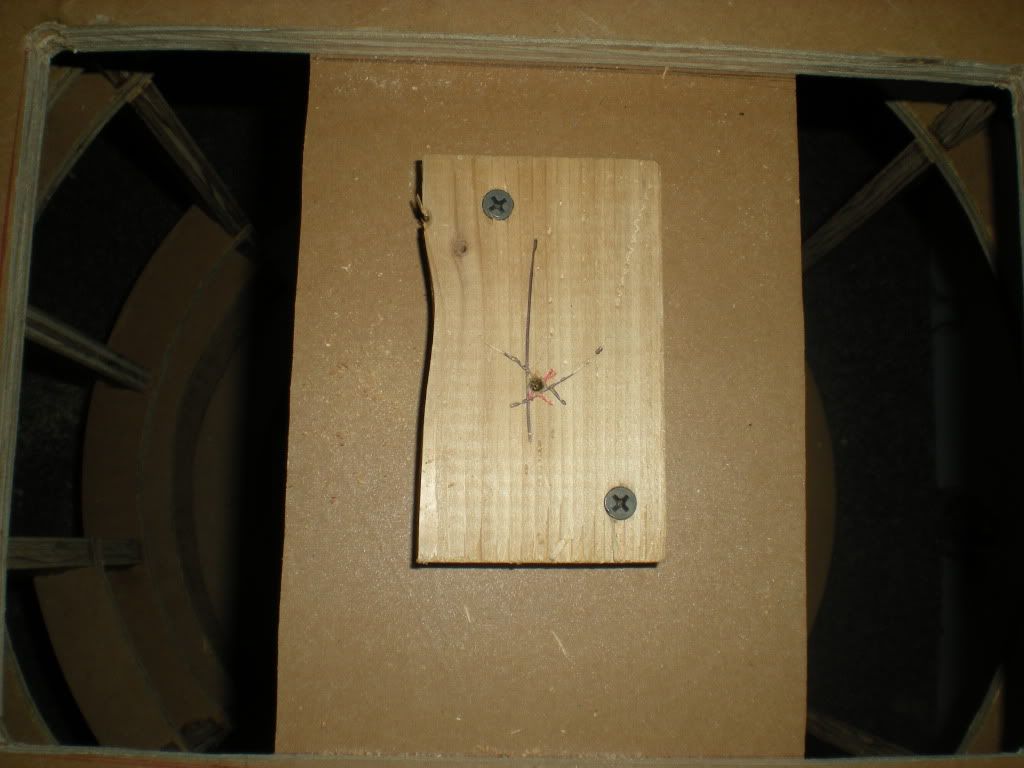
I needed to mark where the center leg should be mounted on the white slide plate for the center leg. So I attached a 3/4" board (the same width of the frame base plate) to the bottom of the center leg base plate (the center of which will be cut out later) in order to make a flat surface to measure and mark the center. Because the frame base plate is not a perfect circle the diameter was not 18" across everywhere. We picked three random points on the outside of the frame base plate and used a ruler as a compass to draw three 9" arcs on the temporary center boards. The intersection of the three arcs gave a general center area where I drilled a center hole. On another day, I will level the frame and drill a small hole through the center leg base plate into the center leg slide plate to mark the center.
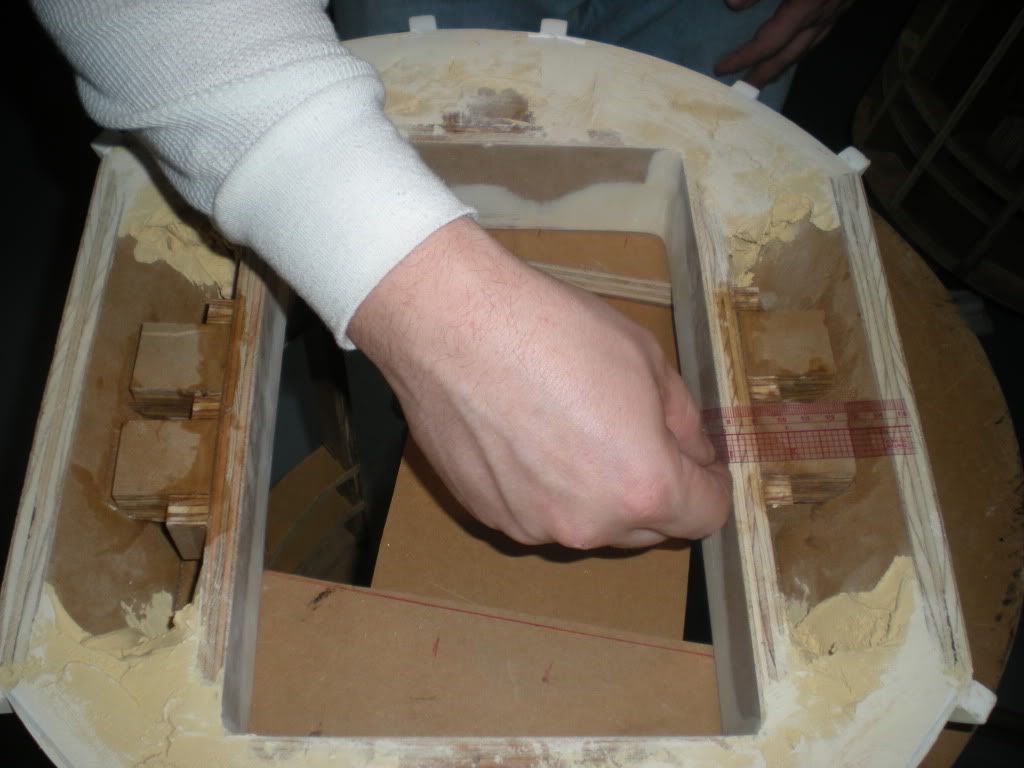
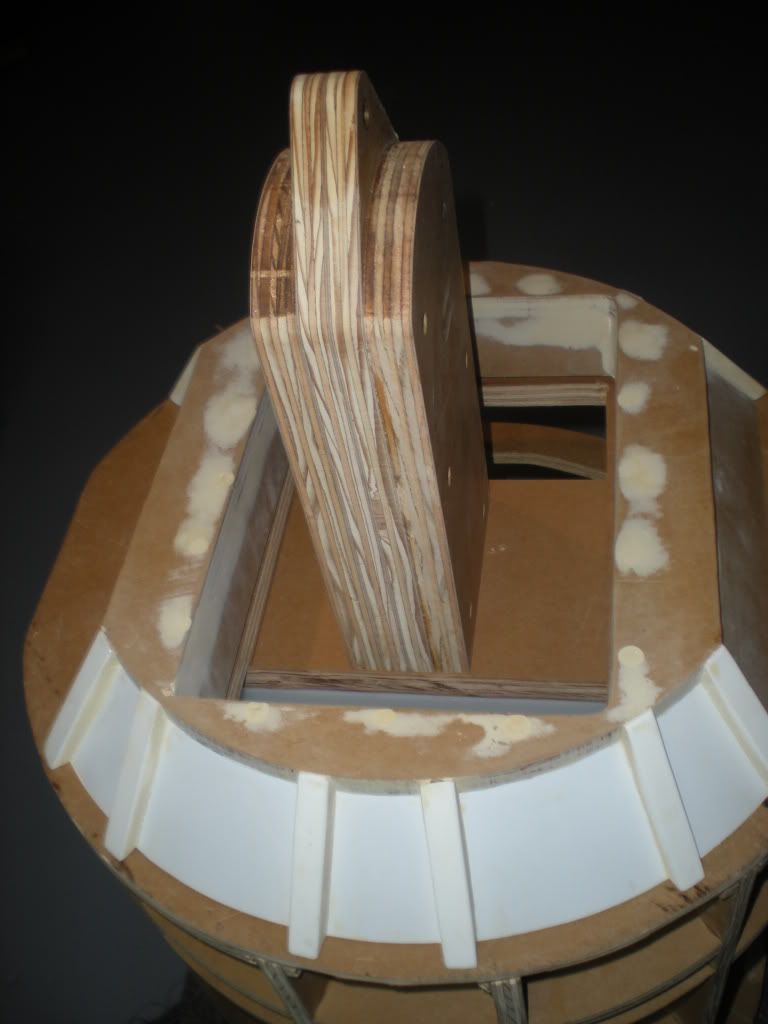
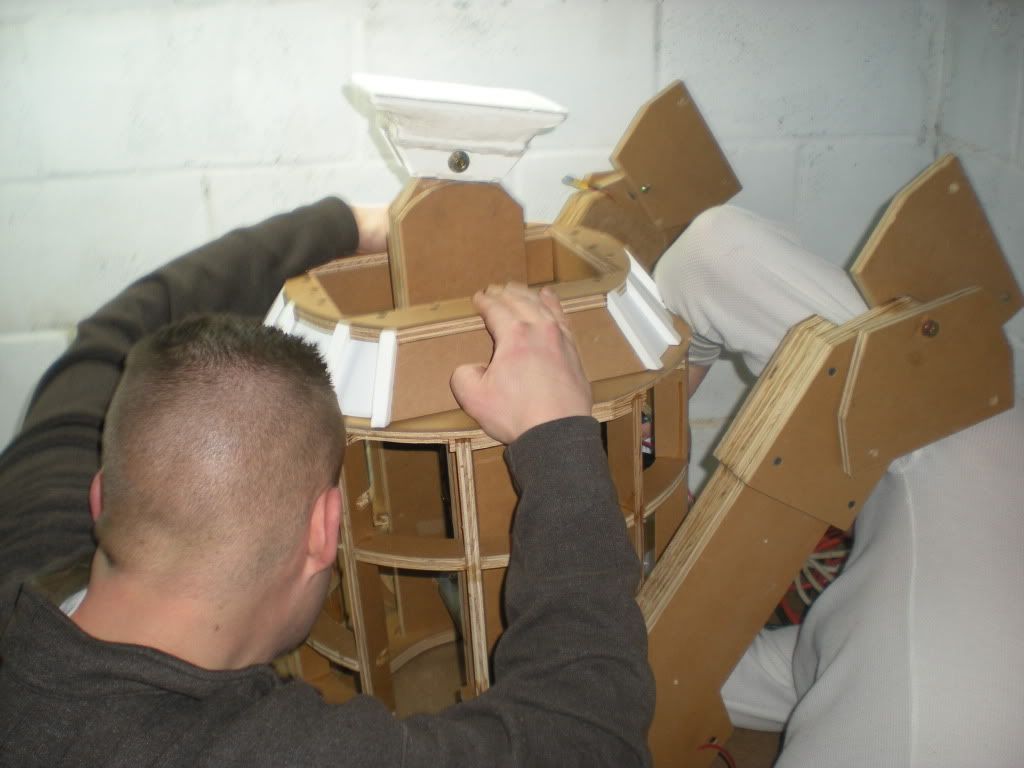
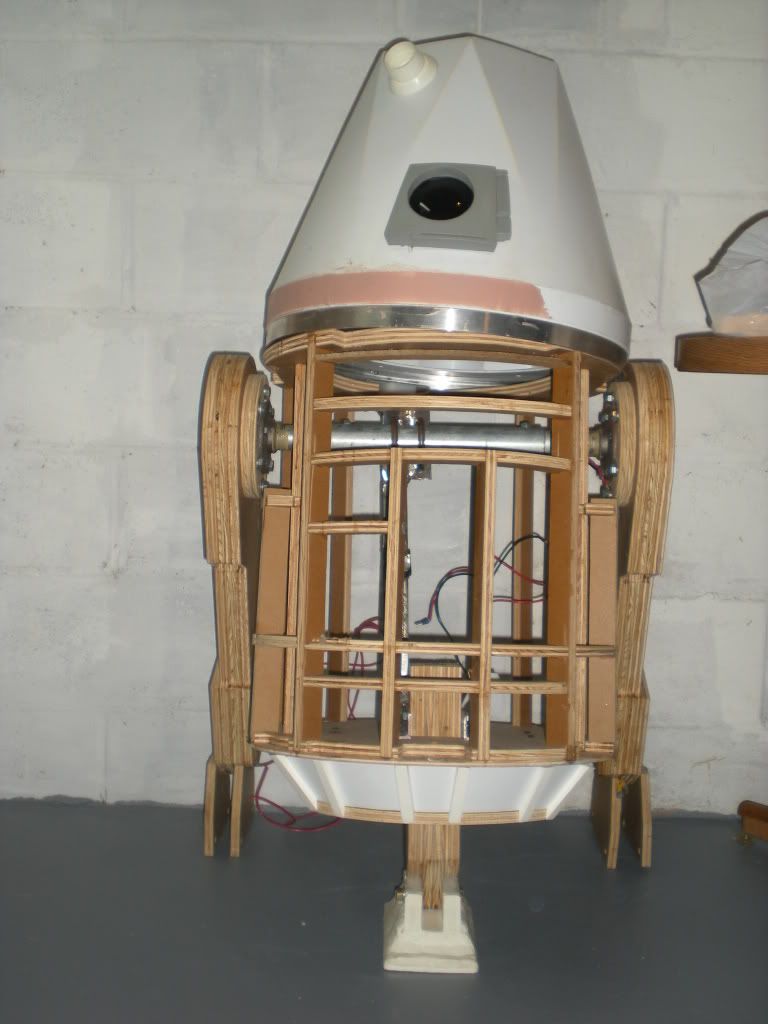
With the center leg location marked, I center the skirt again. While it was held in place, I screwed (by hand because the center leg slide bars got in the way of the drill) the skirt to the frame going through the bottom center leg plate, through the frame bottom plate, and then into the skirt tabs on both sides of the skirts. I then screwed the front of the skirt to the frame. I rested the center leg on the center leg base plate for the picture to get a general idea of how it will sit.
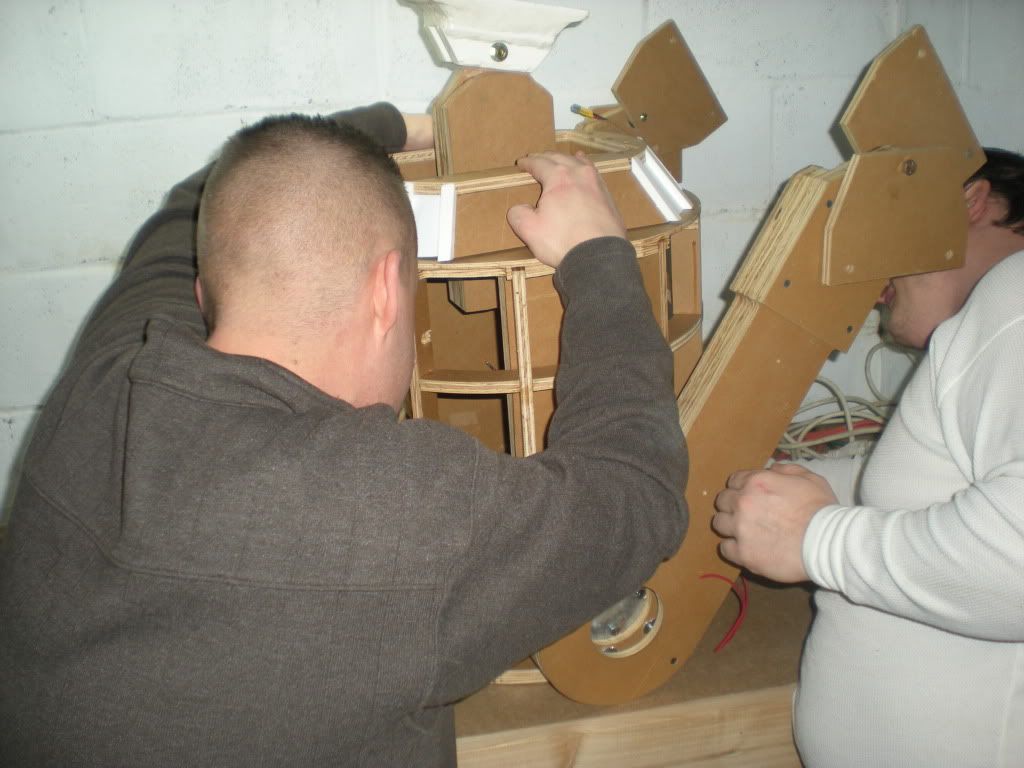
With my skirt attached, we worked on "ED." We centered the skirt, marked it's location, and drilled pilot holes in the frame base plate and skirt tabs.

I held the skirt in place while it was attached it to the frame.

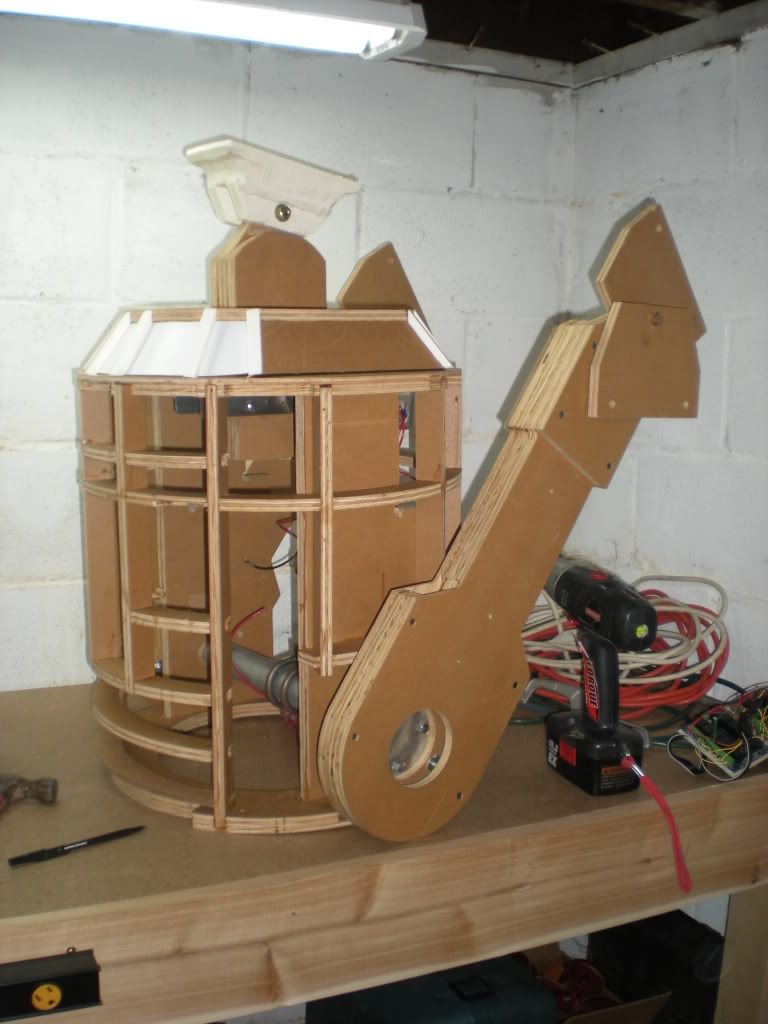
With both of our skirts attached, I put R2-NU's legs back on to take a look at it as it should appear when my R2 is finished. Discussion turned to my center leg height, so we used one of the outer leg styrene foot shell pieces to give us a general if the center foot height/reveal.
What group build night would be complete without one final picture of the completed work?


It is about time these two put their pants on LOL.
ReplyDelete