
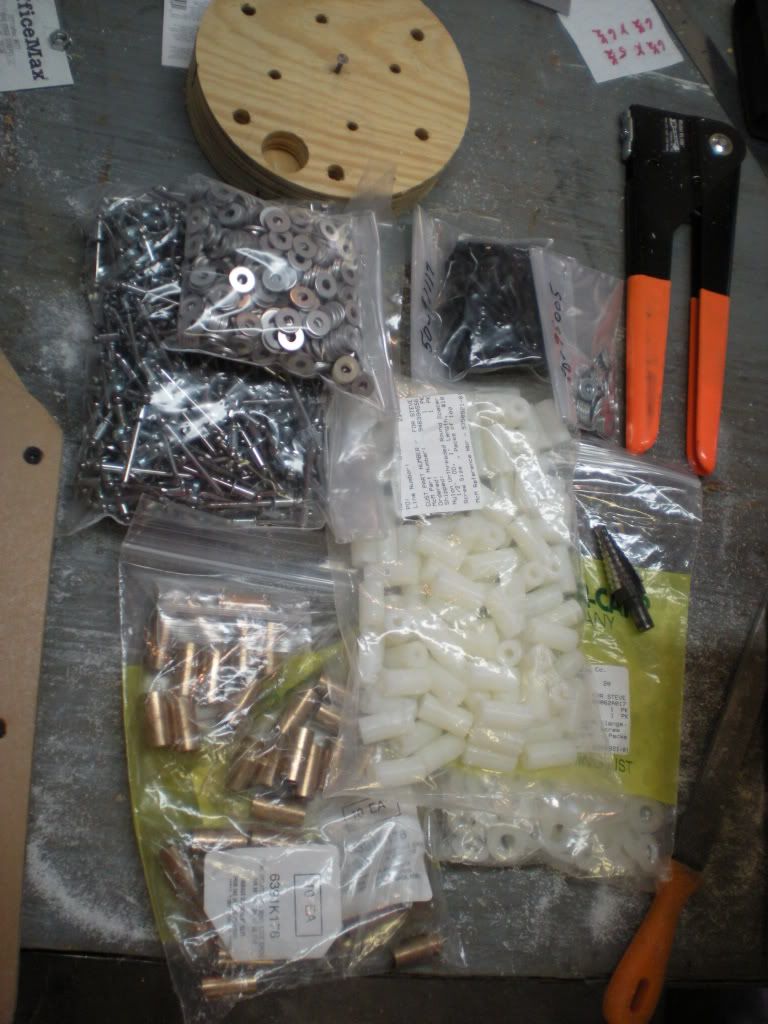
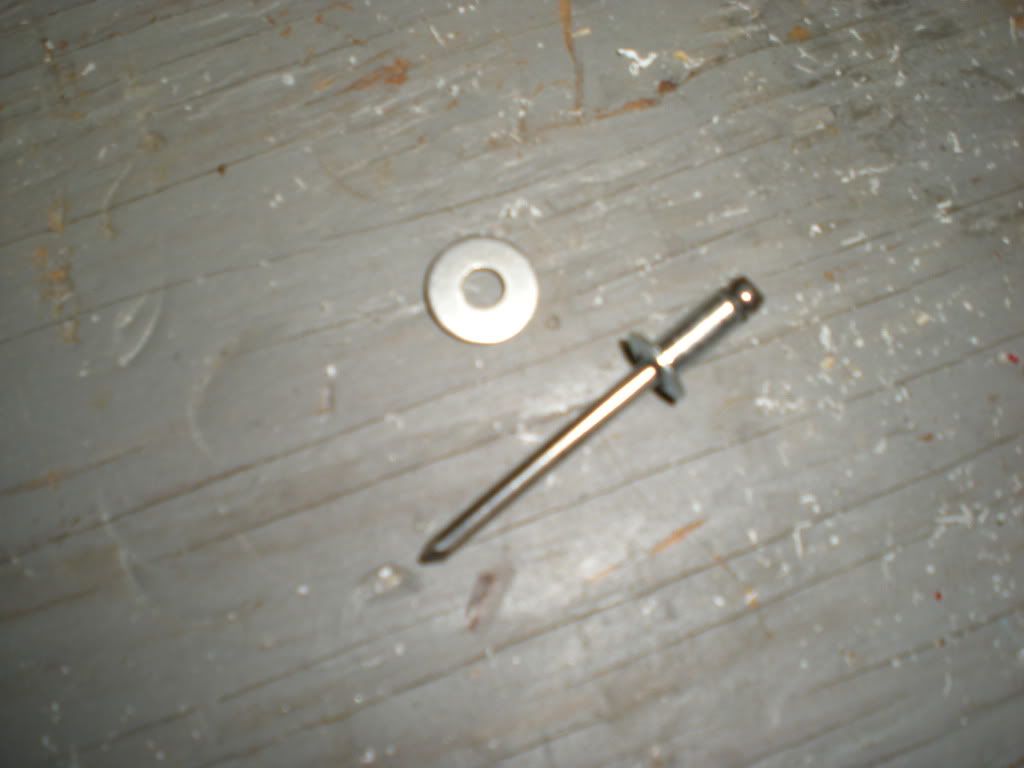
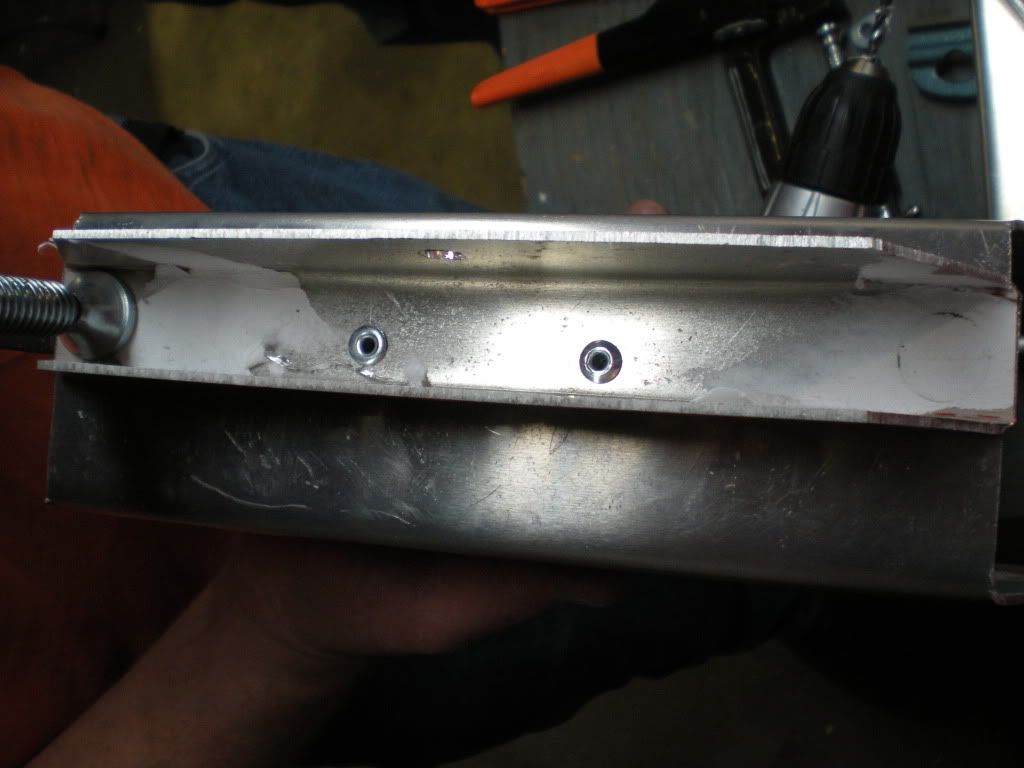
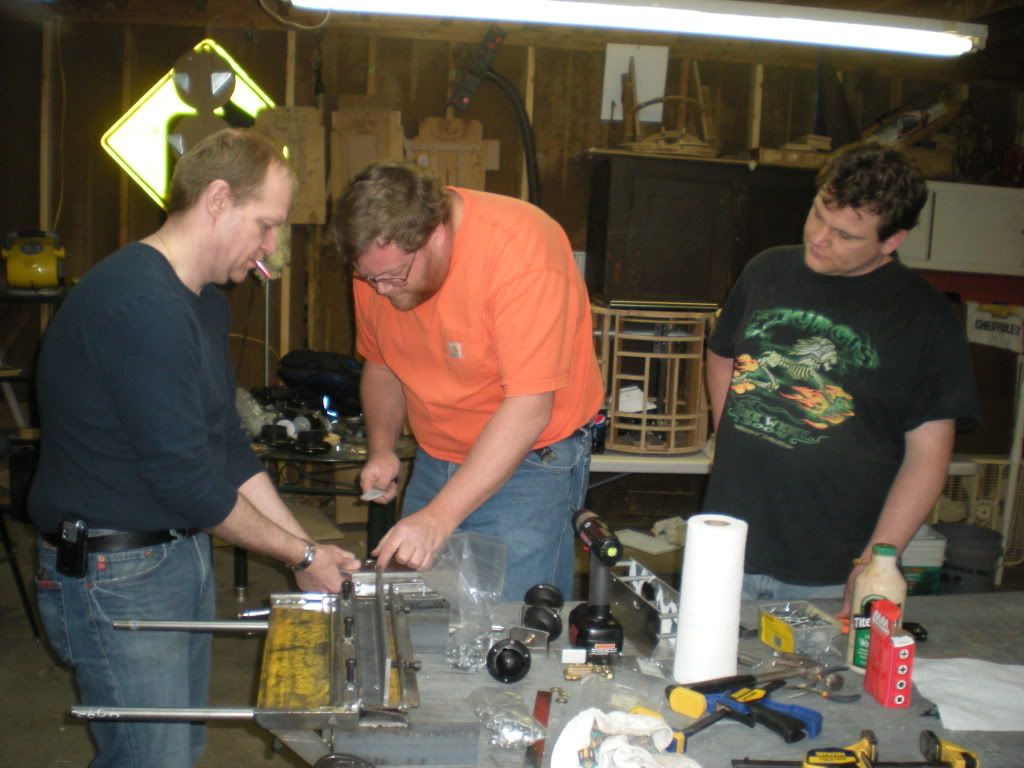
Steve got the bulk shipment of sleeve bushing, bearings, spacers, pop rivets, screws, and washers earlier today, so the group met to continue our work on the motor mount/ankles. Rather than use screws, washers, and nuts, the group decided to use 3/16" pop rivets and washers to attach the ankle aluminum to the motor mount aluminum.
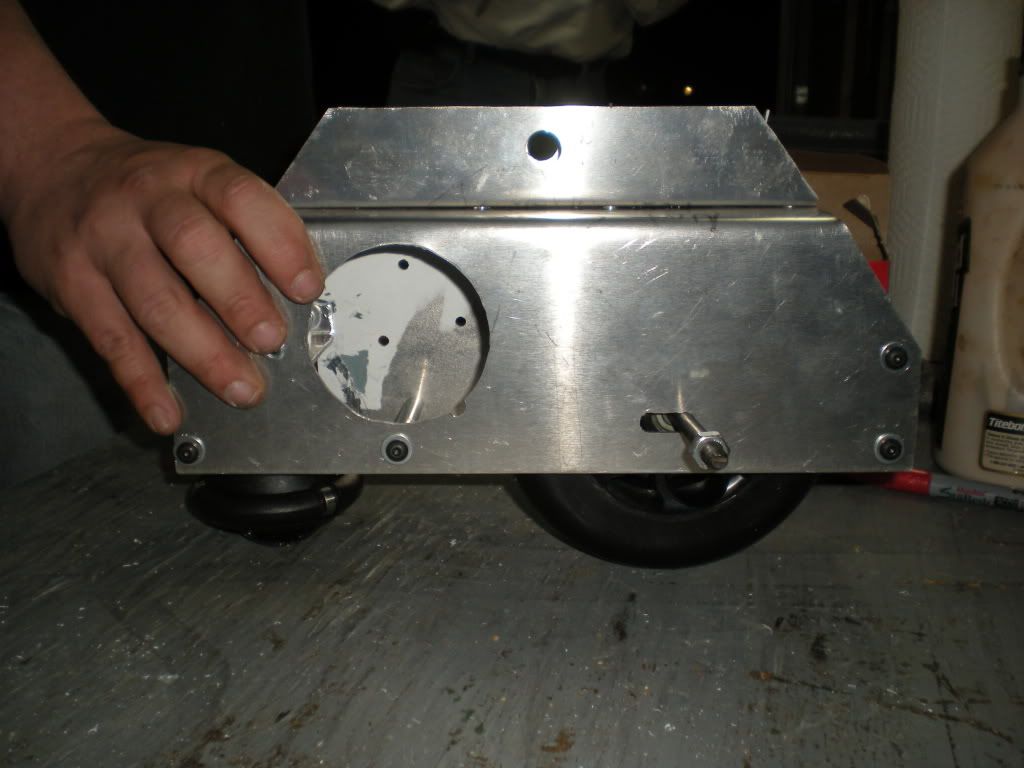
We installed the motor and wheel to make sure there would still be enough clearance after the pop rivets where installed.
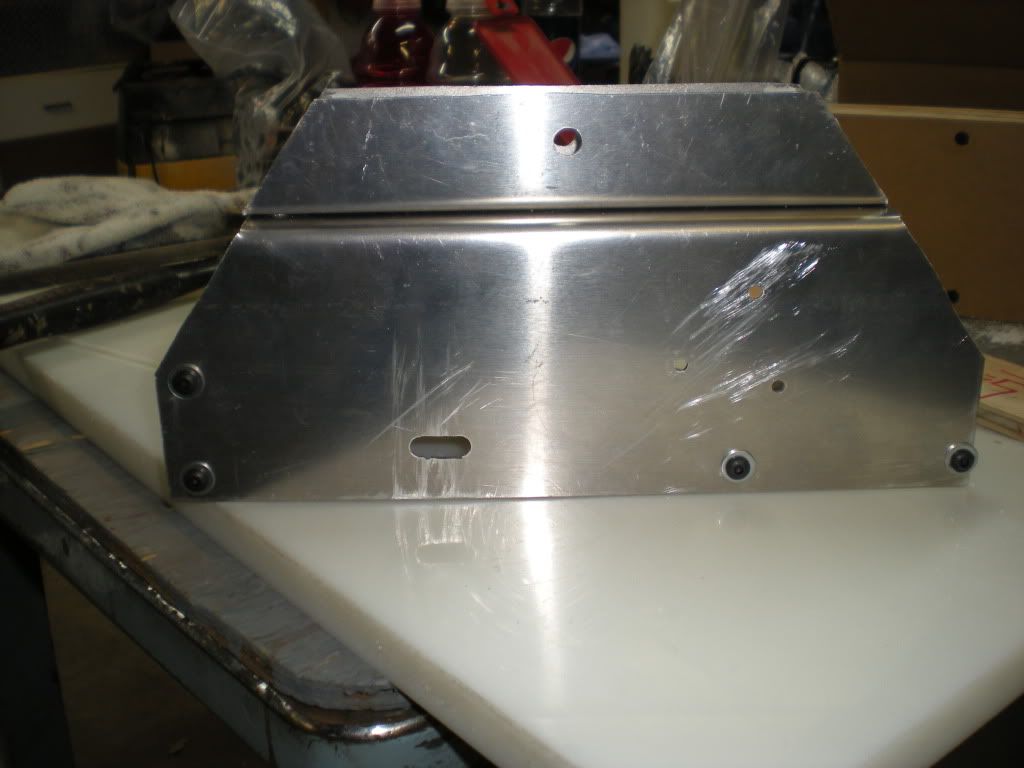
The ankle u-channel is offset on the motor mount, so the crew measured the distance using Moose's A&A motor mounts and JAG's foot shells to get the exact measurement.
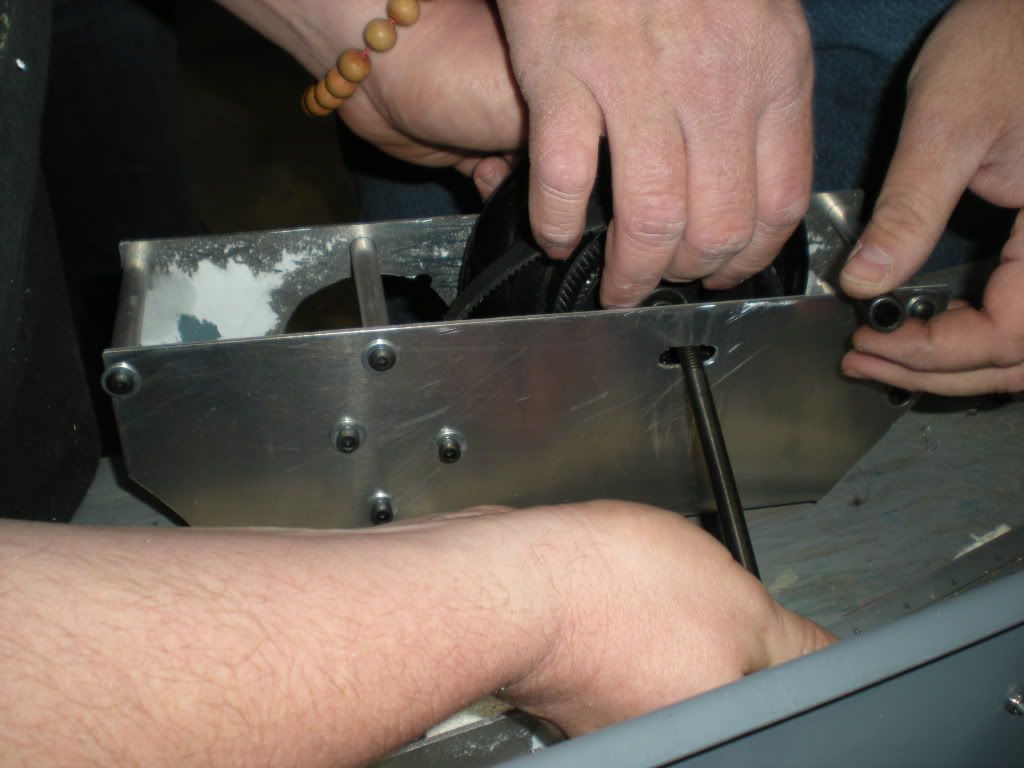
The motor mount and ankle pieces where held in place by c-clamps and vice grips while the holes were drilled and the pop rivets installed.

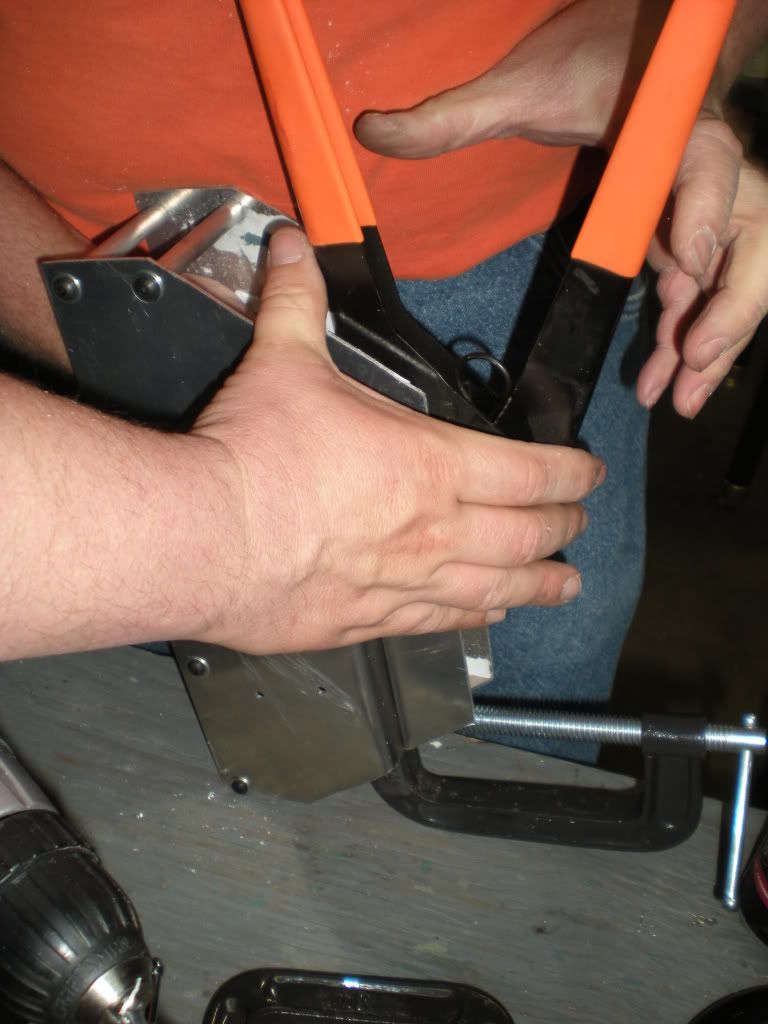

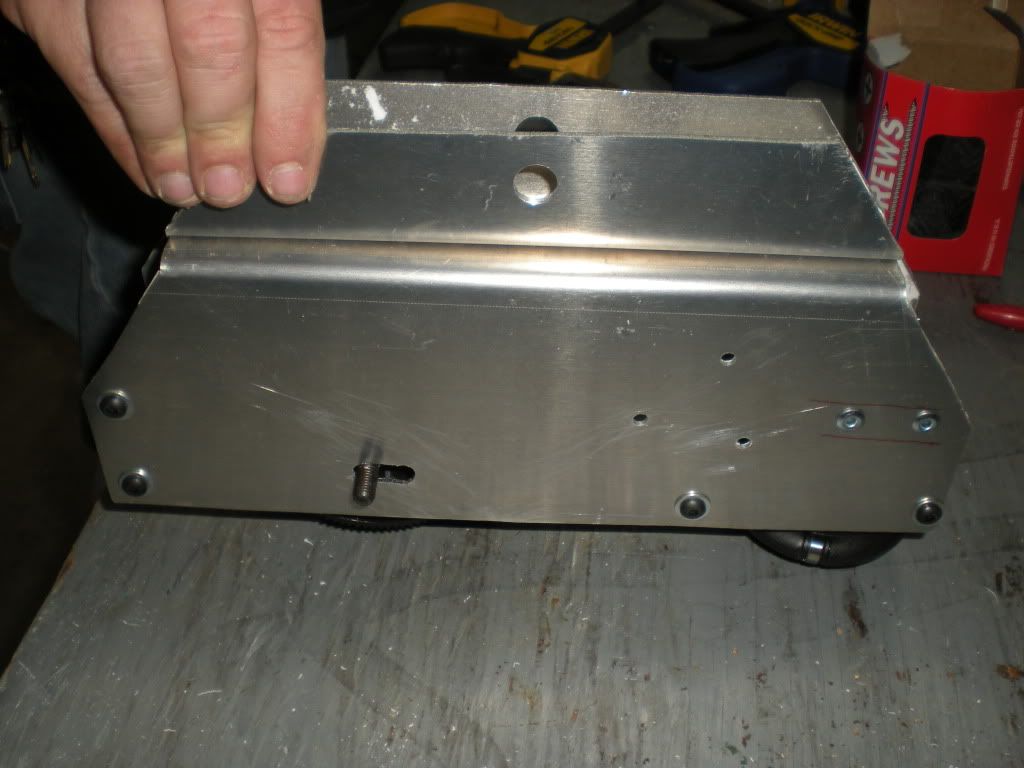
After two pop rivets were installed, the spacing was checked again.

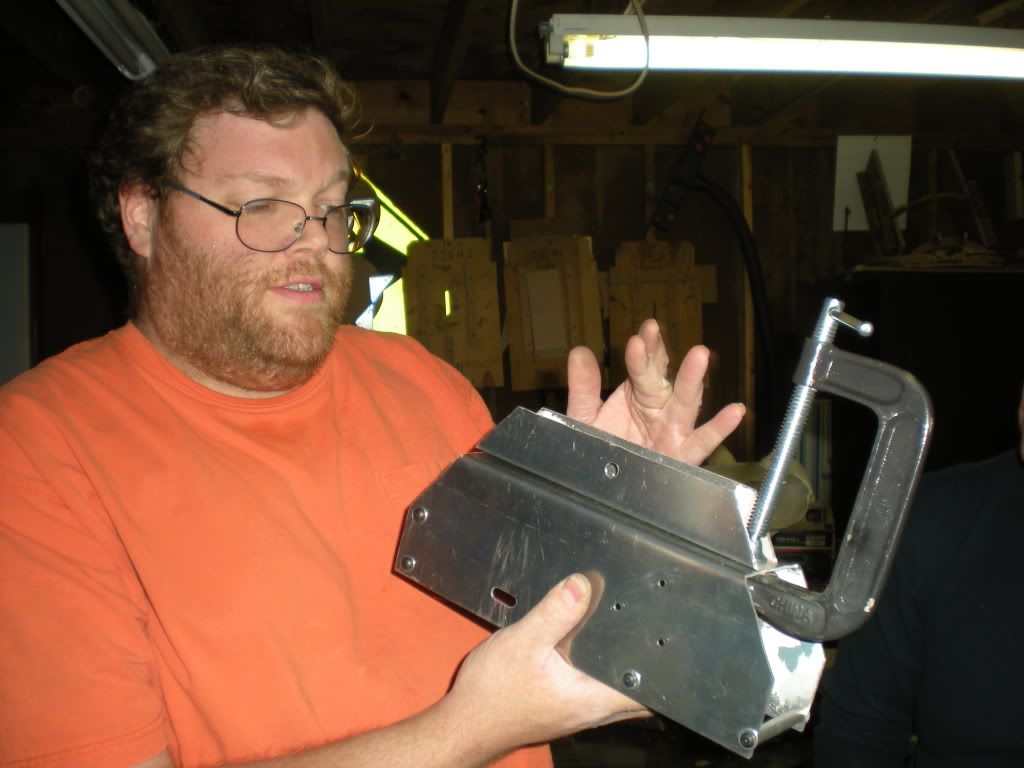
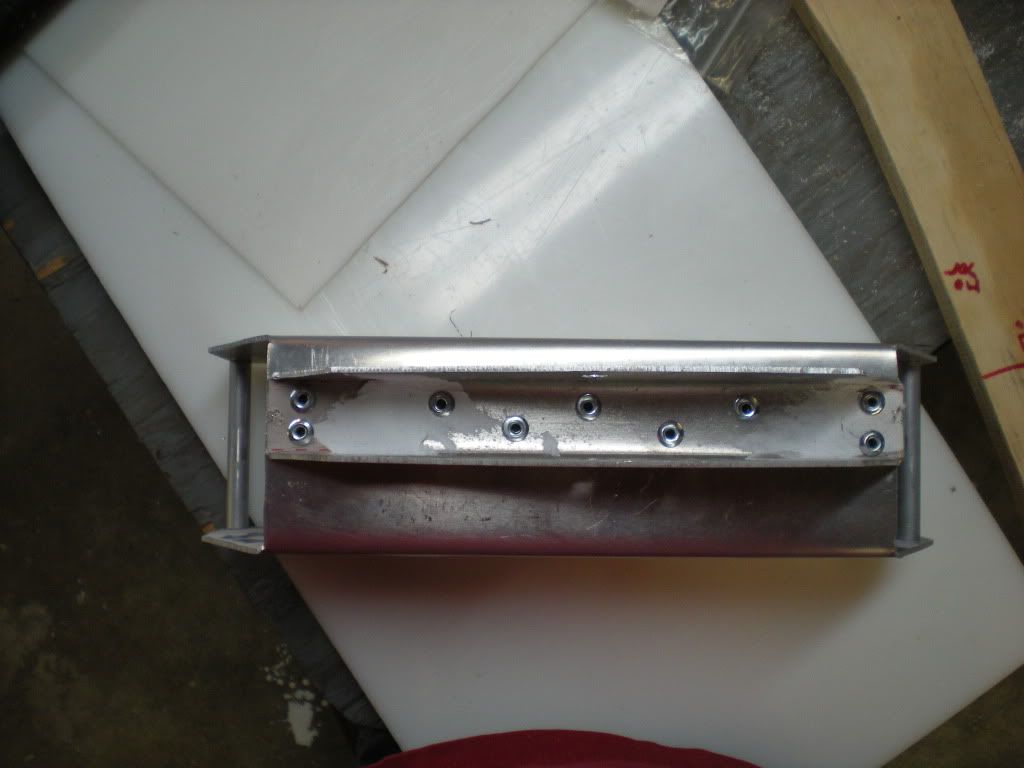
Okay, maybe we got a little crazy with the pop rivets; but this thing is solid.
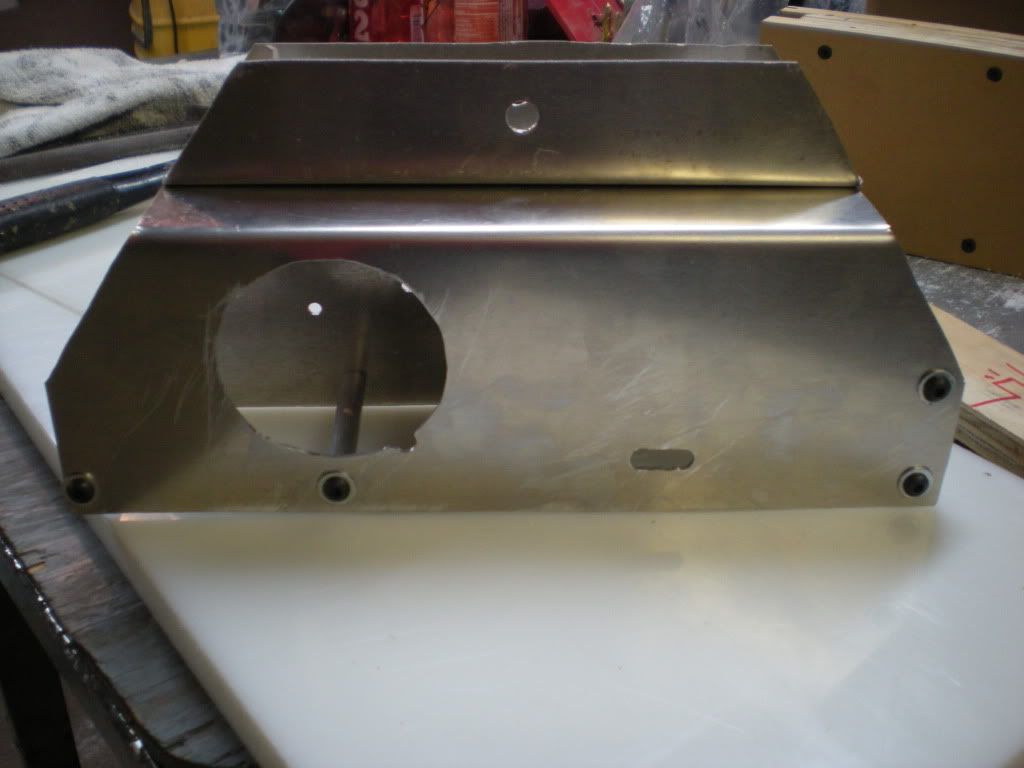
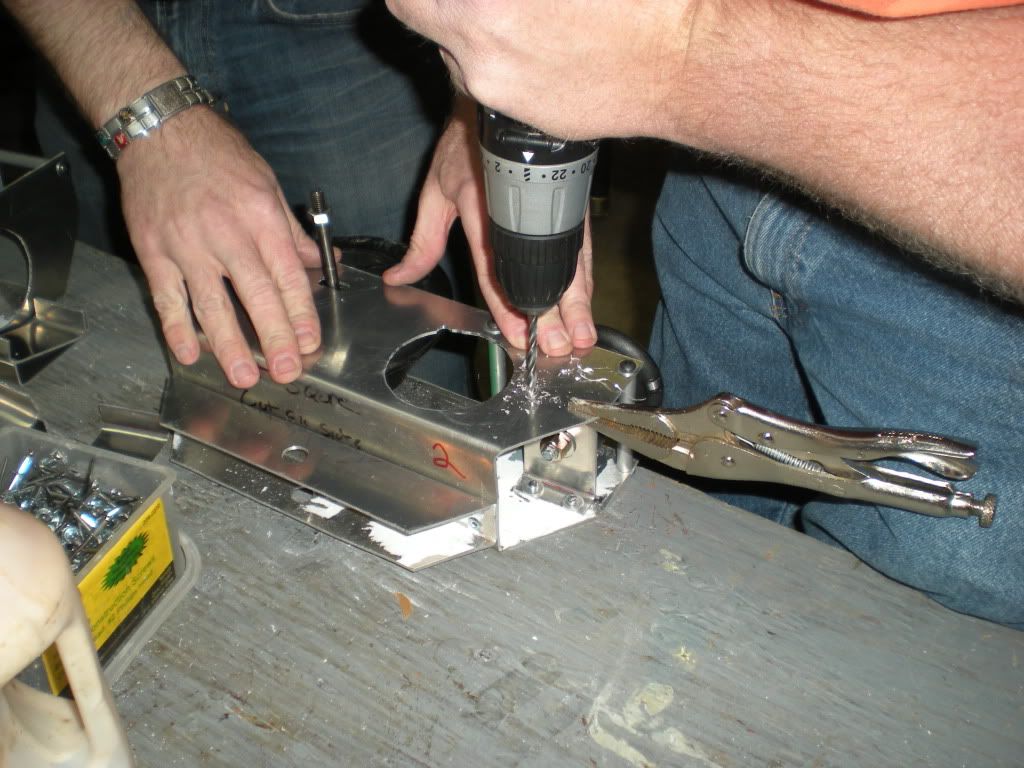
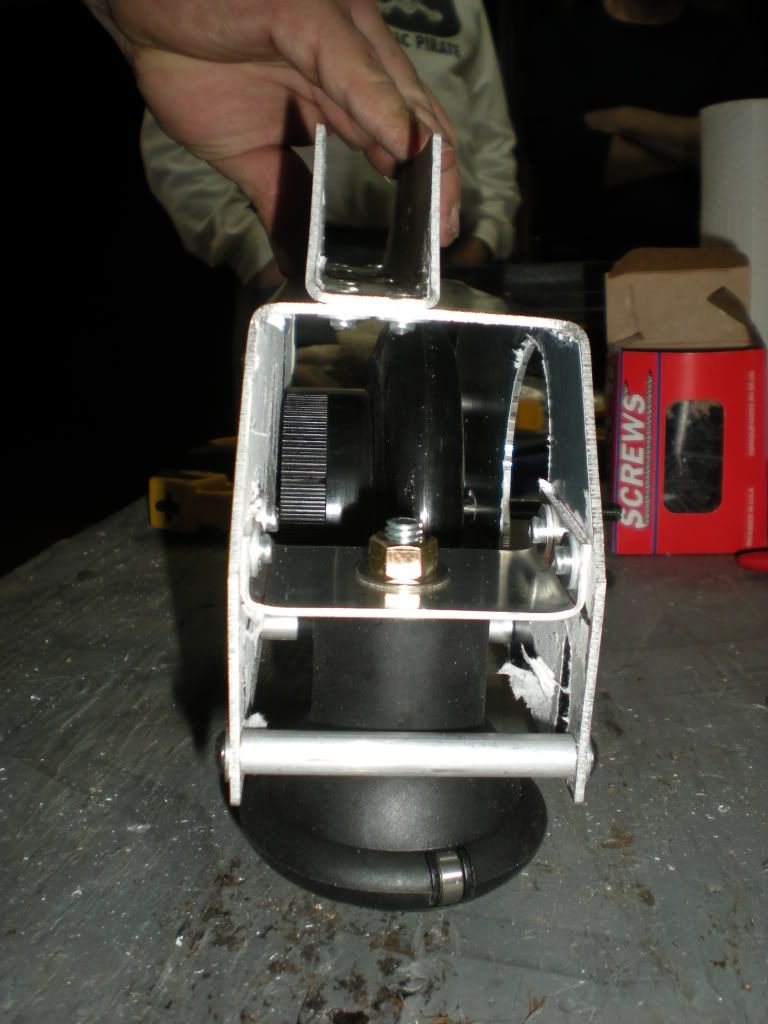
With a couple of ankle pieces attached to their motor mounts, internal u-brackets where cut and bent to hold the omniballs. Getting the bends right on these pieces seemed more like an art than a science, but the end product looked pretty good. A hole was drilled in the bracket for the omniball and then the crew held it in place with vice grips while they drilled holes in the side of the motor mount and through the sides of the bracket. The bracket was held in place by using the same pop rivets used to attach the ankle to the motor mount.


No comments:
Post a Comment