Tuesday, July 14, 2009

Routed Last Shoulder Hub

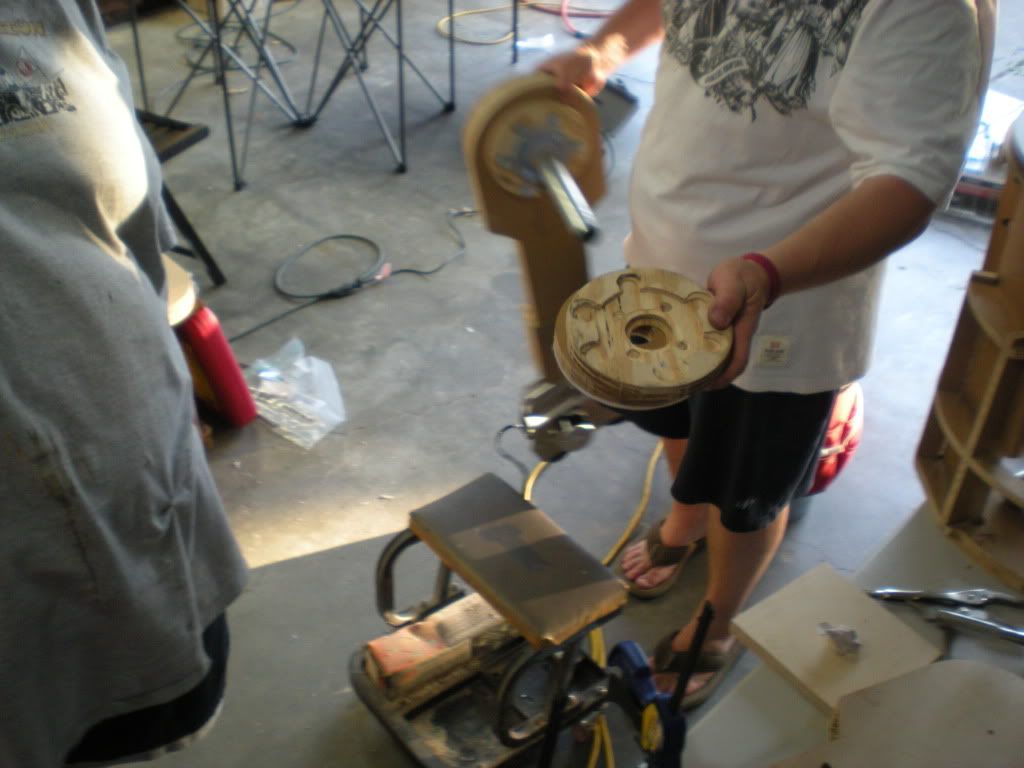
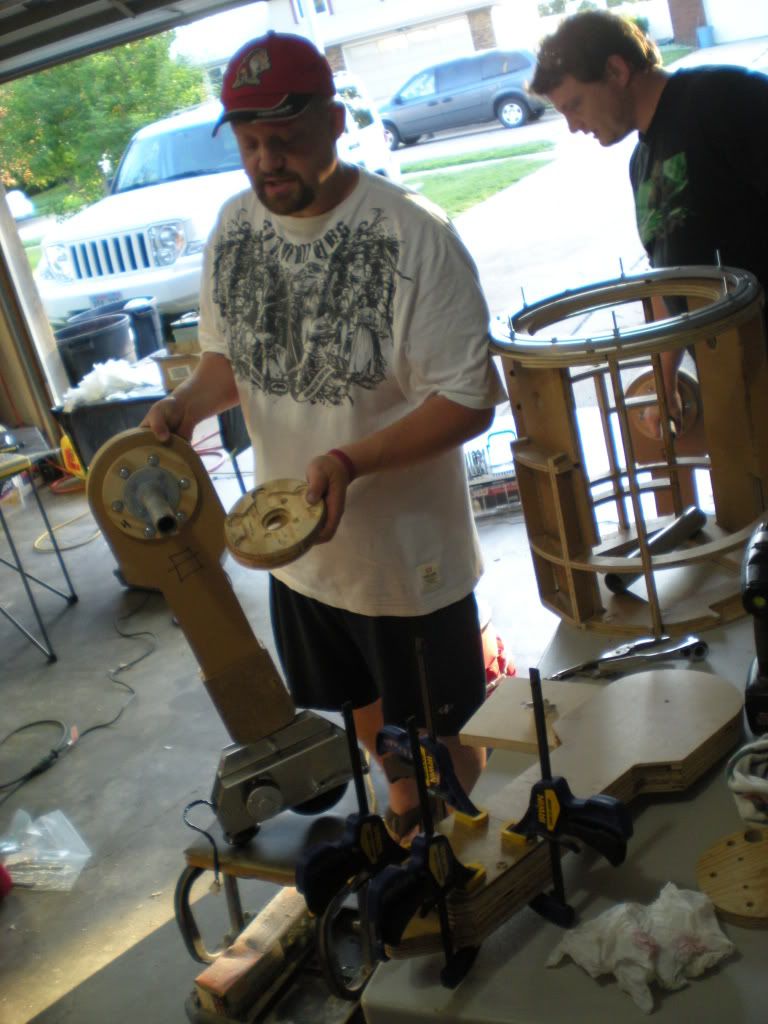
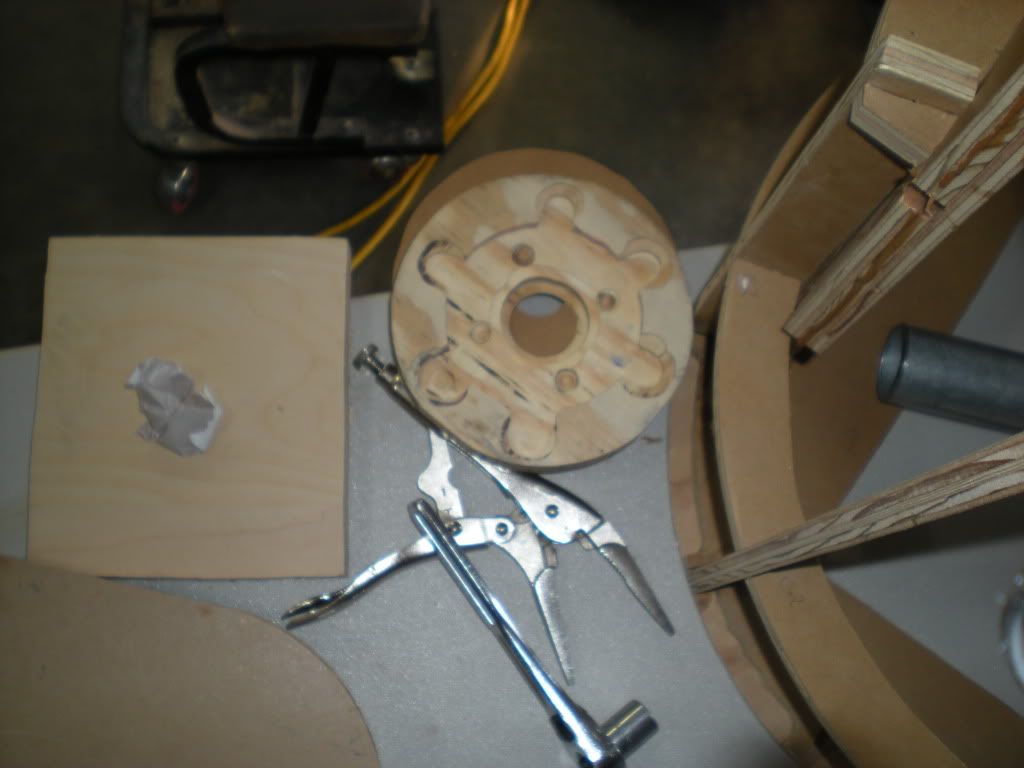
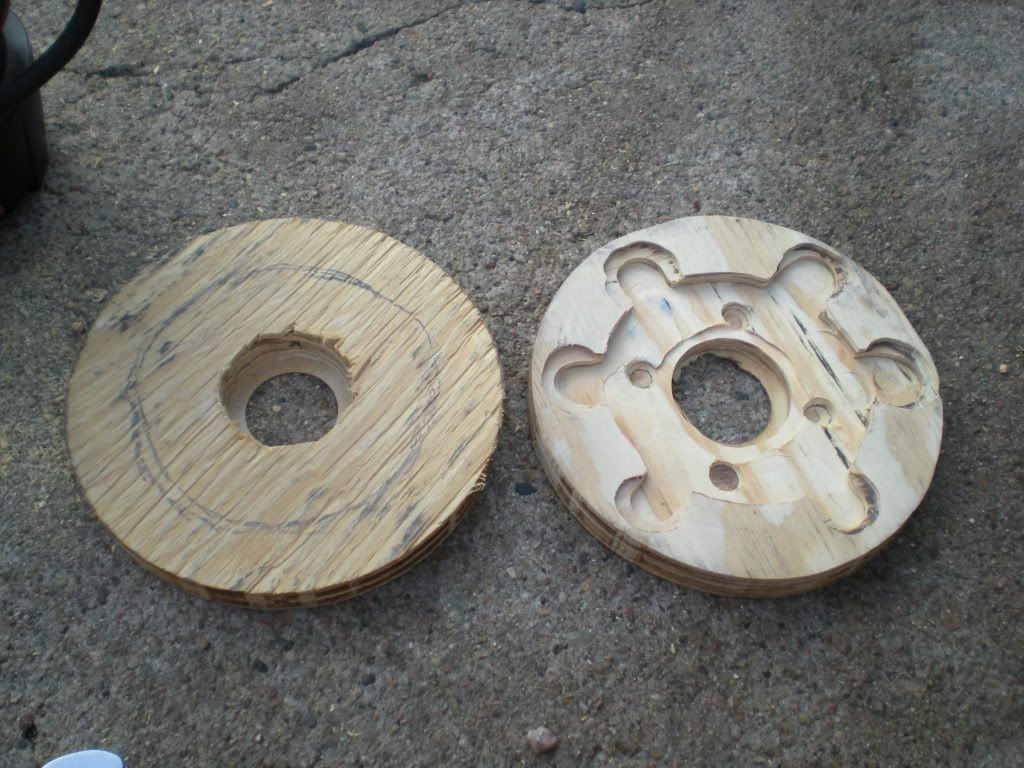
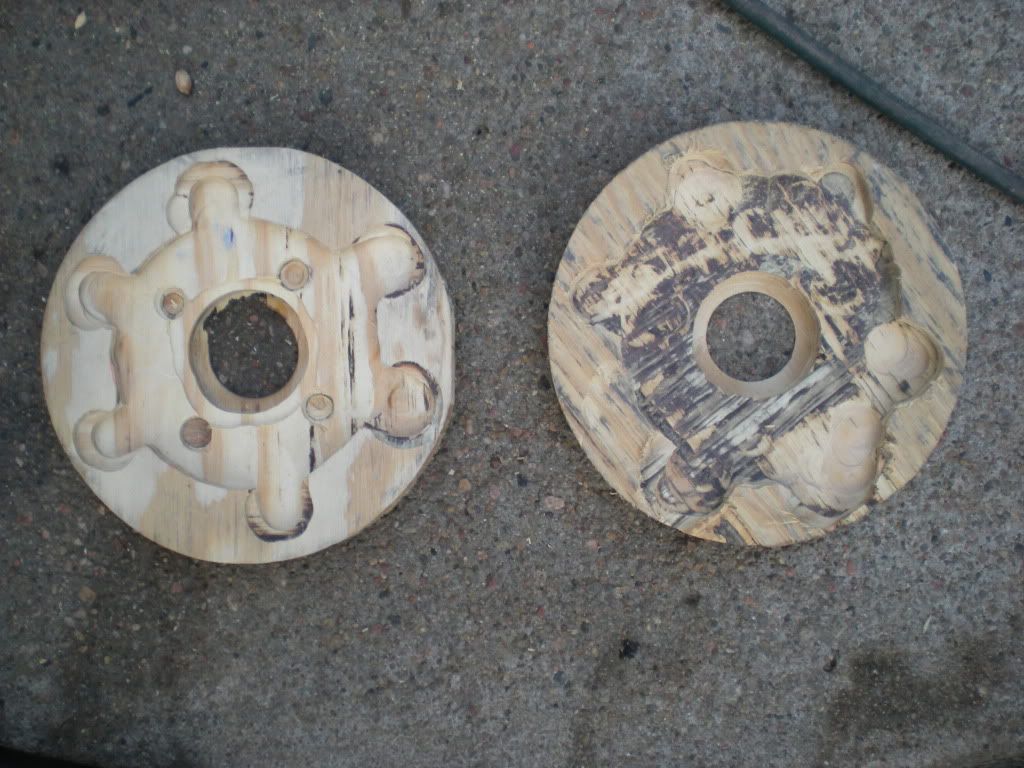
I routed out the remaining shoulder hub tonight's build. I spent a lot of time getting the routing to look exactly right on the first hub and I found out that I didn't need to be that precise. Using the first shoulder hub as my guide, I router the second enough to clear the shoulder bracket and hardware. I drew quite the crowd. I gave a clinic on all the wrong and least safe ways to work with a router. The hub got finished, and I came out of the experience without any cuts or bruises and with all my fingers.

Skirt

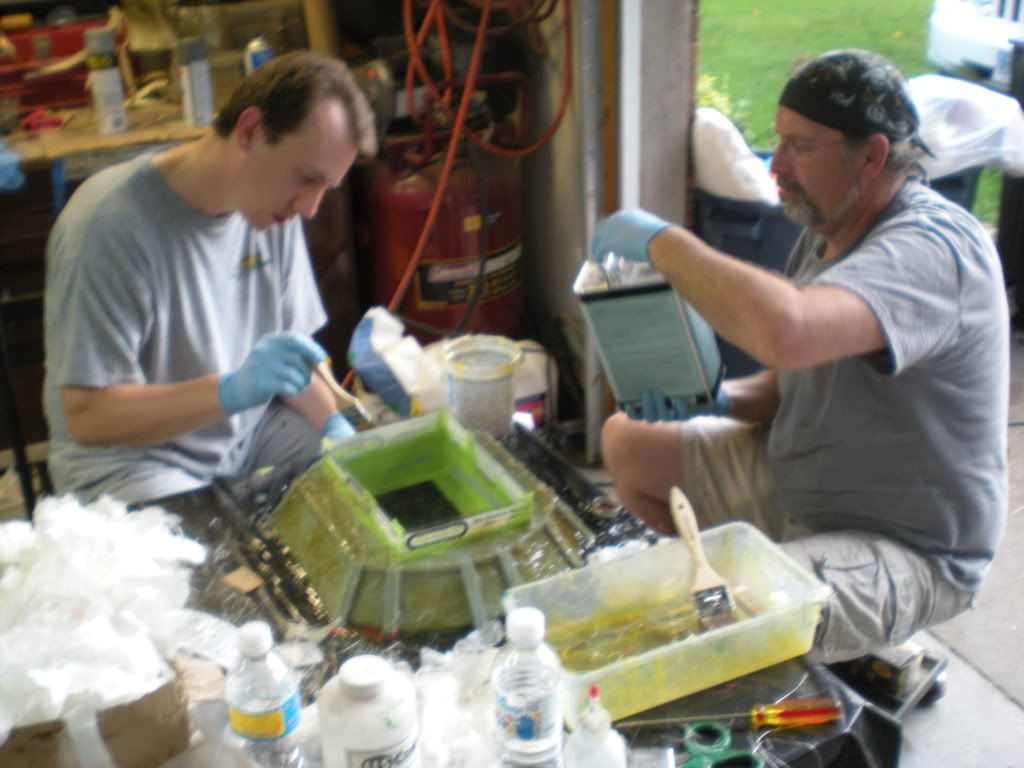
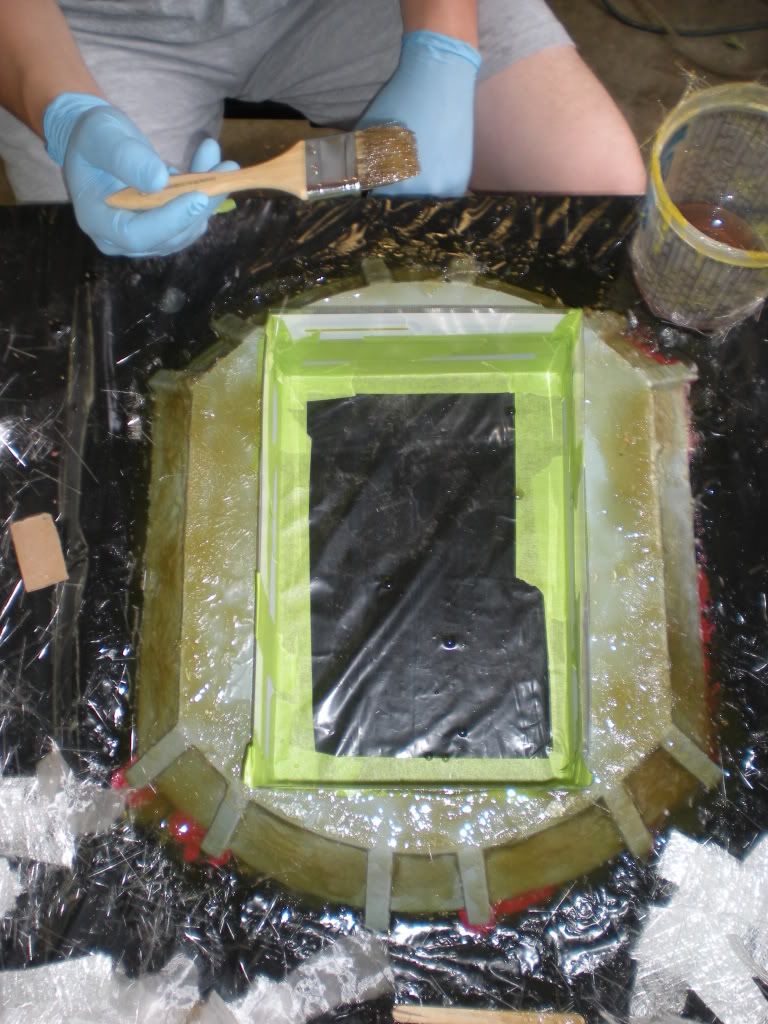
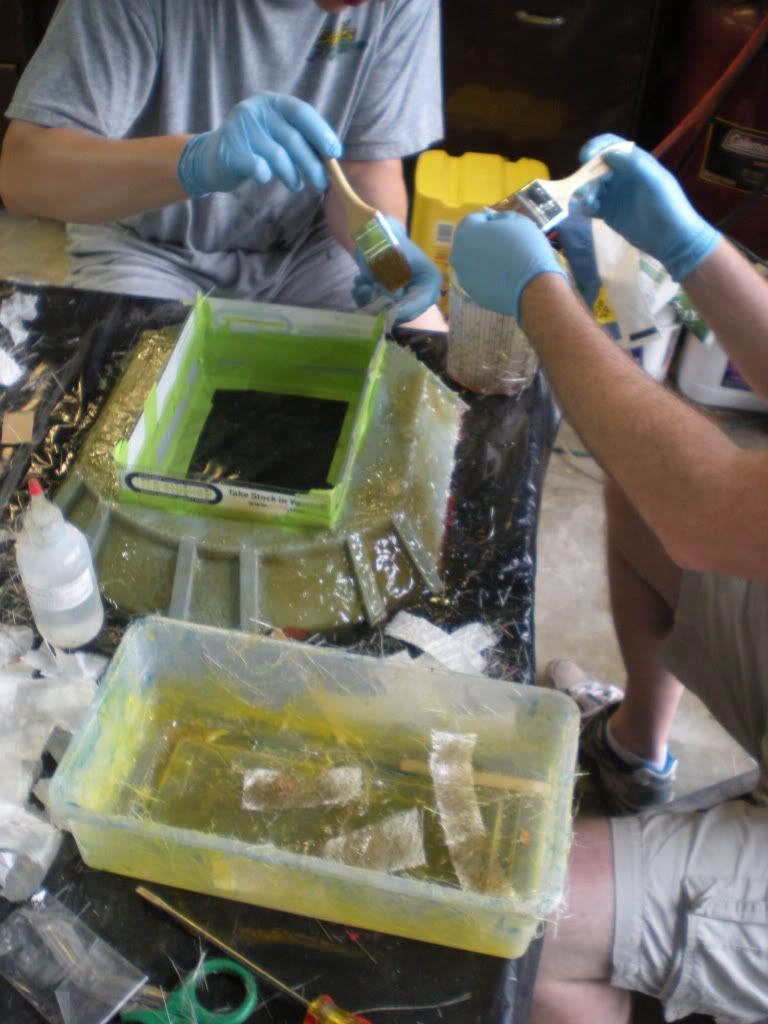
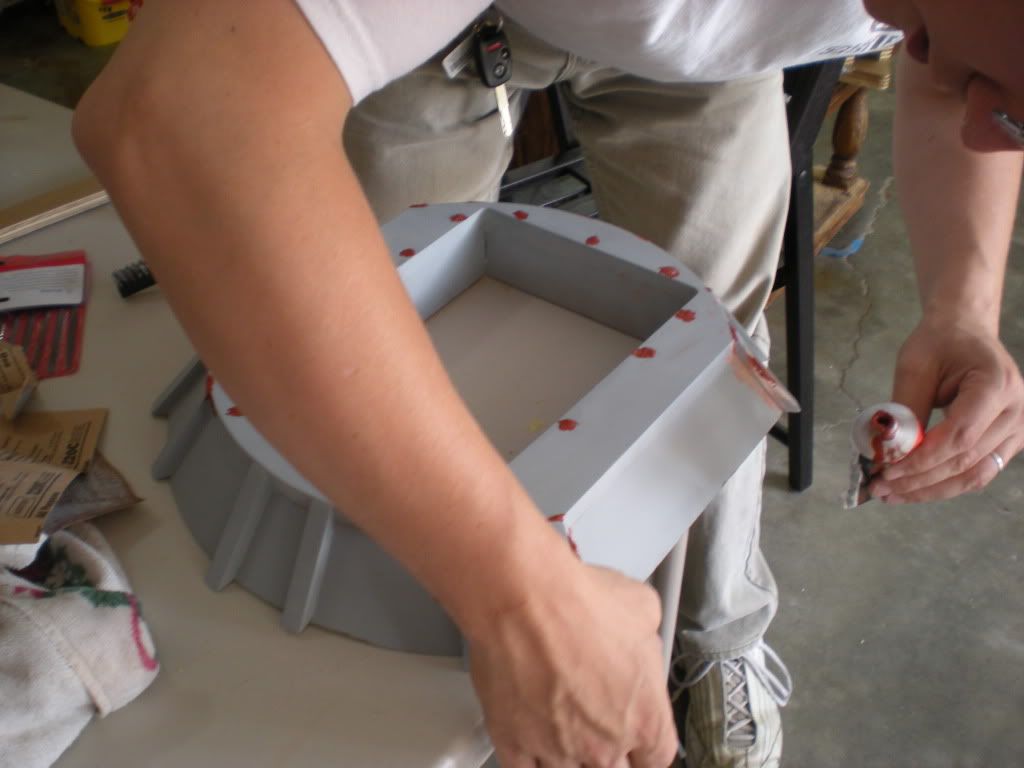
Jason and Brad continued to work on their fiberglass mold of the skirt. It's been a long time since I've done fiberglass. Wow, this stuff is messy.

Saturday, July 11, 2009

Up On Two Legs

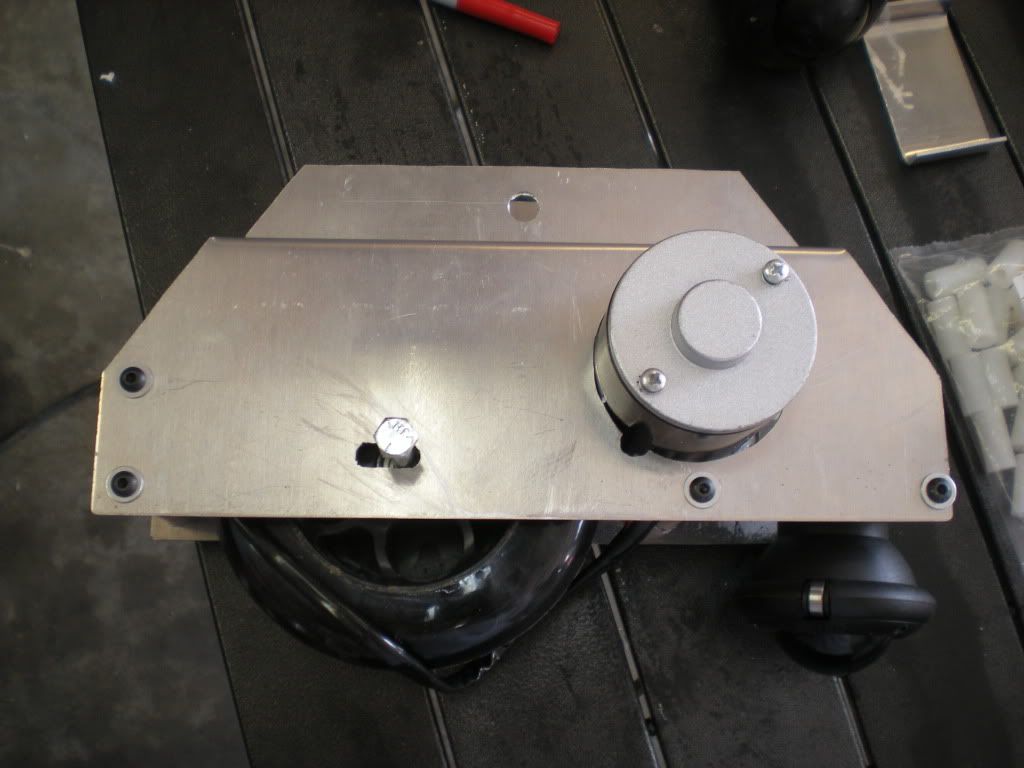
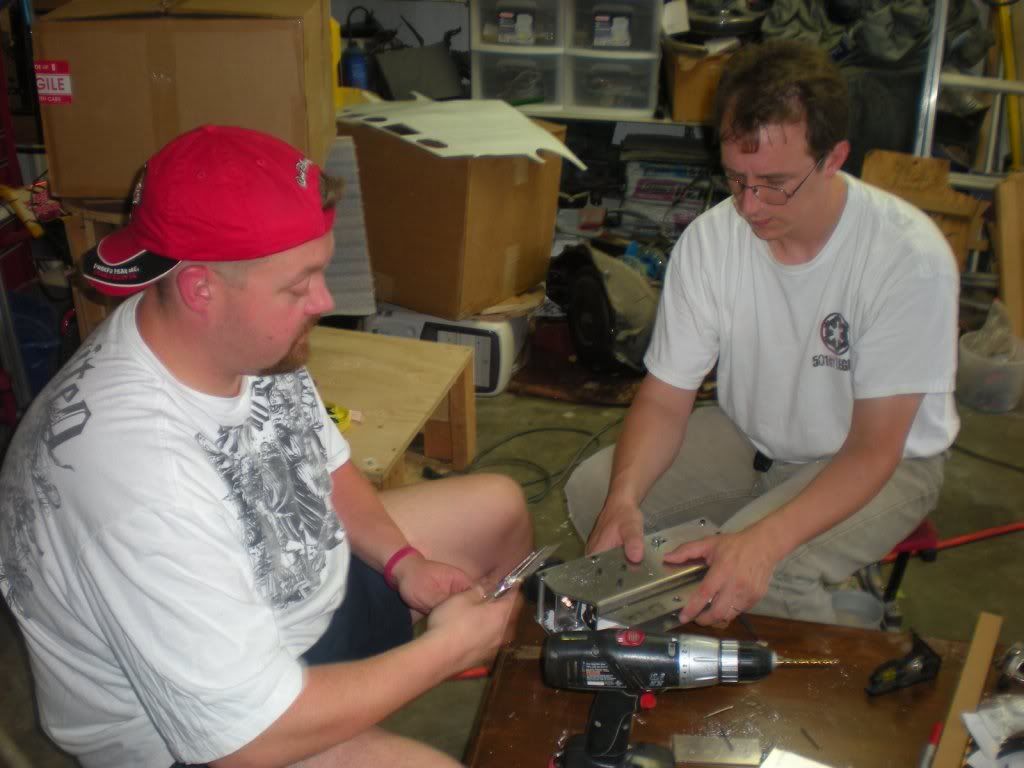
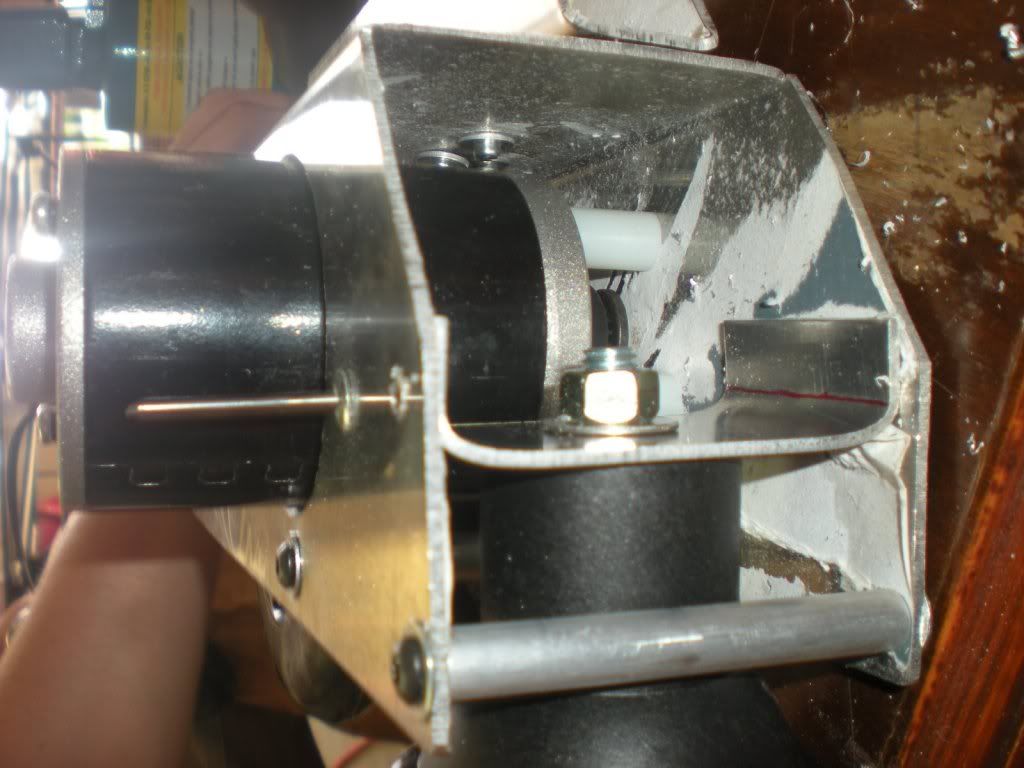
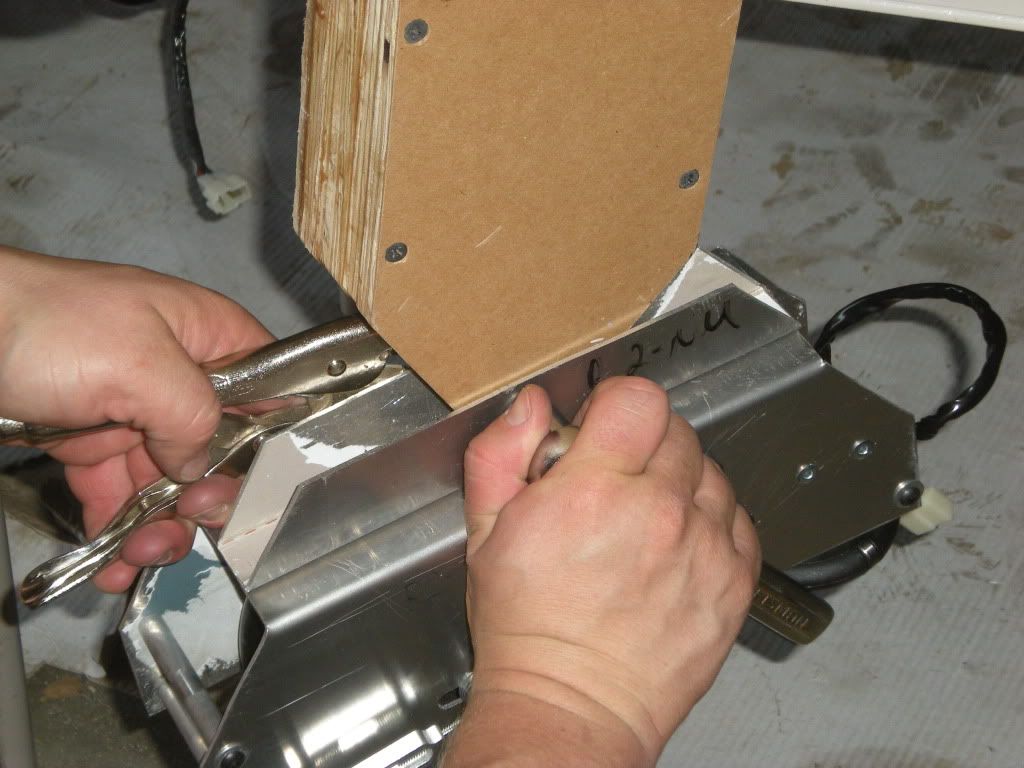
I worked on my motor mounts during the build day. I needed to add the U-bracket to hold the omniball. Jason helped me line up the brackets, drill the holes for the omniballs, and pop rivet everything together.


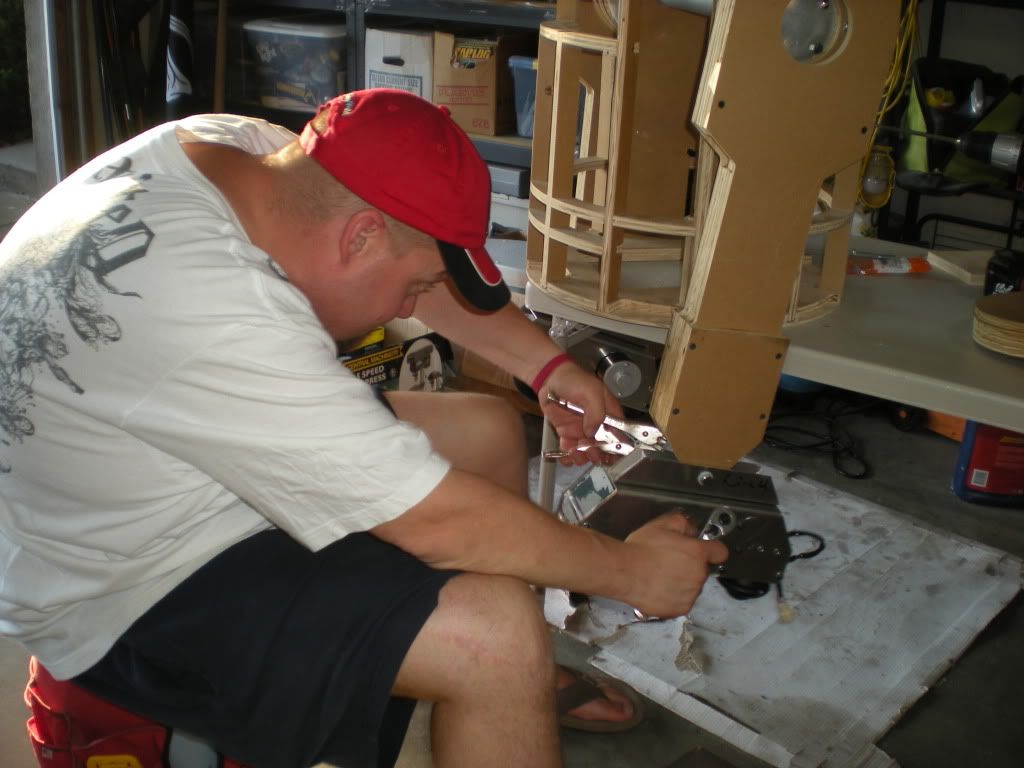
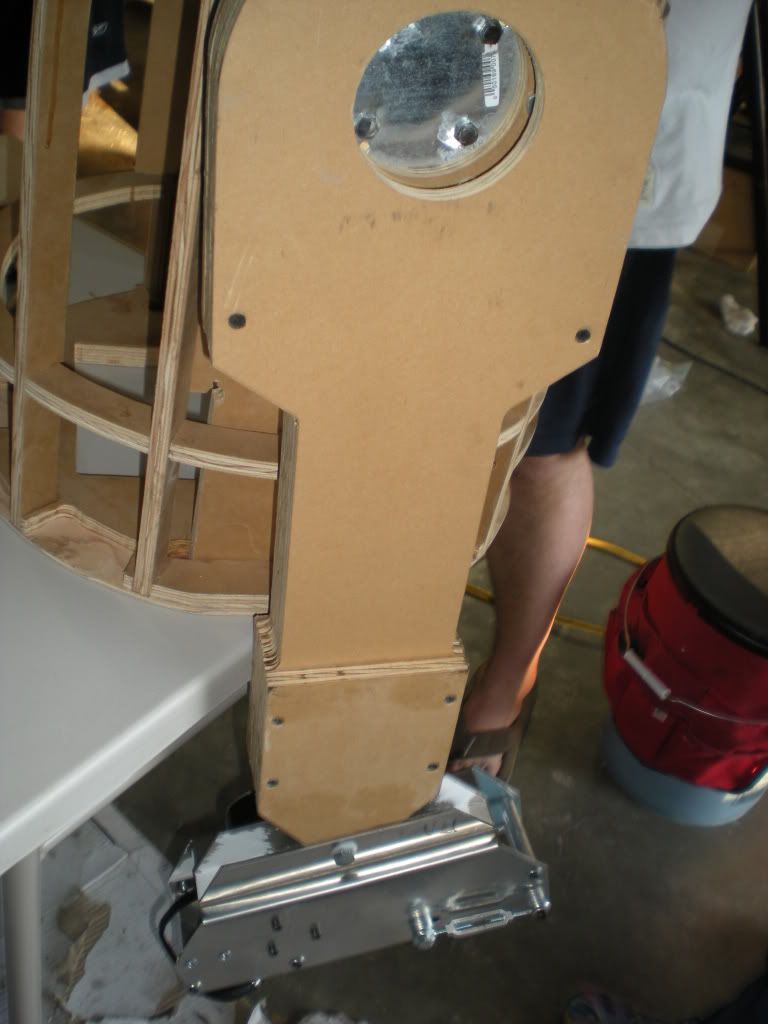
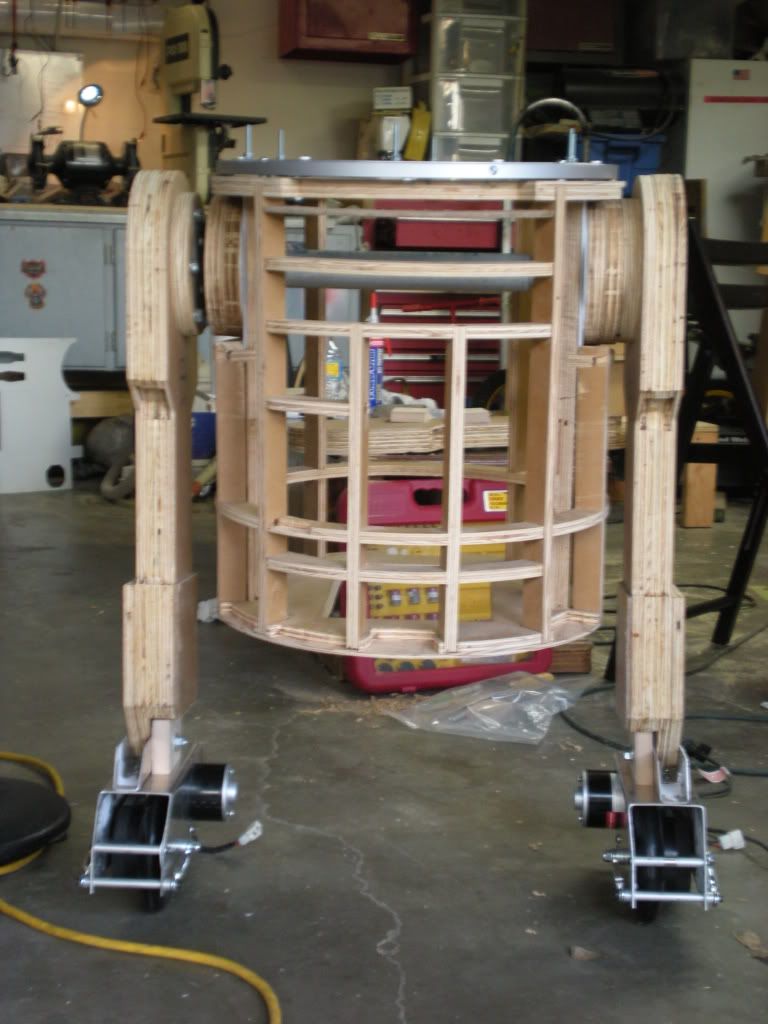
Once the modified Dan Baker motor mount/ankles were put together, another builder helped me attach them to the outer legs. Even though the temperature got hotter once the sun came out, I'm still not sure if I was being protected from the sun or being blessed.


Once the motor mount/ankles were attached, I got a little help disassembling R2-NU. I wanted to add some chocks between the feet and legs stand R2 on two legs during OSFest next week.


While I had the legs off, Jeff and Dawn wanted to see you I routed out one of the shoulder hub leg spacers to hide the leg bracket and hardware.


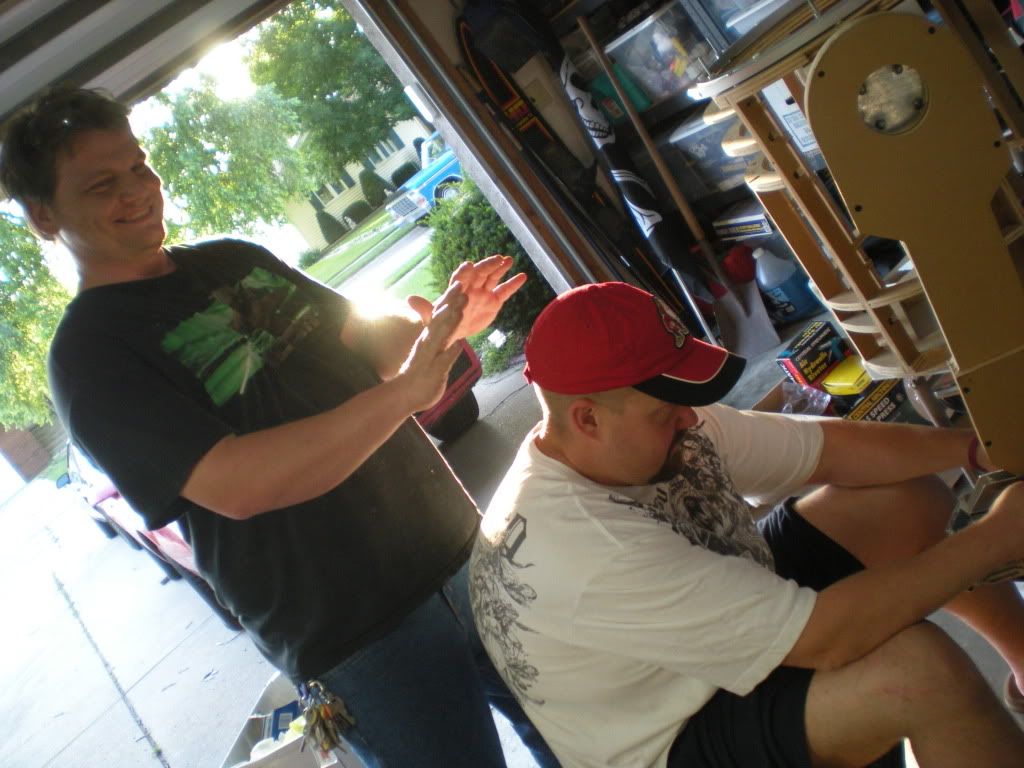
As I was showing off my shoulder hub, another builder decided to walk around the garage with my newly assembled legs as crutches.


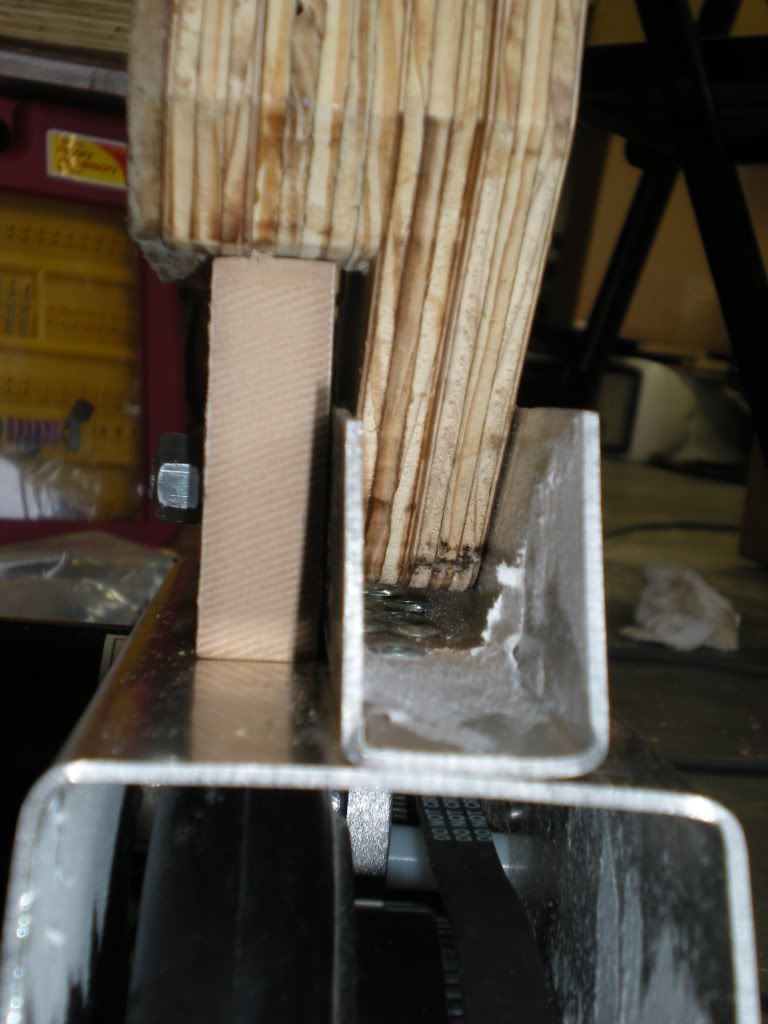
I cut chocks the size of the game between the outer leg and the motor mount. I then drilled a hole in the center of the chock and held everything in place with a nut and washer.


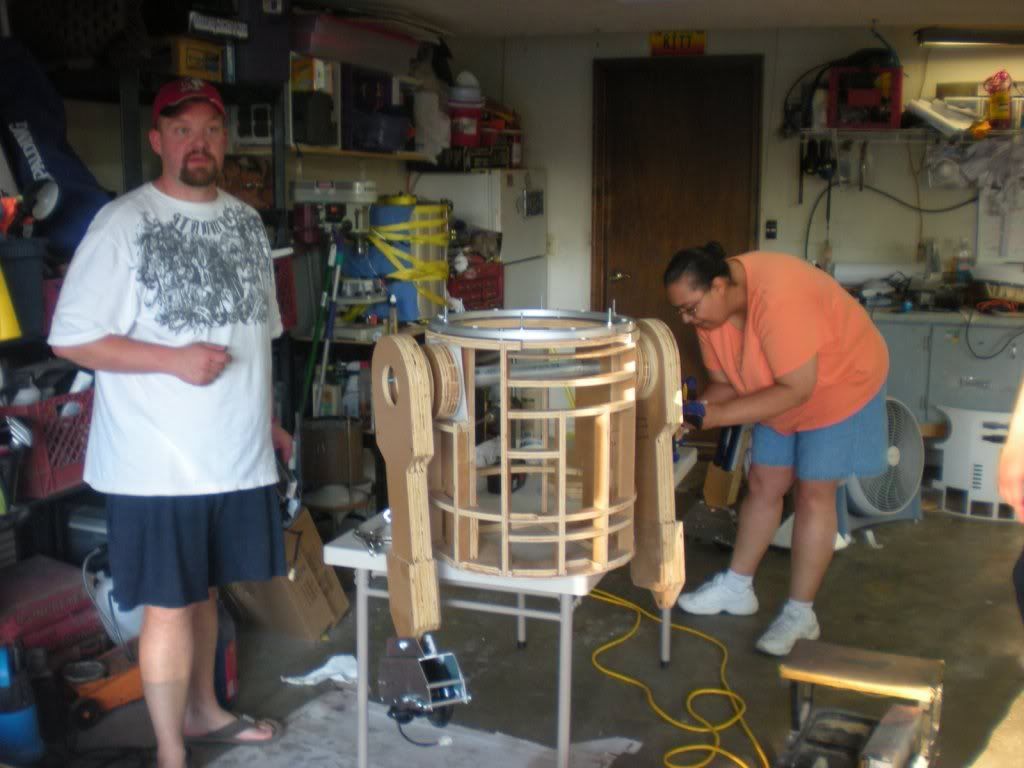
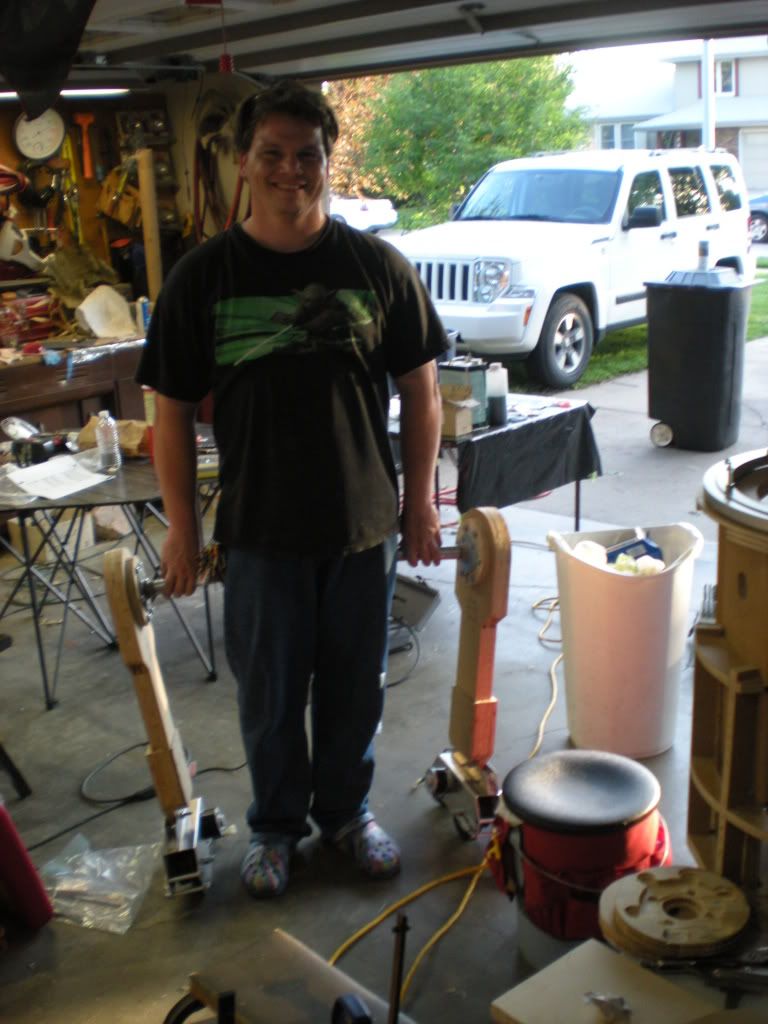
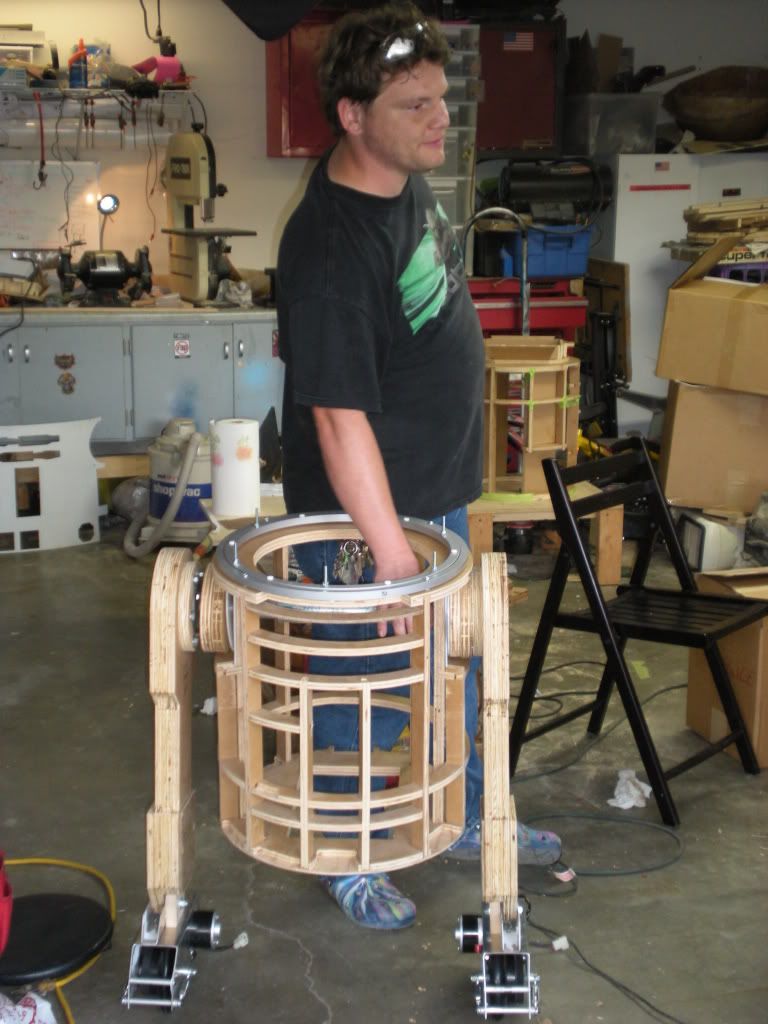
FINALLY!!! R2-NU is up on two legs!!! Everyone was amazed at how stable R2 seemed without any kind of attachment for the center connecting pipe. R2-NU leans forward just a little. This will all be taken care of later when additional hardware is added for the 2-3-2 functionality, but he looks pretty good now!


Fiberglass Skirt Mold

The group got together today at Brad's house for a little building. Jason and Brad started us off by priming Jason's skirt and filling the holes and cracks left by the skirt assembly. I had to leave before they did it, but the two made a fiberglass mold of the skirt so the group can pour resin skirts.

Tuesday, June 23, 2009

Rockler Bearing Installation

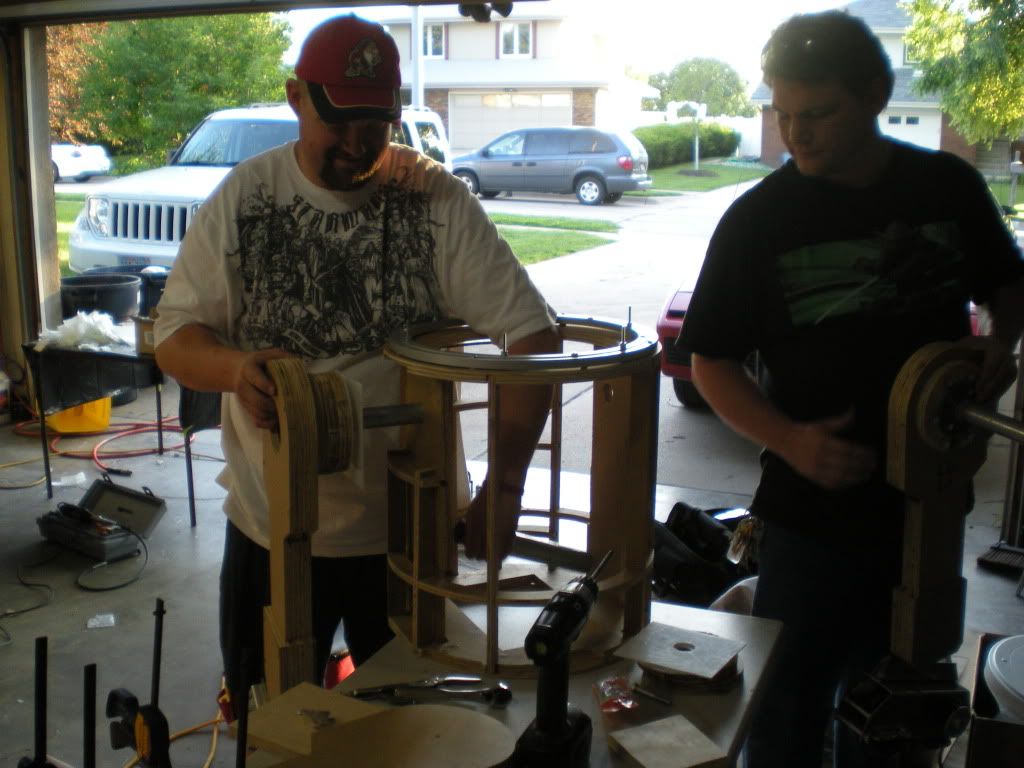
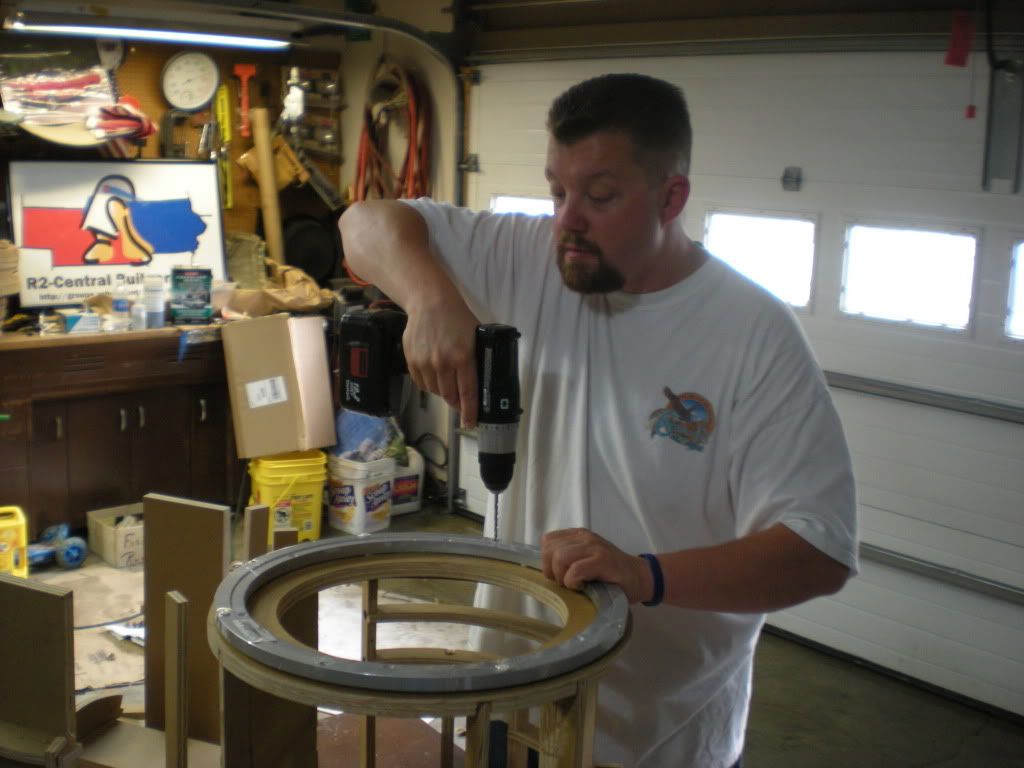
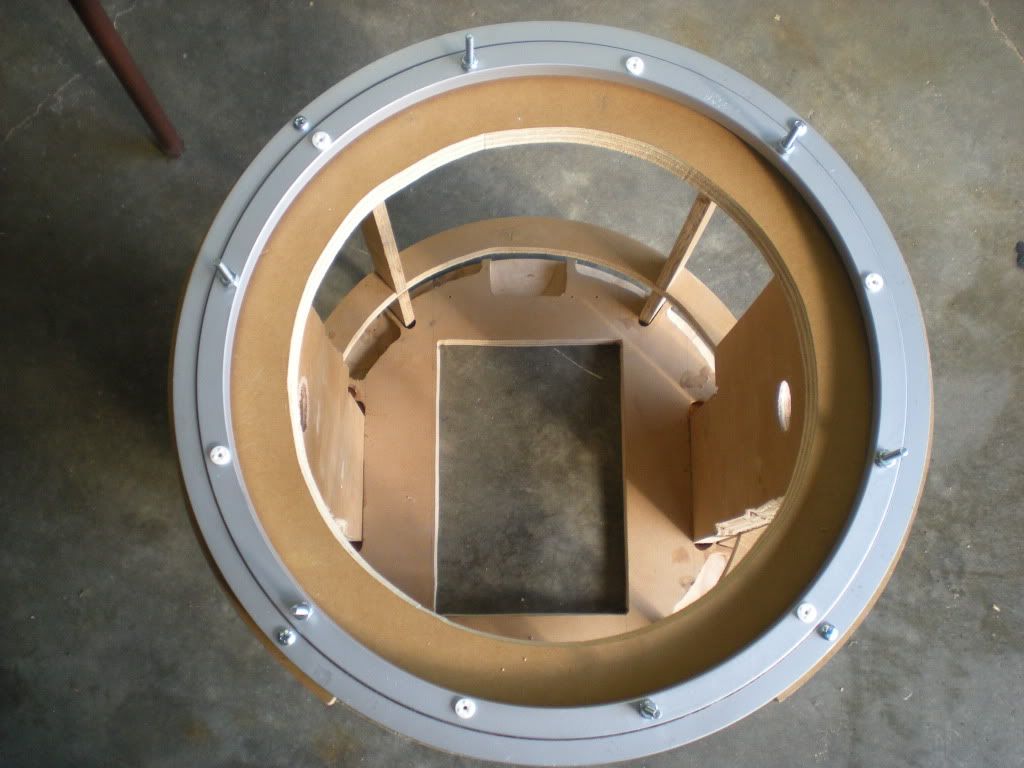
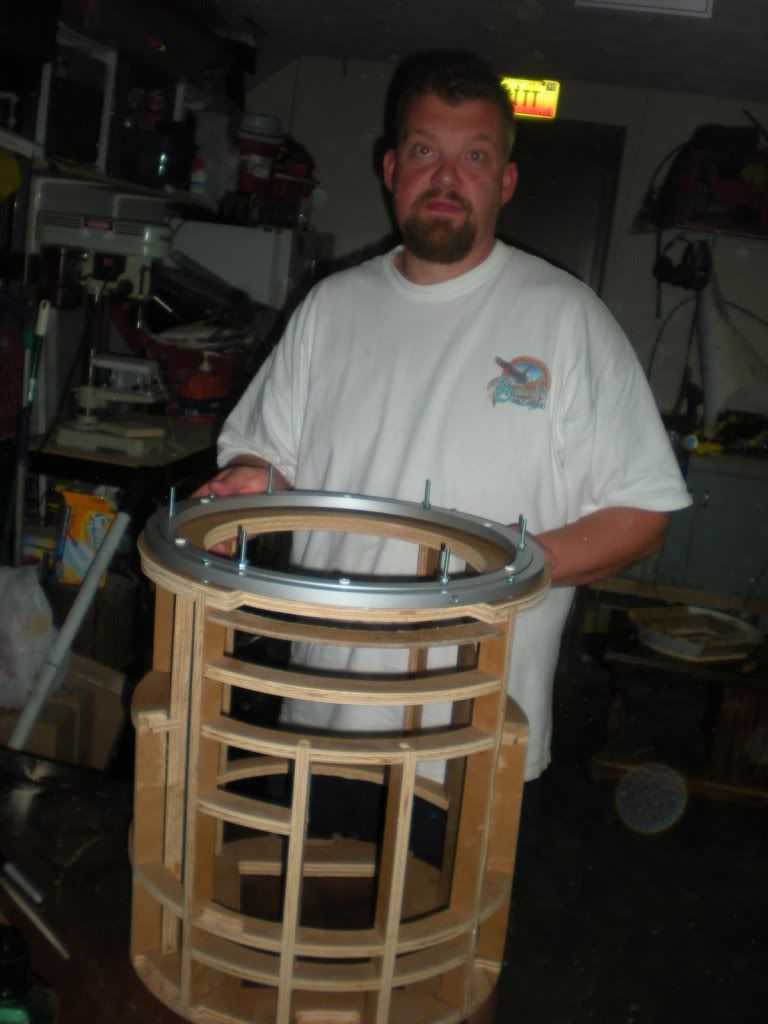
The Rockler Bearing is a Lazy Susan mounted to the top of the frame that allows the dome to turn 360°. The outer ring is attached to the frame and the inner ring holds the dome. The bearing comes with eight pre-drilled holes in the bottom of the outer ring with plastic spacers/feet used to prevent it from resting completely on the surface it is mounted to. Four of the plastic spacers were removed and the holes were drilled completely through the outer ring.


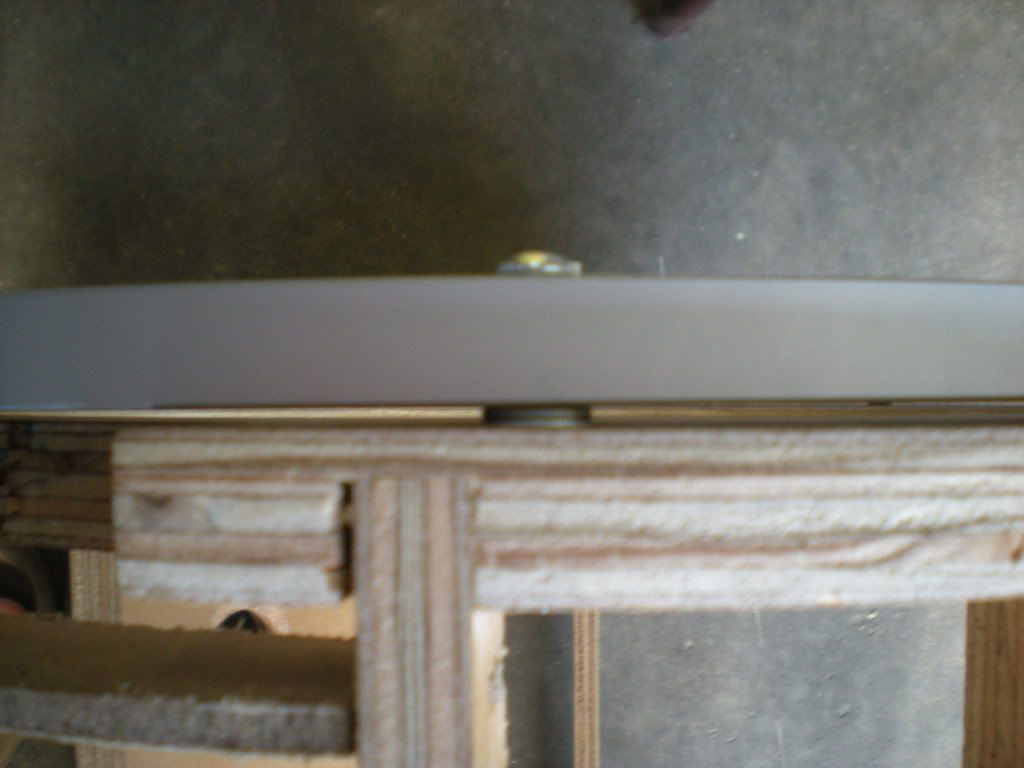
Once the holes were drilled in the outer ring, it was turned over, centered on the wood frame (done by feel because this will probably have to be adjusted later after the skins are added), and four 1½” sheet metal screws were used to attach the Rockler Bearing to the frame (no pilot holes where drilled). Two washers for each screw were added to the underside of the outer bearing ring to match thickness of the plastic feet of the outer ring. The mounting screws stick out the bottom of the frame slightly, so the should be replaced later with 1¼” screws.


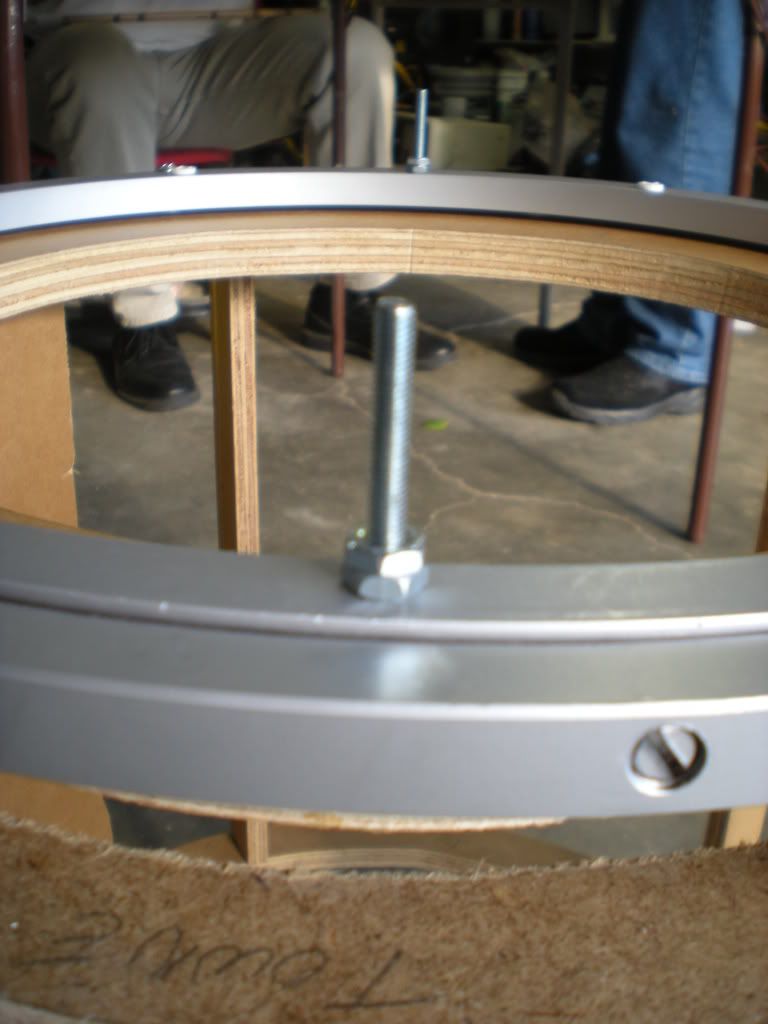
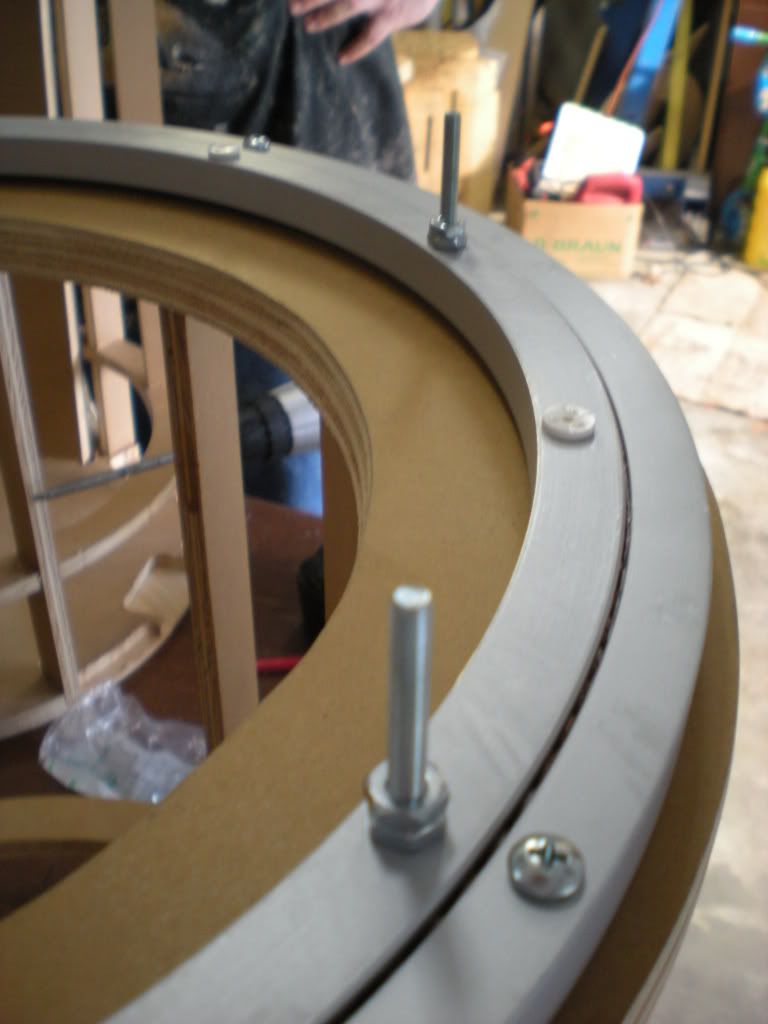
Six 2" bolts where inserted in the six countersunk holes on the underside of the inner ring. The bolts where held in place by two nuts. The plate that holds the dome will rest on the top of the nuts. Depending on how needed dome height, more nuts can be added to the six bolts.


After the ring was installed I checked to see how the bearing turned. It seemed a little stiff, so I loosened the outer ring bolts slightly and it turned easier.