I started cutting my dome with a hand saw again. This is a very long and tedious process.


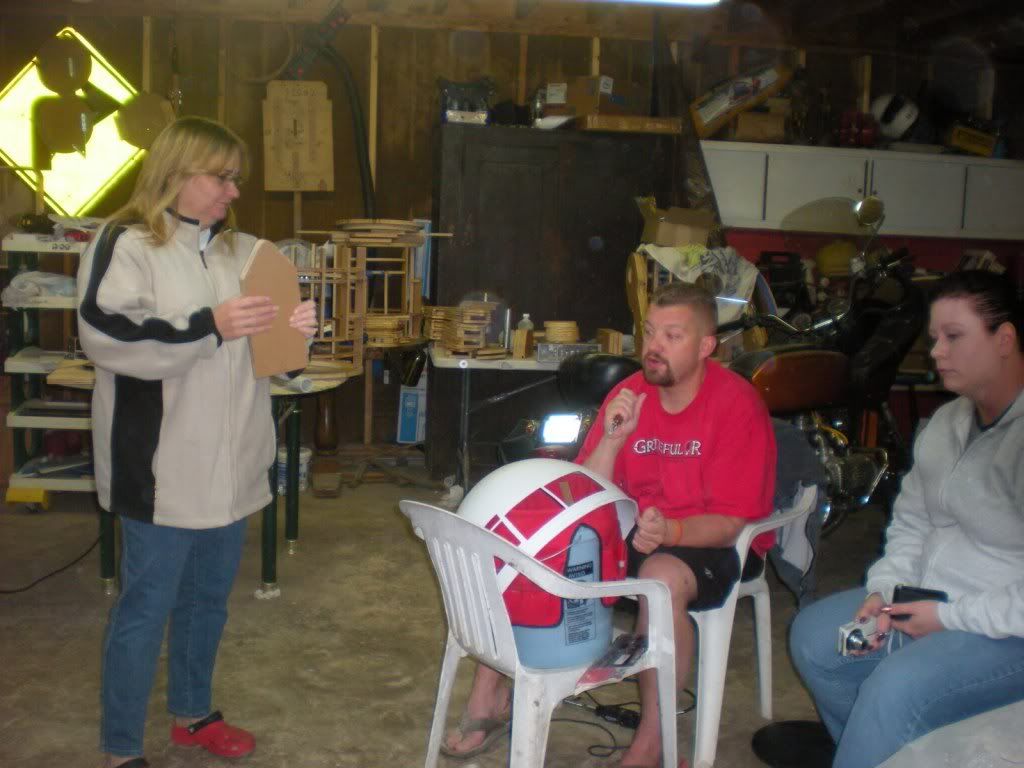
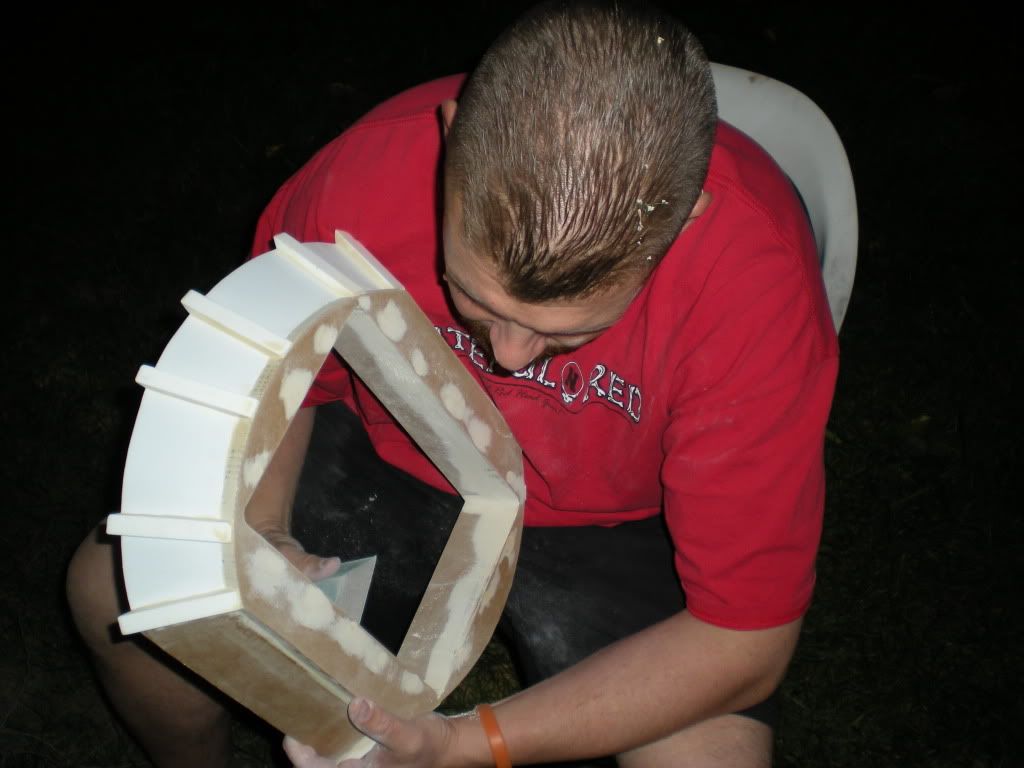
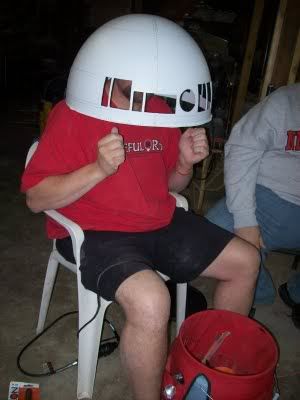
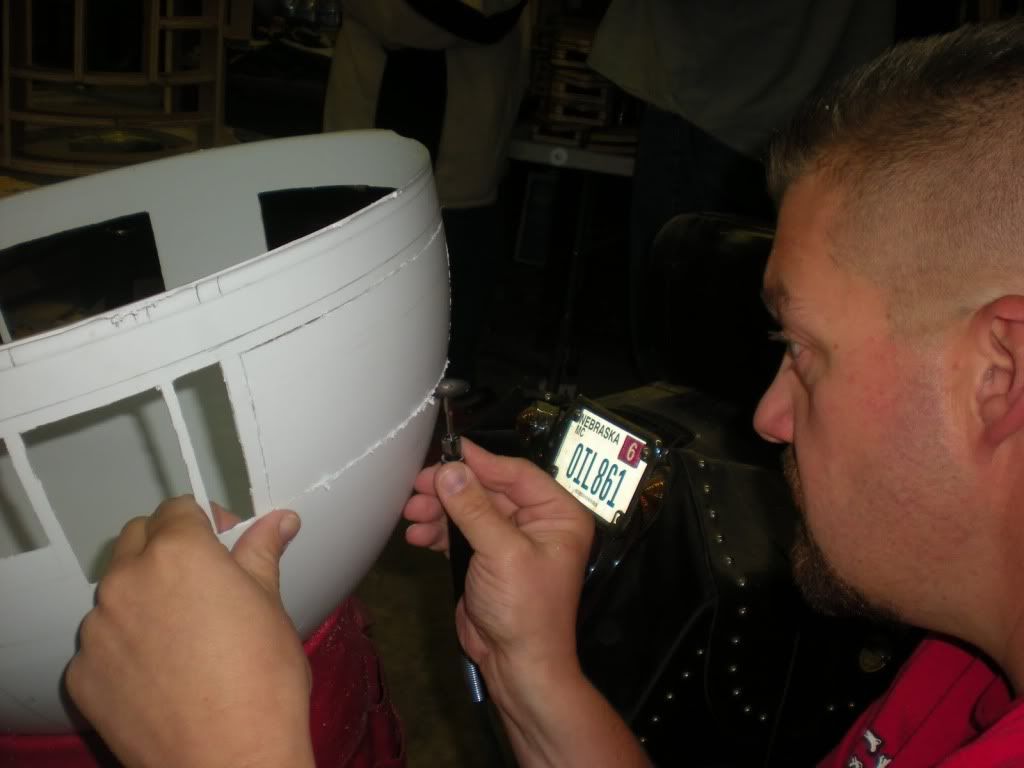
I don't know what it is about R Series domes, I just have to try them on.
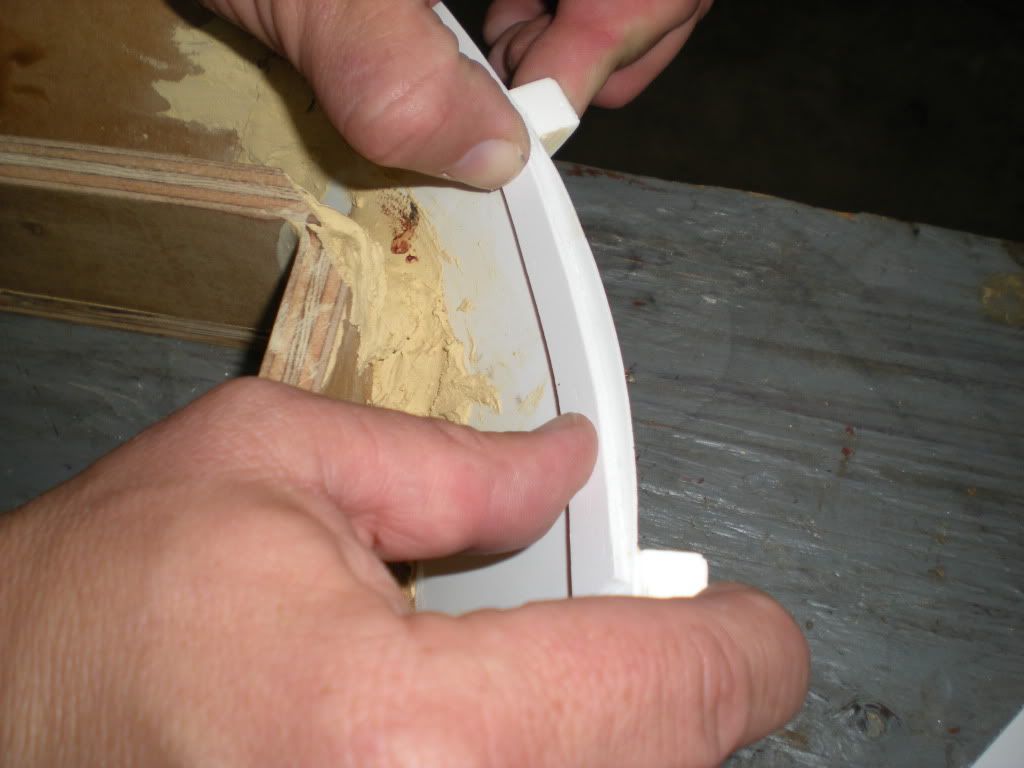
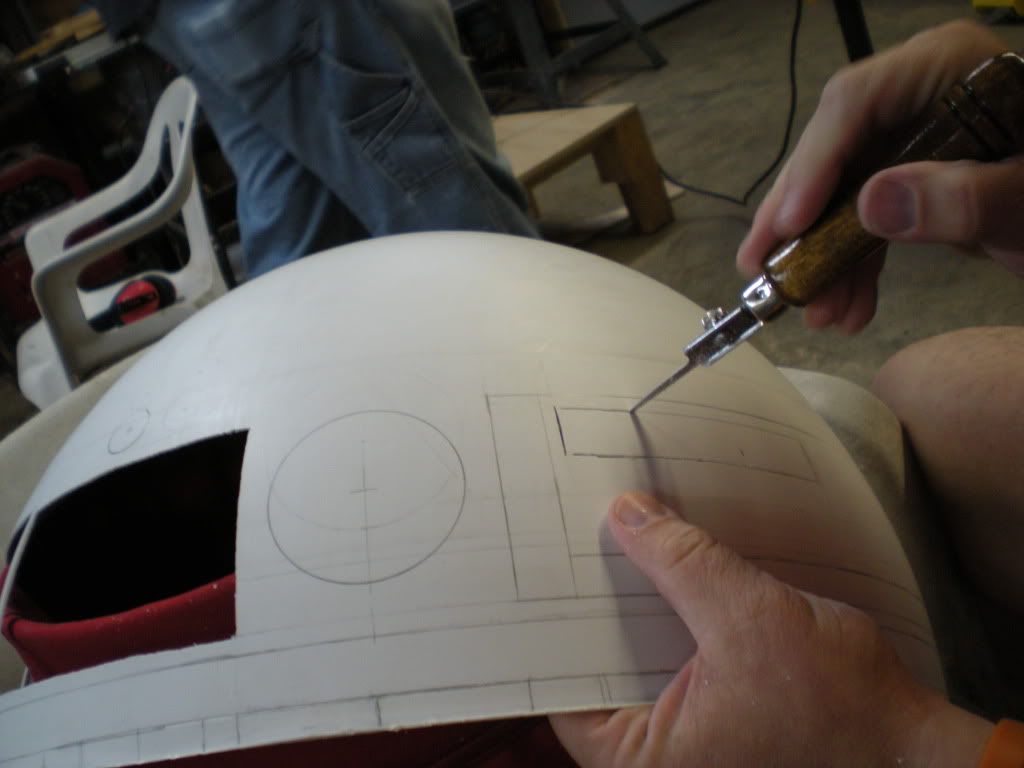
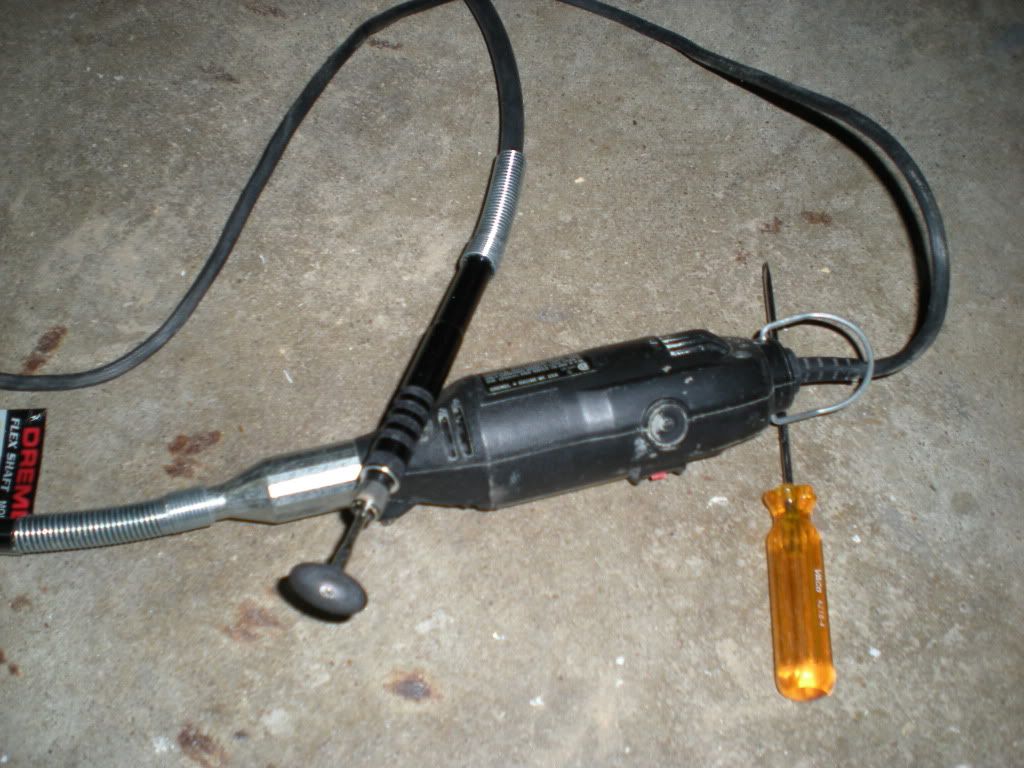
I borrowed my fathers Dremel. While looking through the box of supplies I found a thinner cutting wheel. I decided to try cutting the panels with the Dremel rather than cutting them by hand with the saw. This ended up working great. It was fast and the lines where straighter.
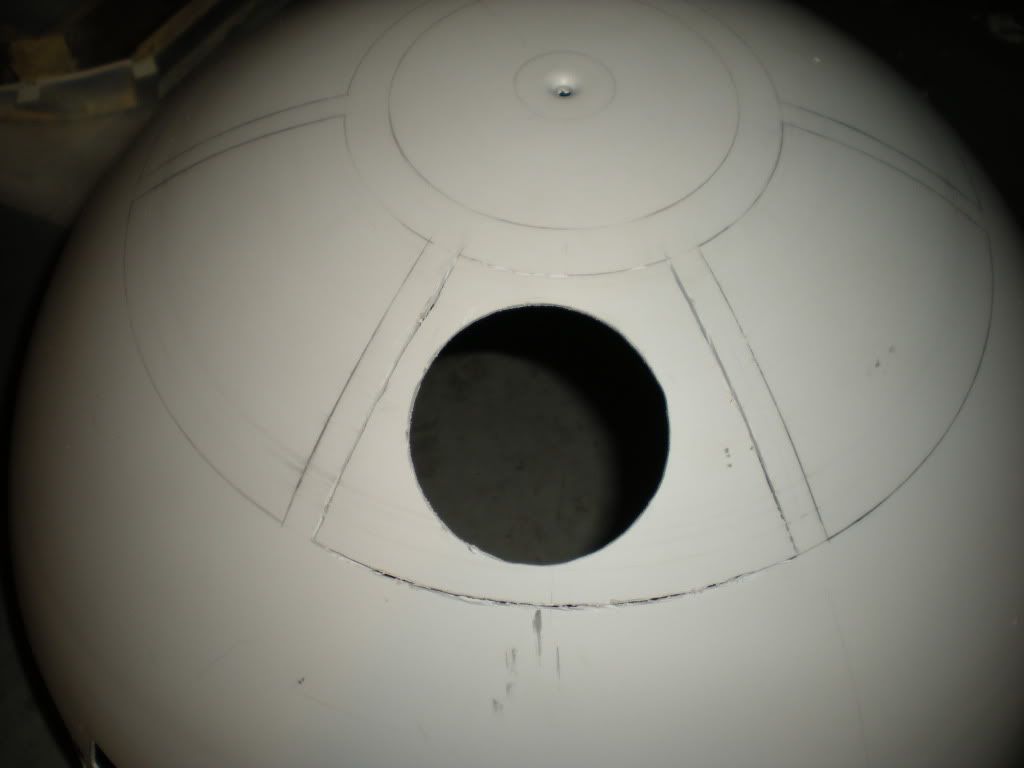
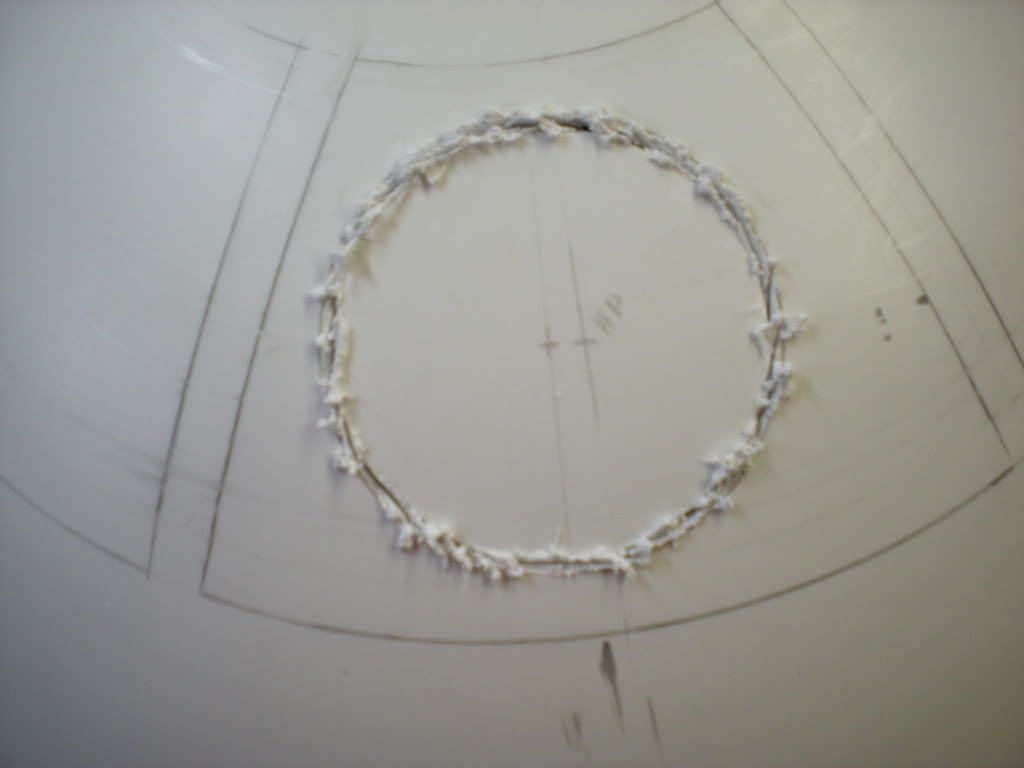
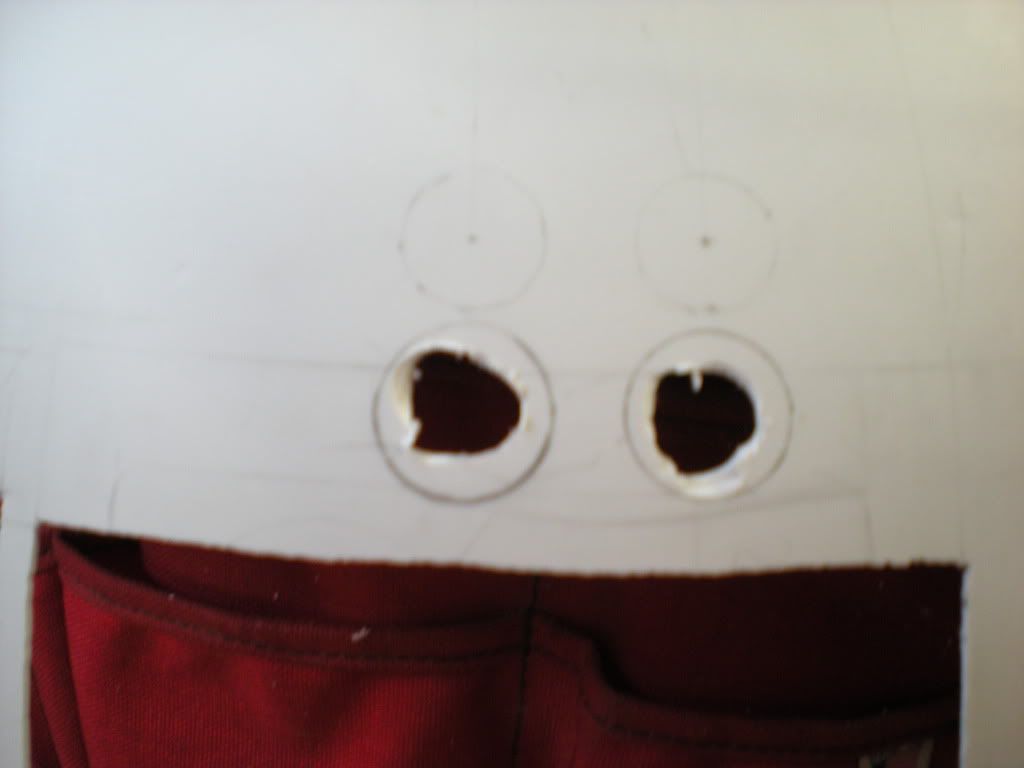
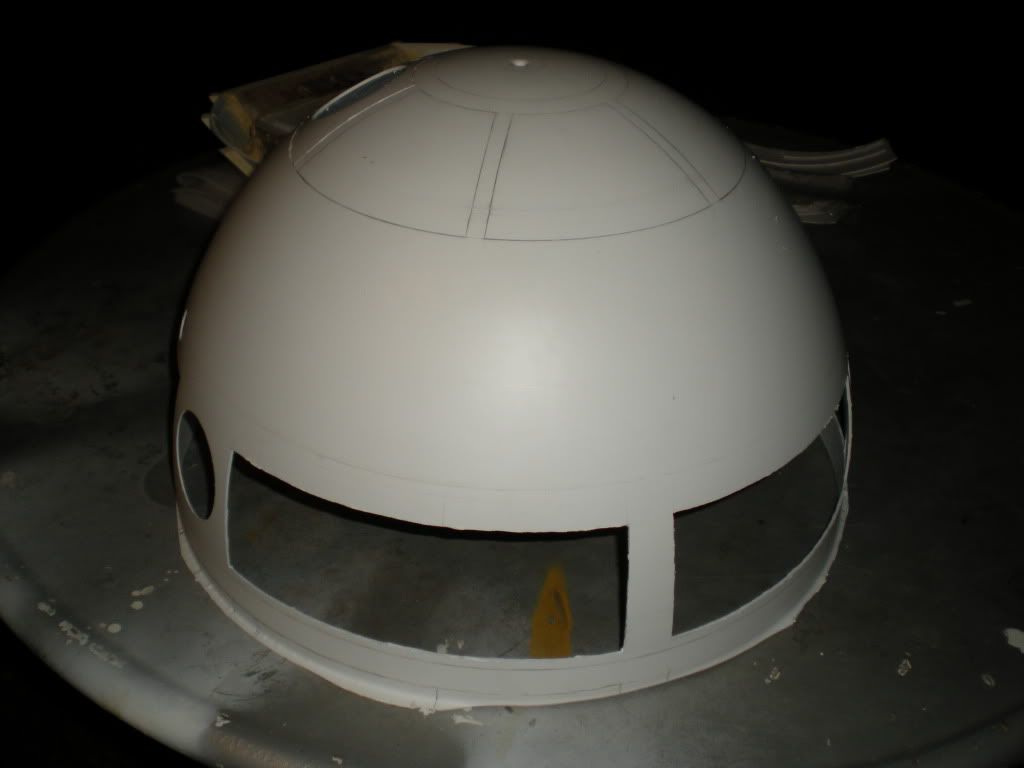
The Dremel worked so well on the straight lines I decided to try it on the holoprojector holes. I cut close to the edge of the circle but not on it. When I finished cutting all the way around, I popped out the piece and used a Dremel sanding attachment to take it to the line and make the hole perfectly round. I then took a drill, using the largest bit I could find, and drilled out the holes for the dome bumps. I made them perfectly round by using the same sanding attachment I used on the holoprojector holes.
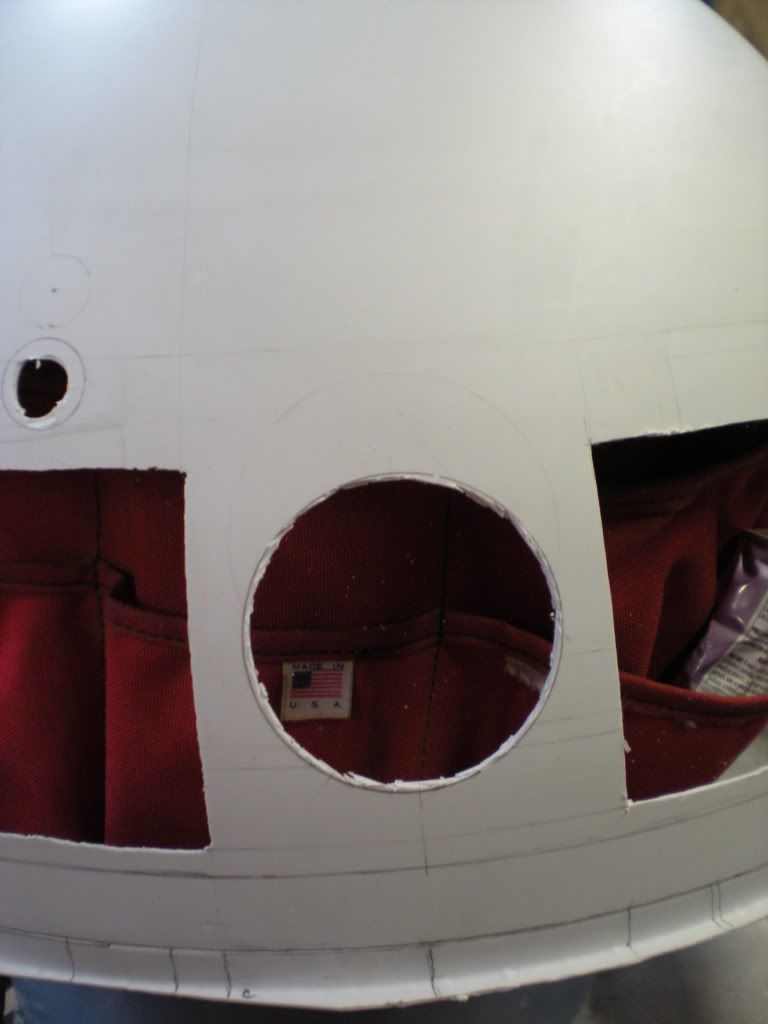

I got all the lower panel cut out, so I had to take pictures.
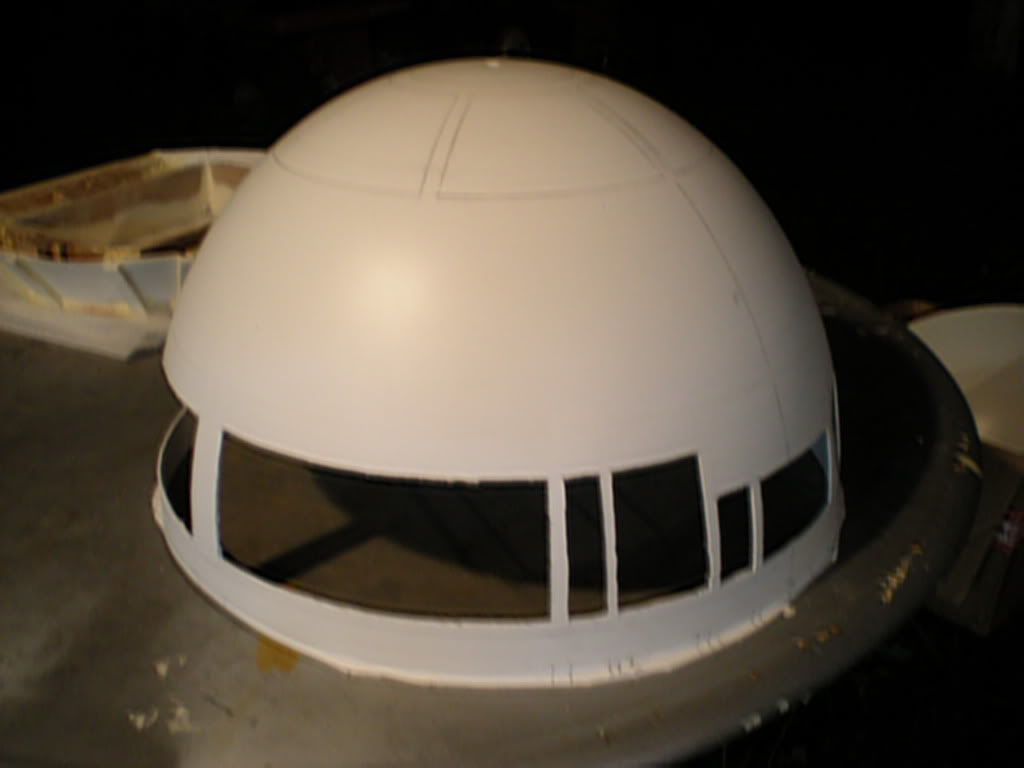

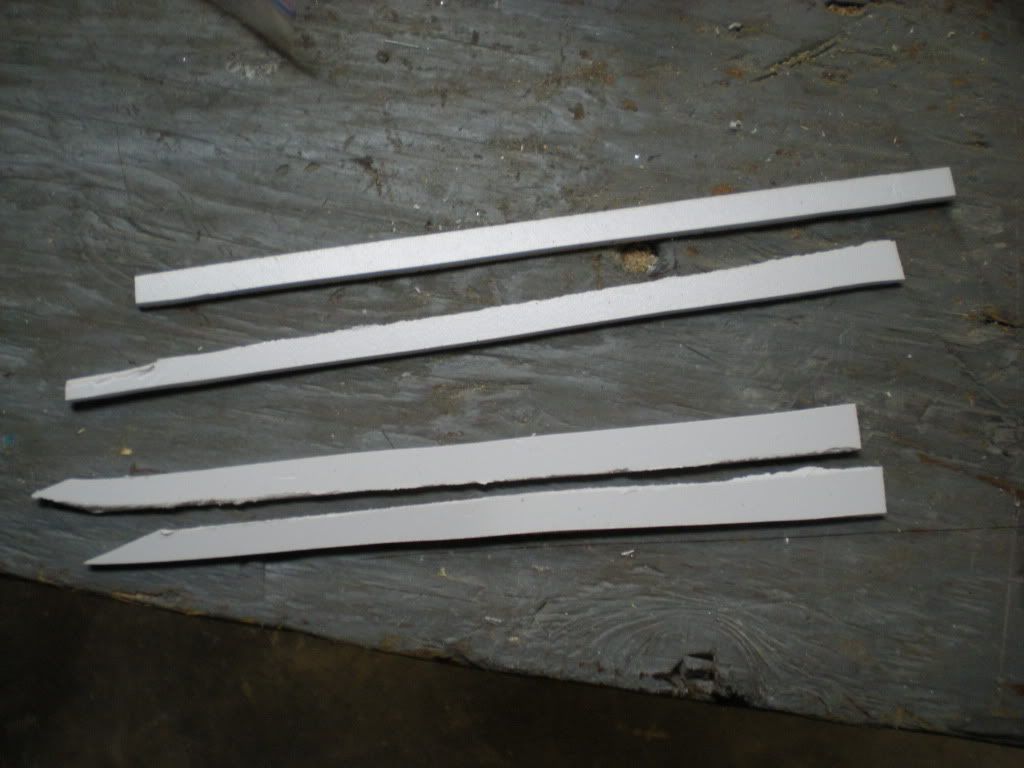
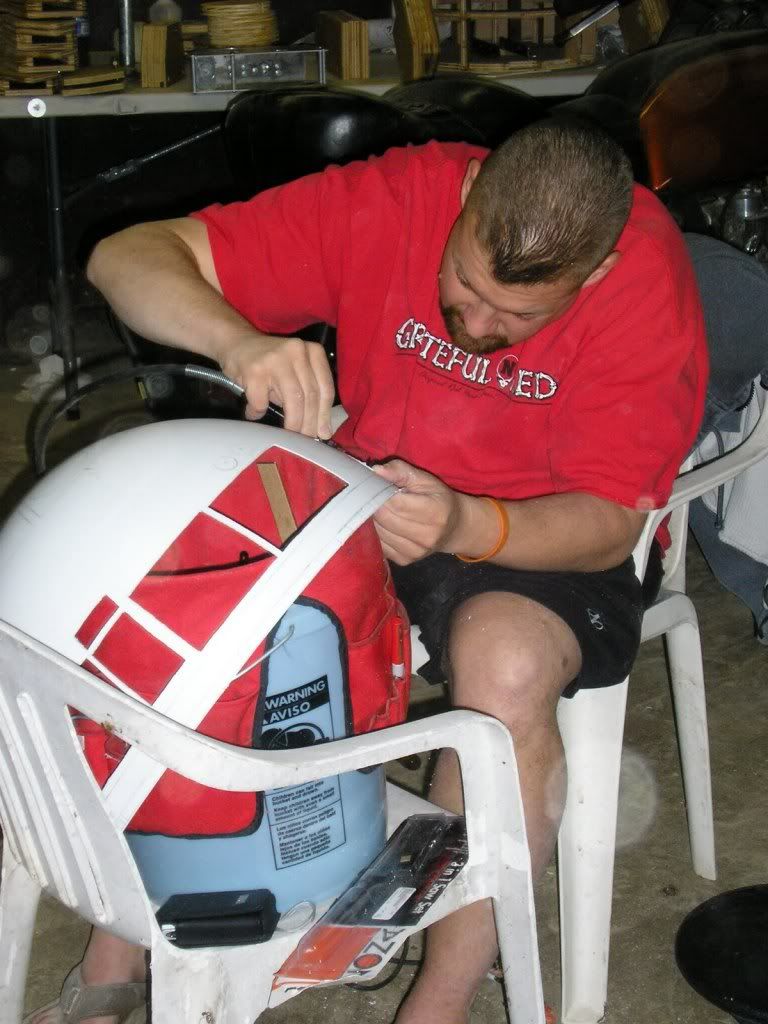
I got started on the dome panel before everyone cleaned up and went home for the night. I was able to cut the bottom arc and the sides of the panel with the Dremel, but the top arc was too sharp. I will have to find a smaller cutting wheel or use a handsaw for the top of the dome panels.