Saturday, March 14, 2009

Move Over Kenny Baker

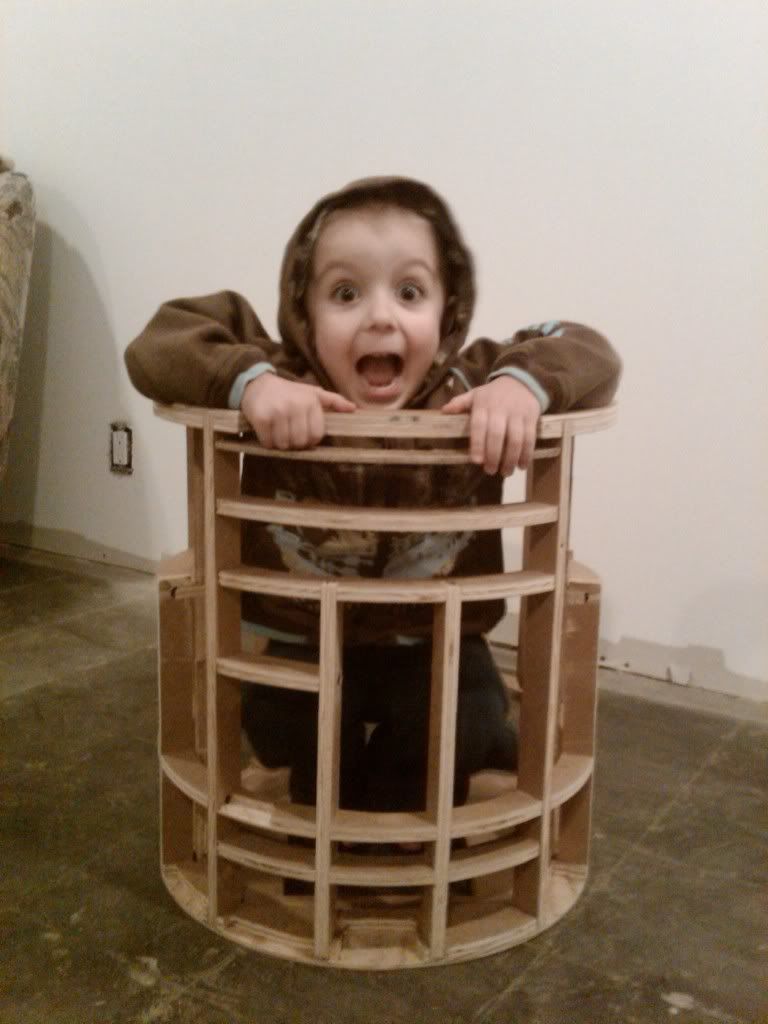
I was in the middle of remodeling my basement and Joshua (my girlfriend's son) asked me where my R2 was. When I showed him all the parts I was going to use to make my R2 he asked me when I was going to "fix" R2-D2. I guess I better get busy putting R2-NU together. When I showed Joshua R2’s frame (which he refers to as R2's skeleton) and told him Kenny Baker use to be inside R2 in the first set of movies he climbed inside and hammed it up for the camera.

Wednesday, March 11, 2009

Drilling Pivot Holes

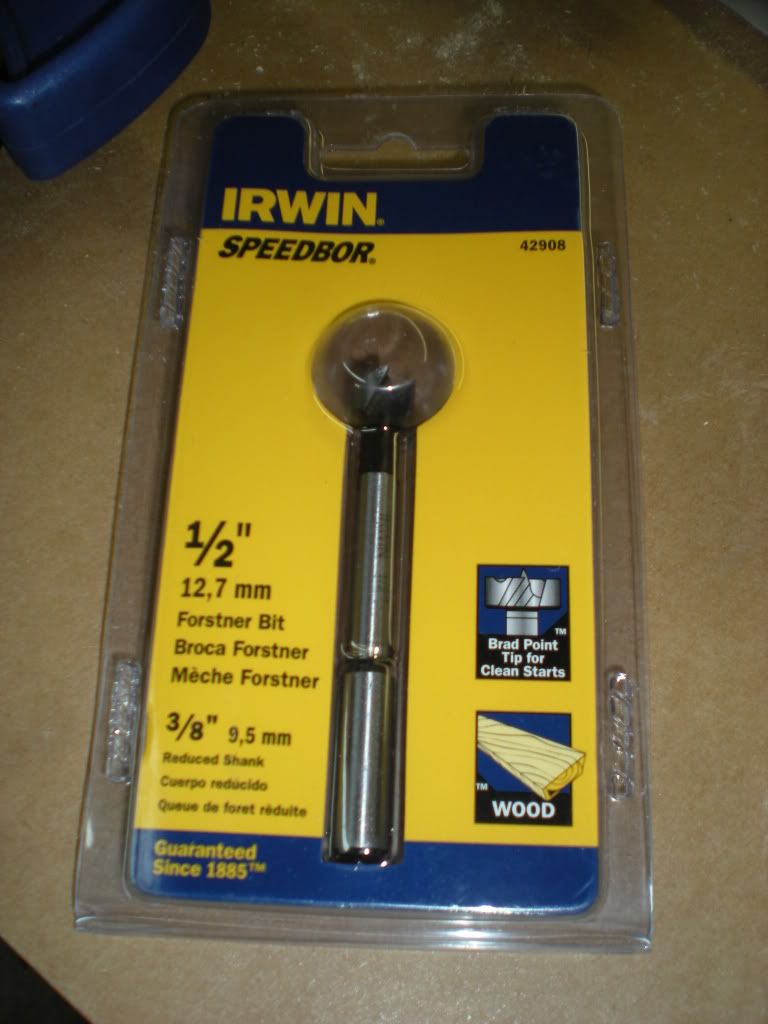
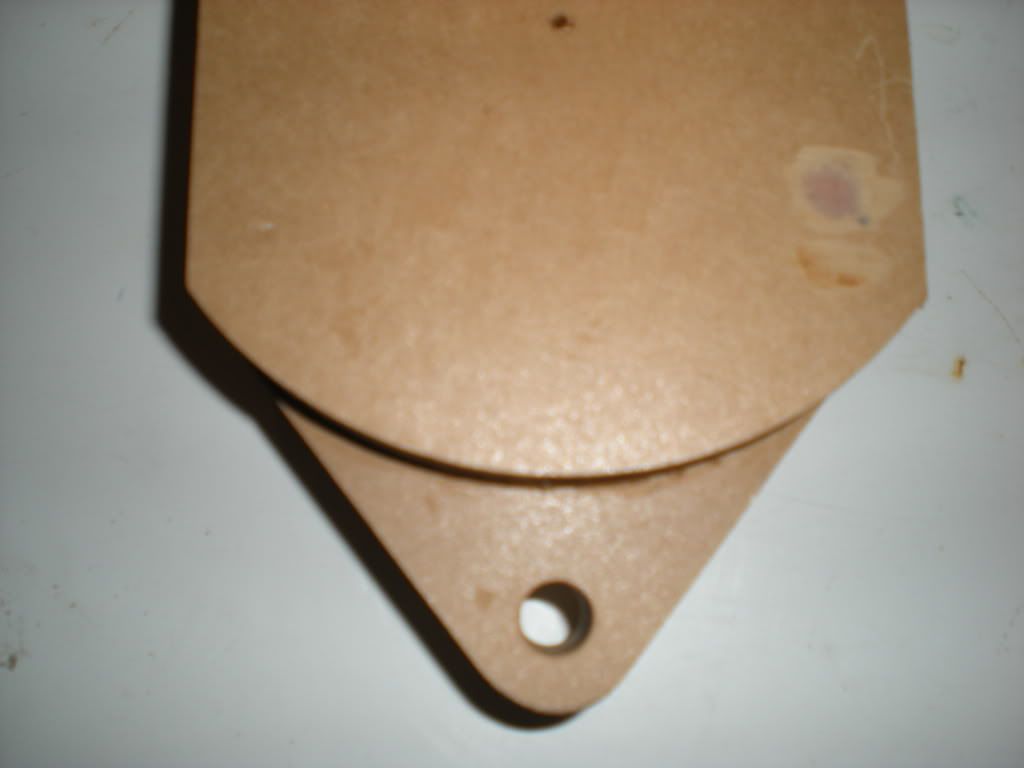
Moose, Brad, and I met to drill the leg/ankle to foot pivot holes in the outer and center legs. After the much debate and comparing outer and center leg hole positions and sizes to every R2 design known to man, we finally settled on the JAG hole position and size for both the outer and center legs/ankles. We found that every bit Moose and Brad had was either too long or did not have a sharp enough tip to ensure we would get the exact position we needed to drill. No choice, we had a field trip to Westlake Hardware where I bought a ½” forstner bit. I love this thing!!! It is accurate, it clears debris as it drills, and it doesn't vibrate the piece of wood you're working on.


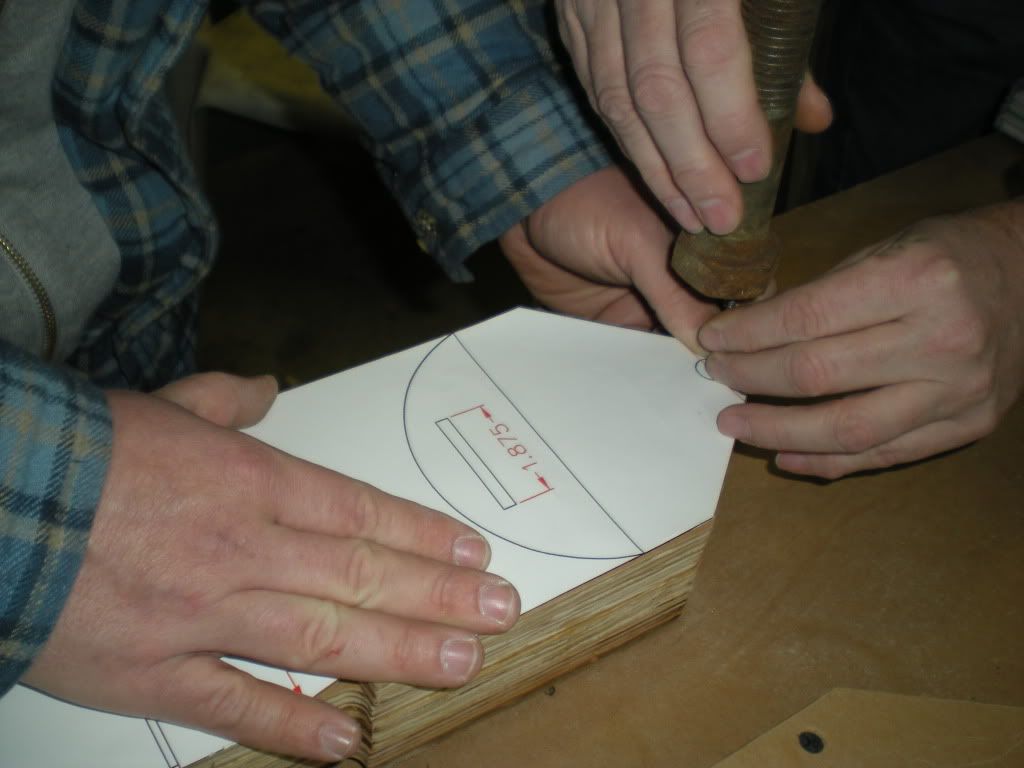
We laid the JAG template over the finished outer leg piece and used a nail to mark the center position of the pivot hole.


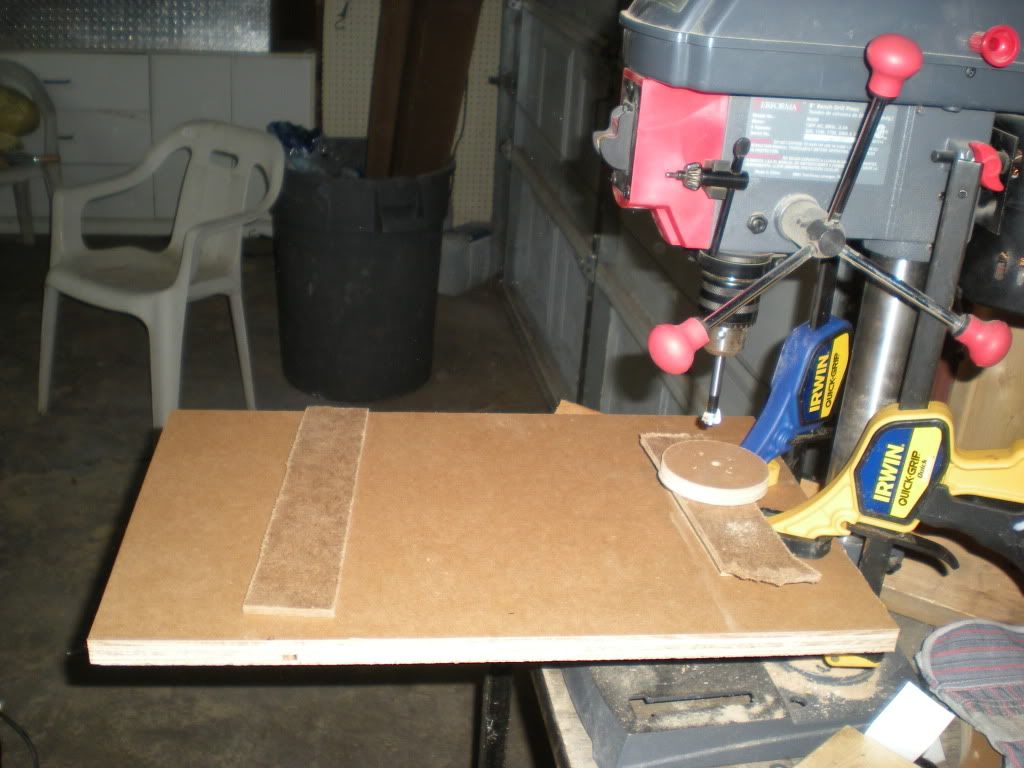
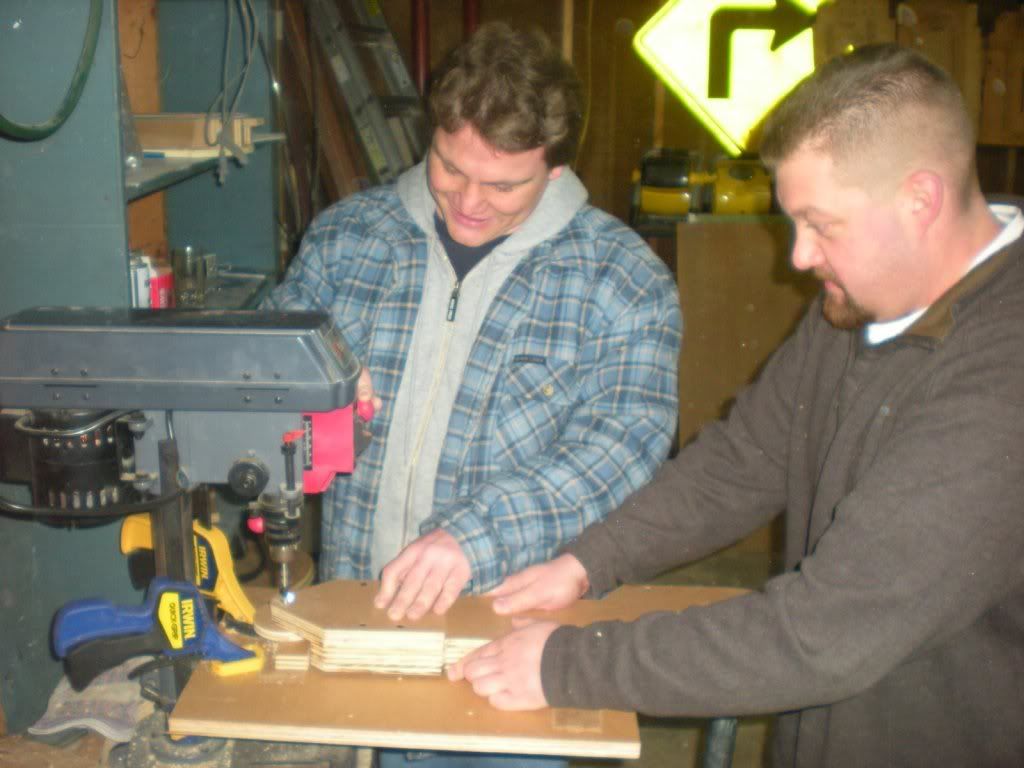
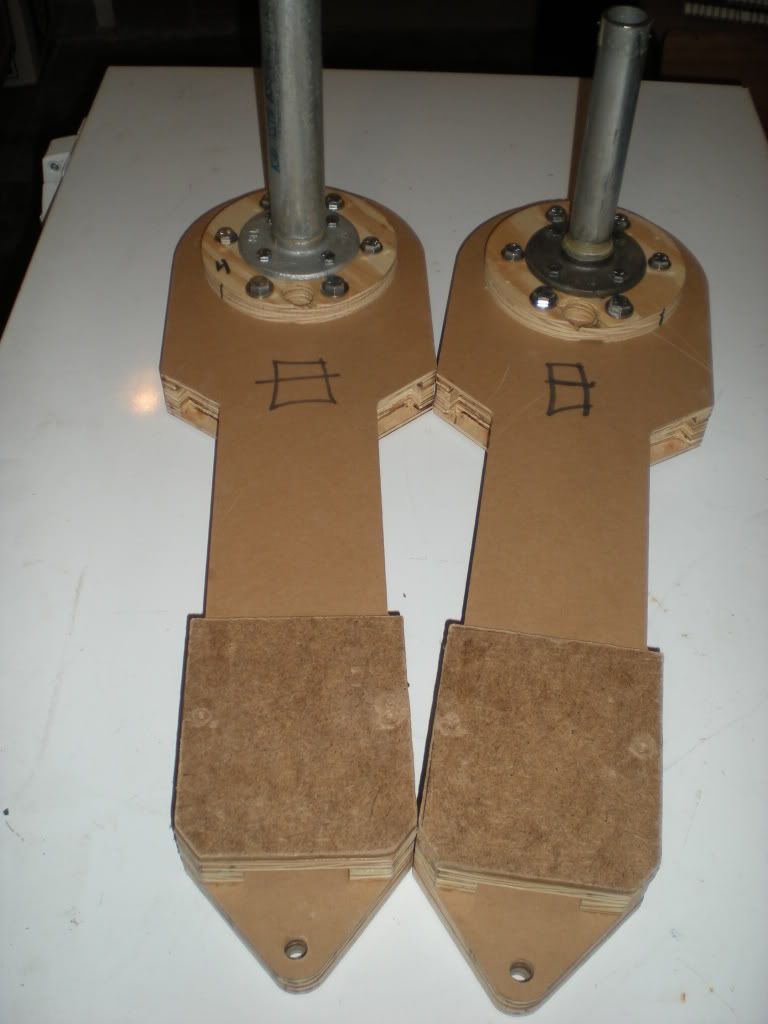
Because our legs already had the hardware attached and the drill press plate was too small to keep our legs steady, we built a much larger work surface to keep the legs steady as we drilled.


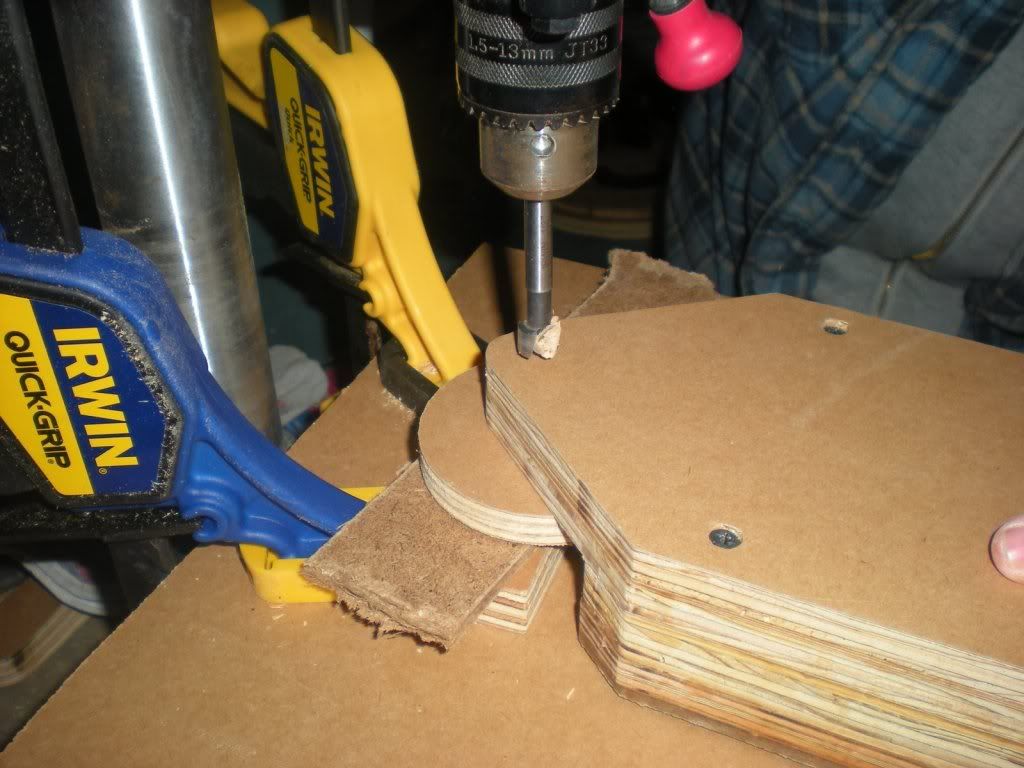
Here we go. This is a three person process once the drill is turned on. One person to hold the leg in place, one person to make sure this unbalanced mess doesn't tip over, and one person to run the drill. Brad is taking the picture; otherwise he would be holding the drill.


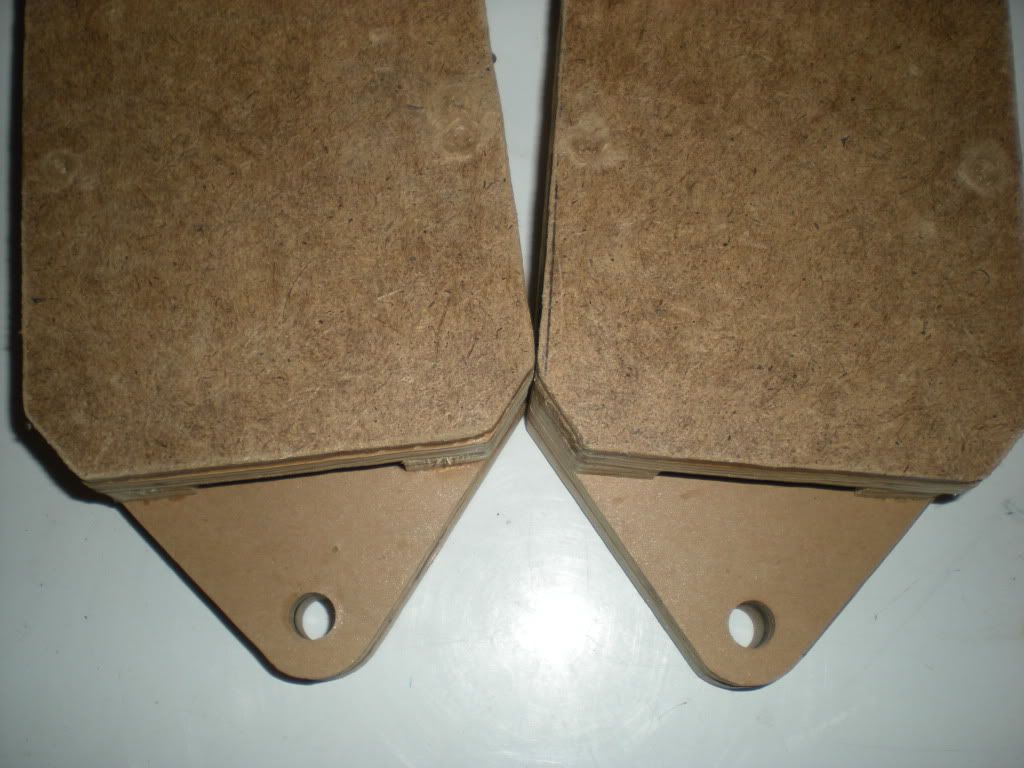
We do pretty good work. The holes are dead on accurate.


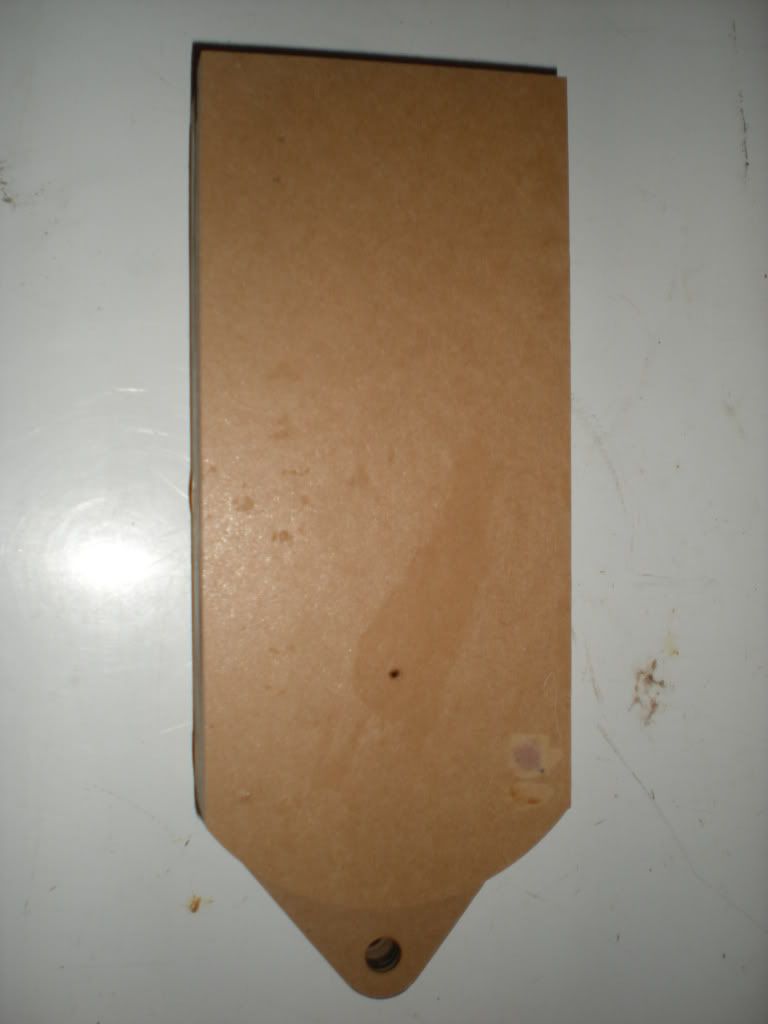
The center leg was a little more tricky to line up. We had to cut out a separate center leg template before we could mark the center with a nail hole. The drilling process was the same and the result looked great.

Large Omniball

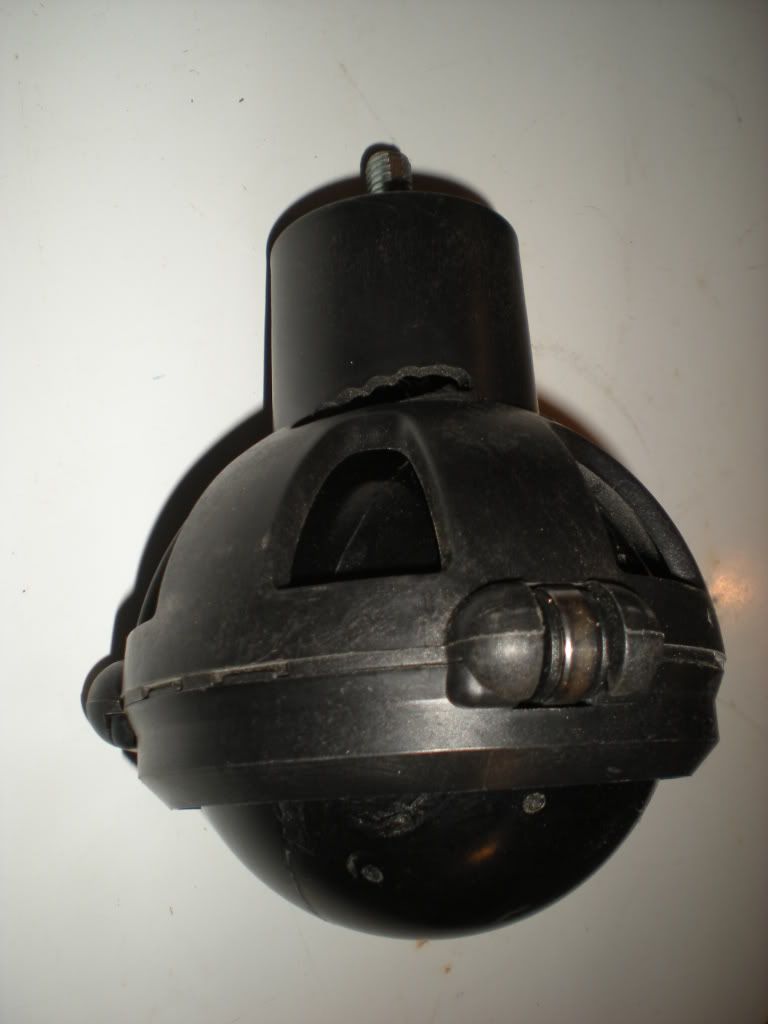
I'm planning on making my R2 2-3-2. I would like to use the large omniball rather than the three small omniballs to help with moving my R2 along uneven surfaces, so told Moose I would buy his large omniball. I have two problems: 1) the height of the omniball and 2) the rocking of the center foot while R2 is moving.

4.124" - Inside Center Foot Clearance (Channel To Foot Base)
1.472" - Wheel Clearance (Foot Base To Ground; Measured Using Dan Baker Plans For The Outer Feet)
5.596" - Total Usable Space (From Center Foot Channel To Ground)

5.750" - Large Omniball Height
1.000" - Large Omniball Mounting Bolt
6.750" - Total Omniball Height

1.154" - Height Difference

After a suggestion from Moose, I looked for old posts to see how to reduce the large omniball height by going through the main board's post history. I found r2dude’s post on AstromechBuilder.com and I think I’m going to use this method as a starting point. It will remove the 1" bolt height, but I would still have to contend with about a 1/4" to 1/2" difference (once adding a mounting plate) between the outer and inner foot shells' to ground clearances.

Jason suggested I use an ankle wedge if I decide not to do a 2-3-2 R2. I can probably use a single rear wedge for a 2-3-2 R2 to prevent rocking when R2 is moving forward, but there is still the problem of R2 moving backwards or turning abruptly. I haven't given up yet. I will continue to look for methods to stop the rocking using 2-3-2.

Removing Hardware From Wheels

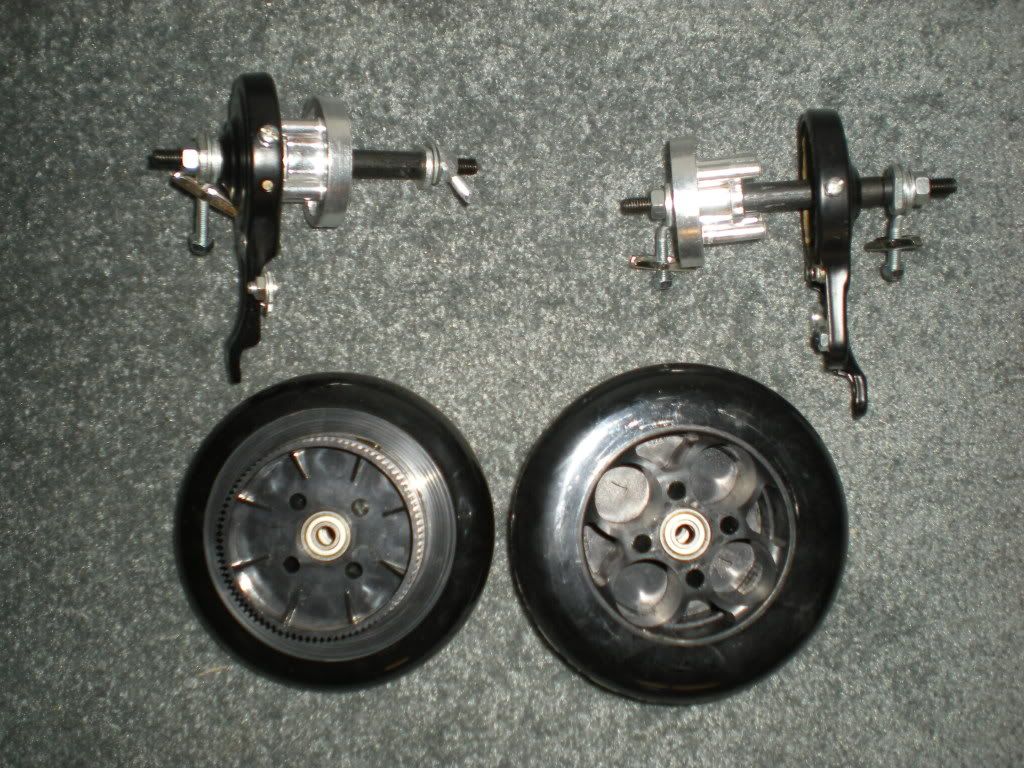
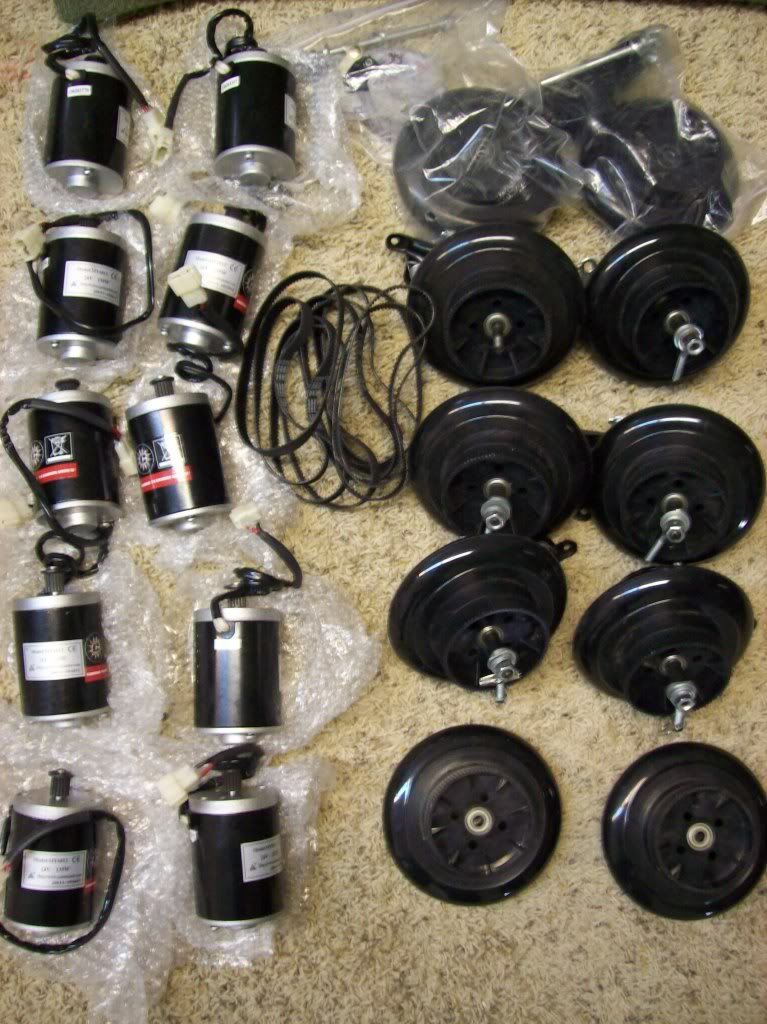
Brad and I stopped by Moose’s house tonight and took a look at the motors, wheels, and belts that came in. While we were there we removed the excess and brake hardware from the E100/E125 wheels. The wheel has two bearings. One in the center of the wheel on the side opposite the belt teeth and one in the large side of the silver breaking mechanism. Once all the hardware was removed, the bearing that was in the silver braking mechanism was added to the side of the wheel that has the belt teeth. There are a lot of extra parts, but Moose assured us that we will use almost all of it when installing the wheels in out motor mount/ankle pieces.

Motors, Wheels, & Belts Are Here

A message was just posted on the board letting us know that our motor, wheel, and belt bulk order came in.