Saturday, July 11, 2009

Fiberglass Skirt Mold

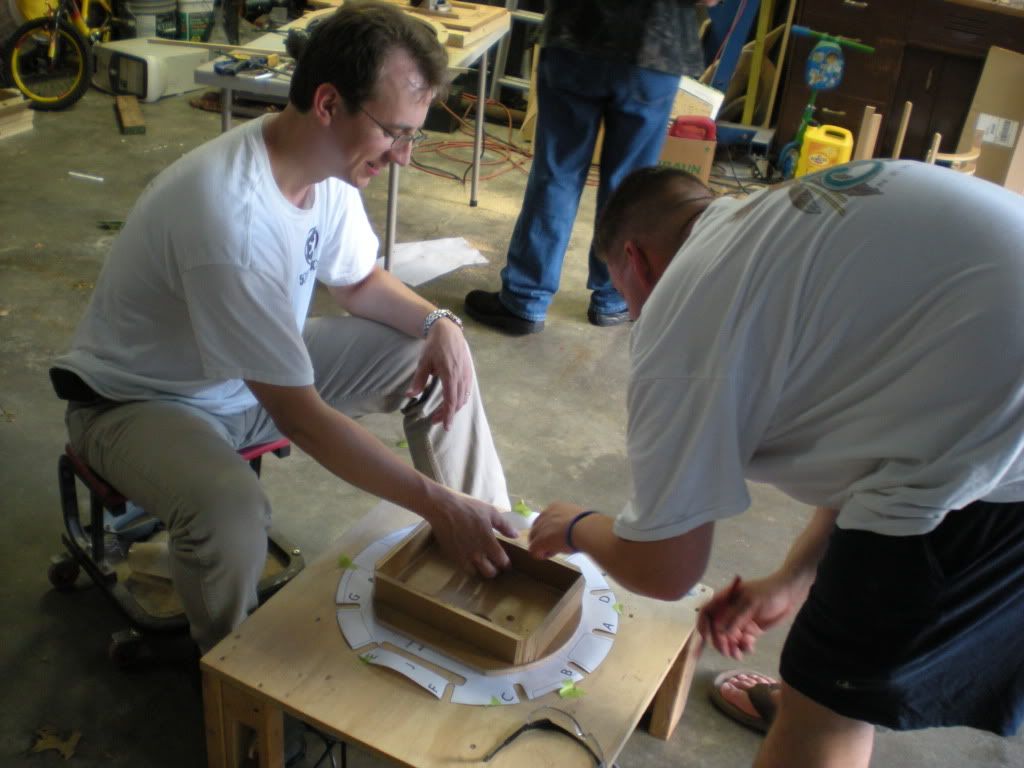
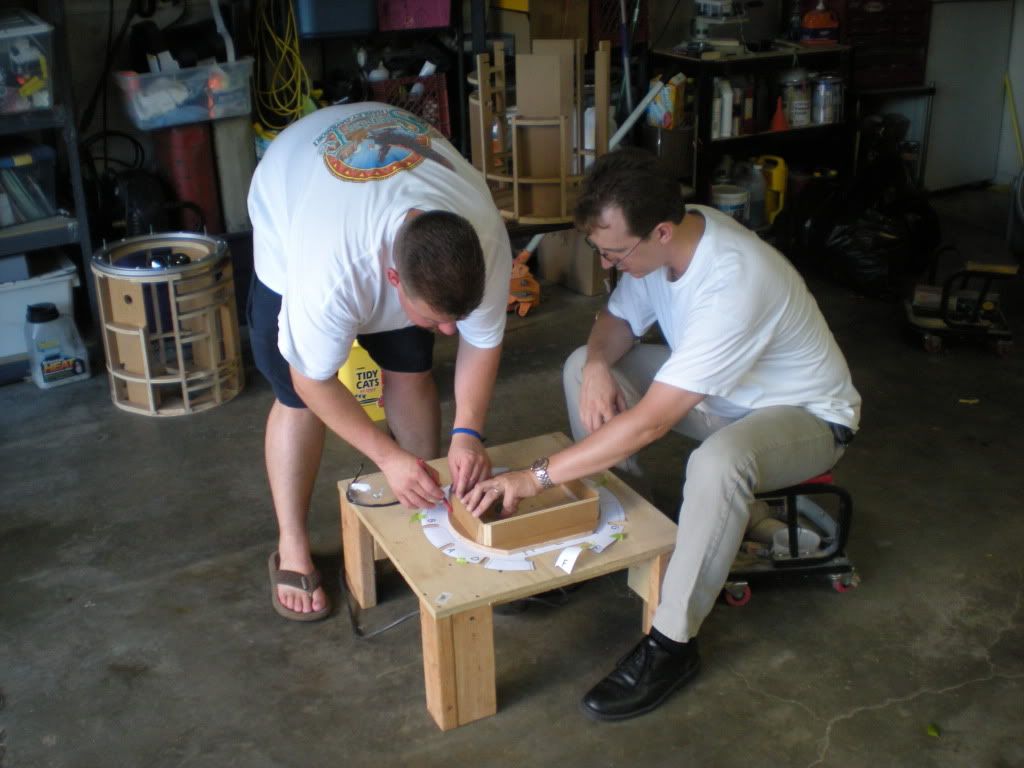
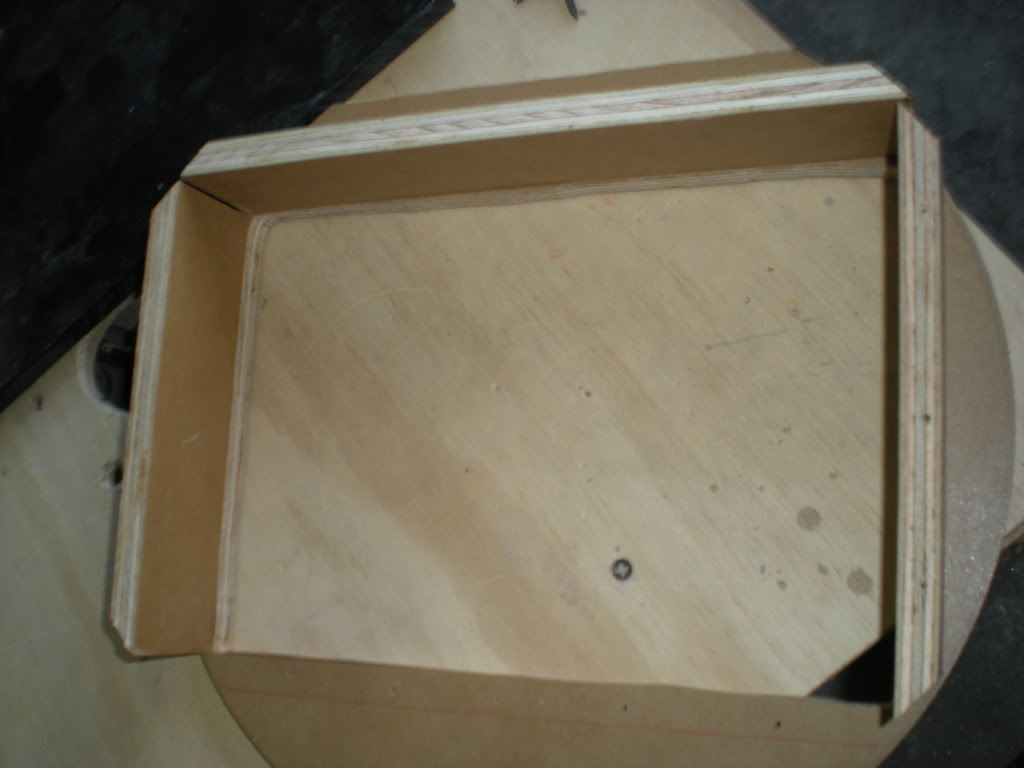
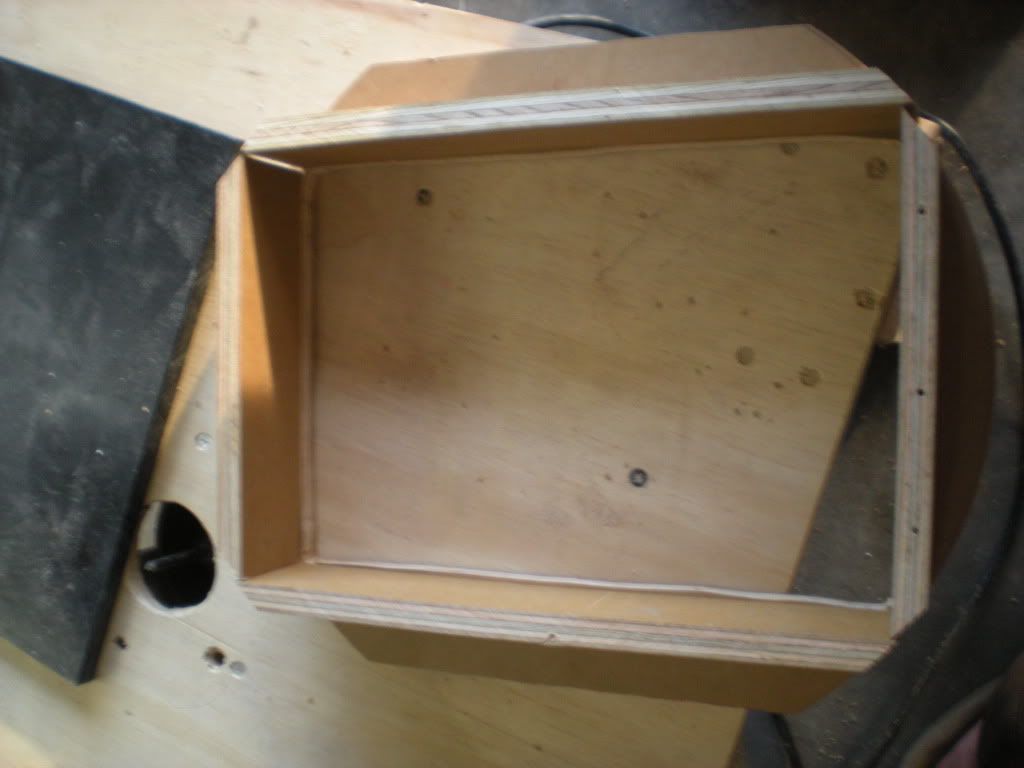
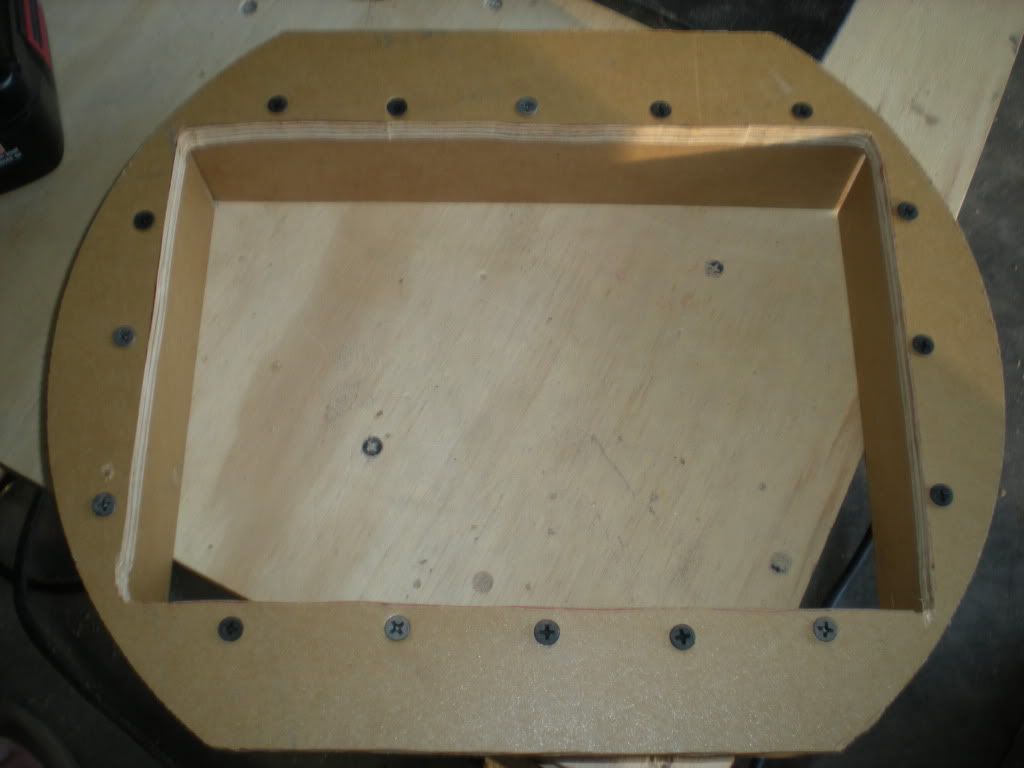
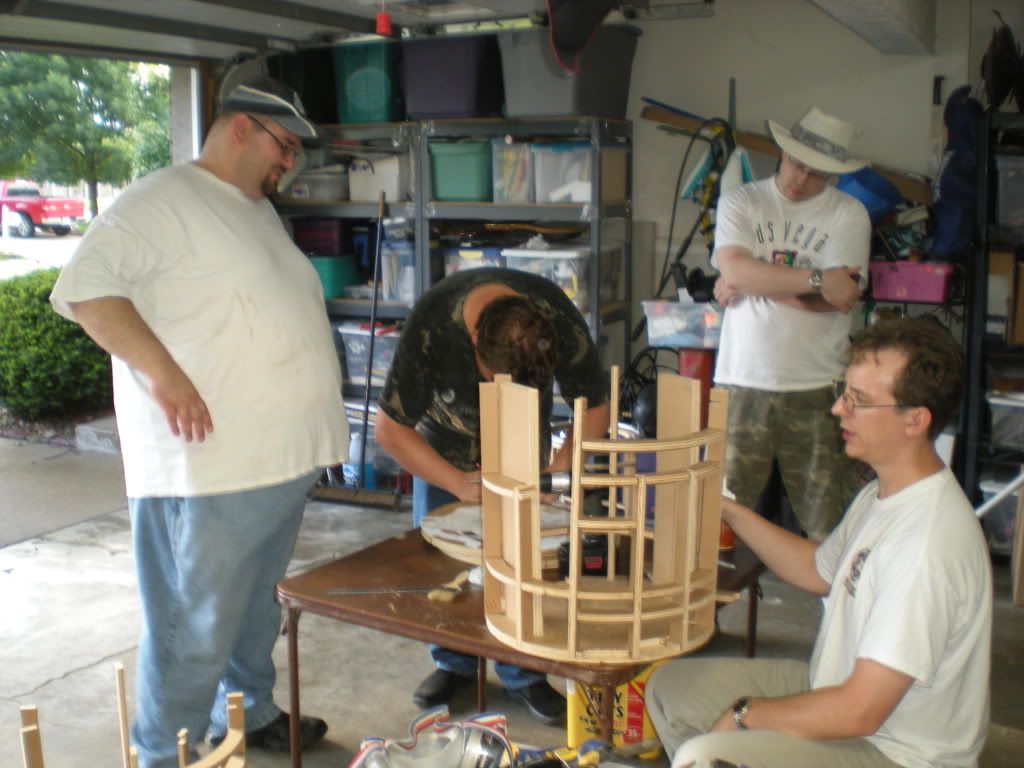
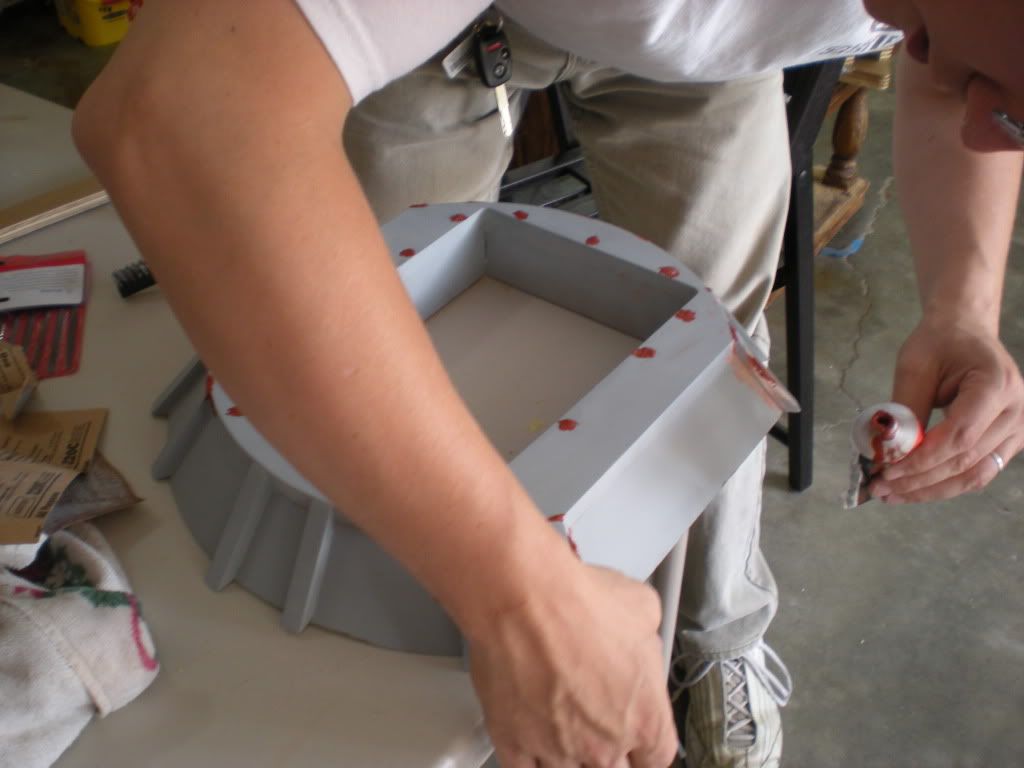
The group got together today at Brad's house for a little building. Jason and Brad started us off by priming Jason's skirt and filling the holes and cracks left by the skirt assembly. I had to leave before they did it, but the two made a fiberglass mold of the skirt so the group can pour resin skirts.

Tuesday, June 23, 2009

Rockler Bearing Installation

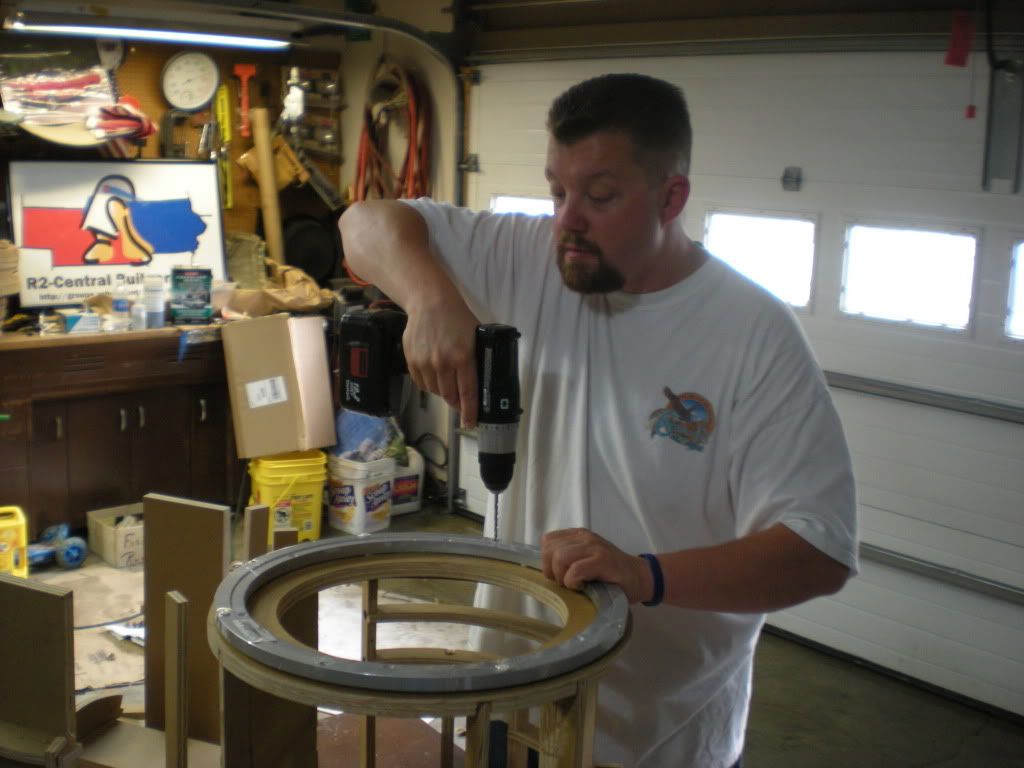
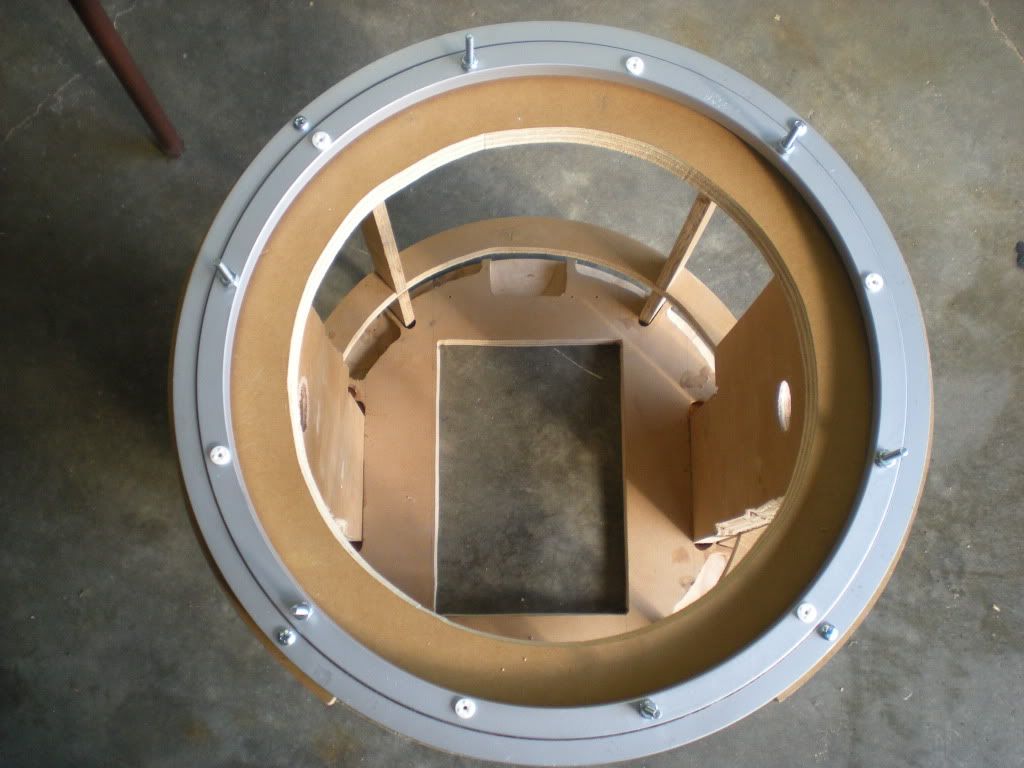
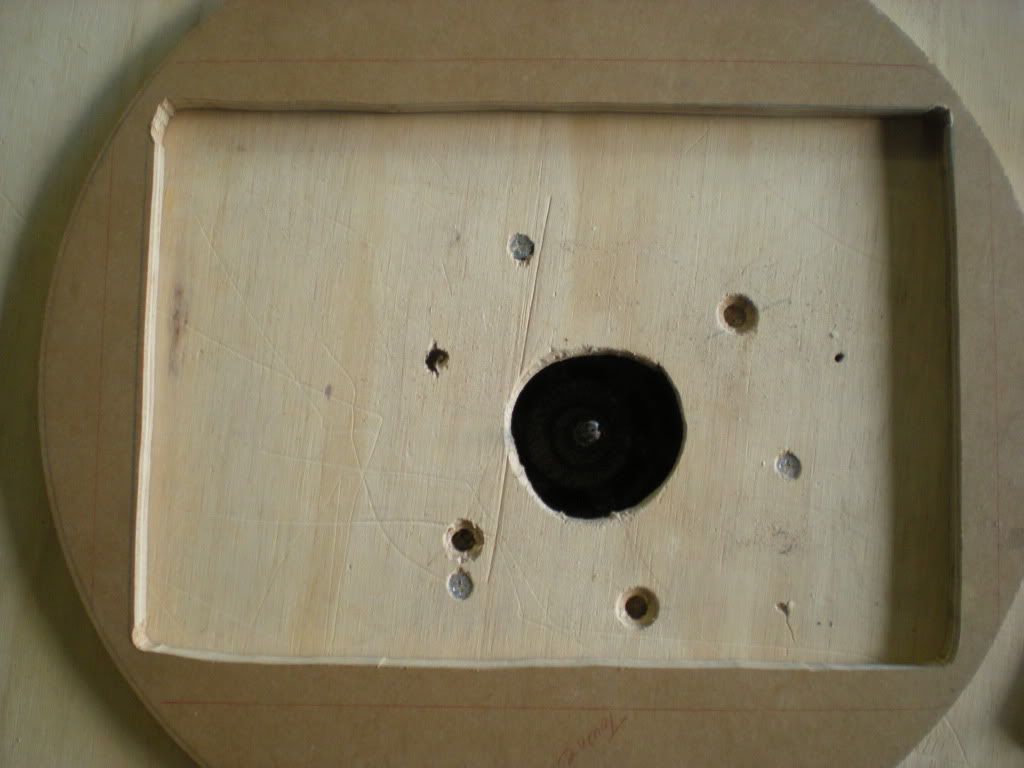
The Rockler Bearing is a Lazy Susan mounted to the top of the frame that allows the dome to turn 360°. The outer ring is attached to the frame and the inner ring holds the dome. The bearing comes with eight pre-drilled holes in the bottom of the outer ring with plastic spacers/feet used to prevent it from resting completely on the surface it is mounted to. Four of the plastic spacers were removed and the holes were drilled completely through the outer ring.


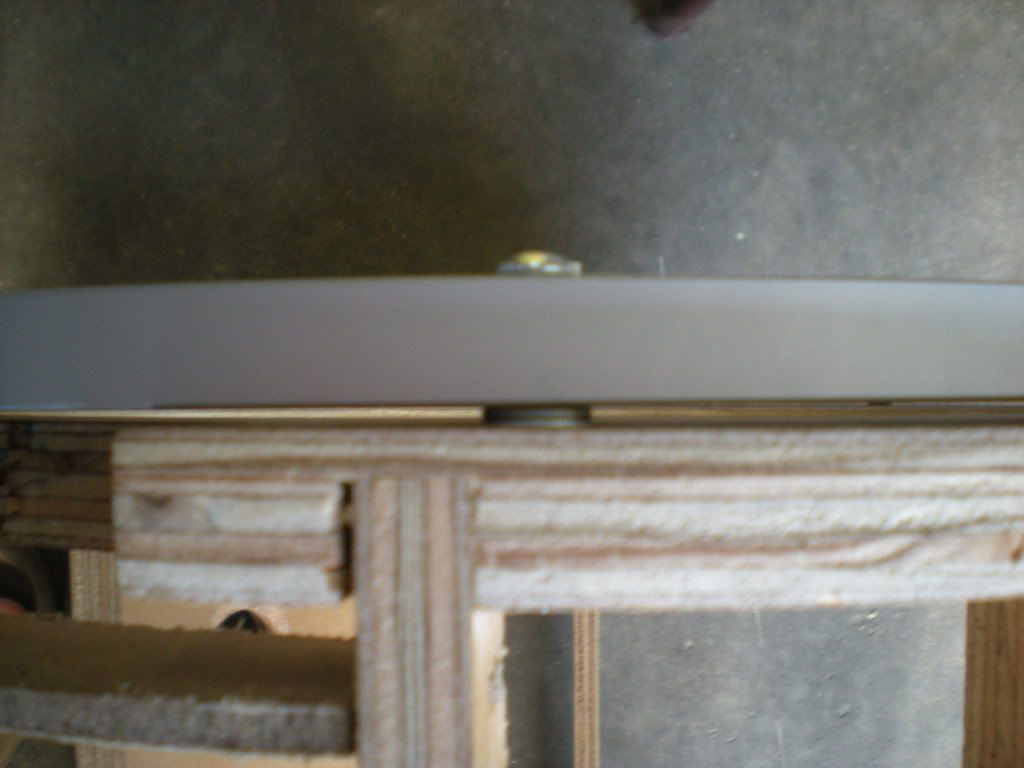
Once the holes were drilled in the outer ring, it was turned over, centered on the wood frame (done by feel because this will probably have to be adjusted later after the skins are added), and four 1½” sheet metal screws were used to attach the Rockler Bearing to the frame (no pilot holes where drilled). Two washers for each screw were added to the underside of the outer bearing ring to match thickness of the plastic feet of the outer ring. The mounting screws stick out the bottom of the frame slightly, so the should be replaced later with 1¼” screws.


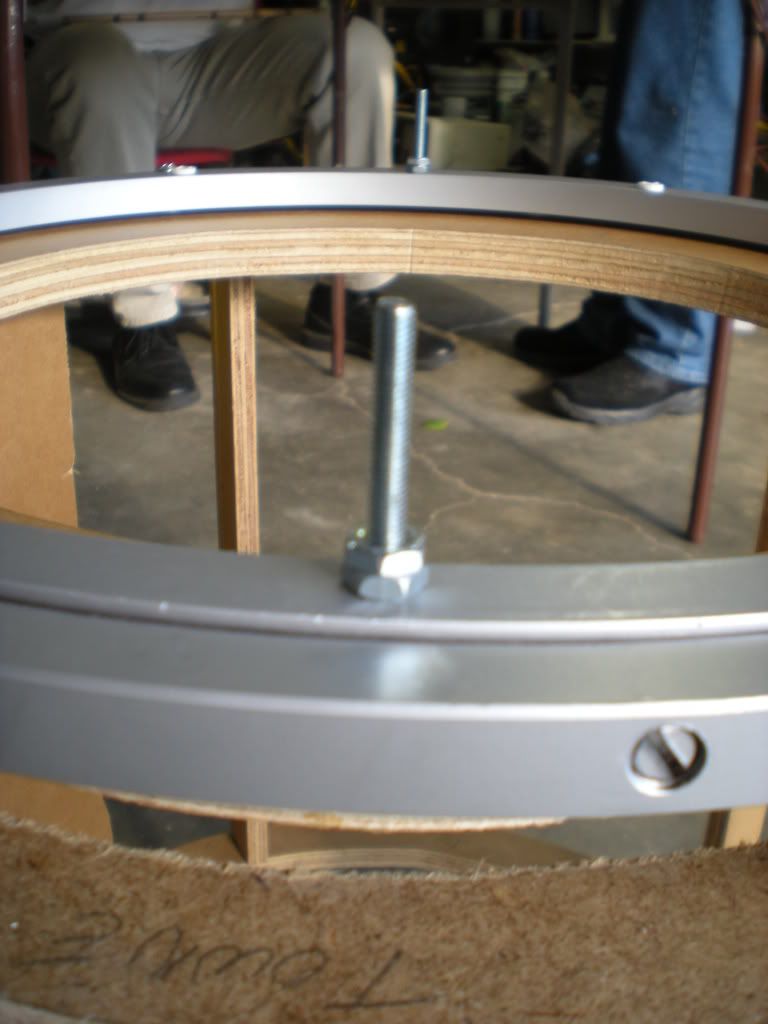
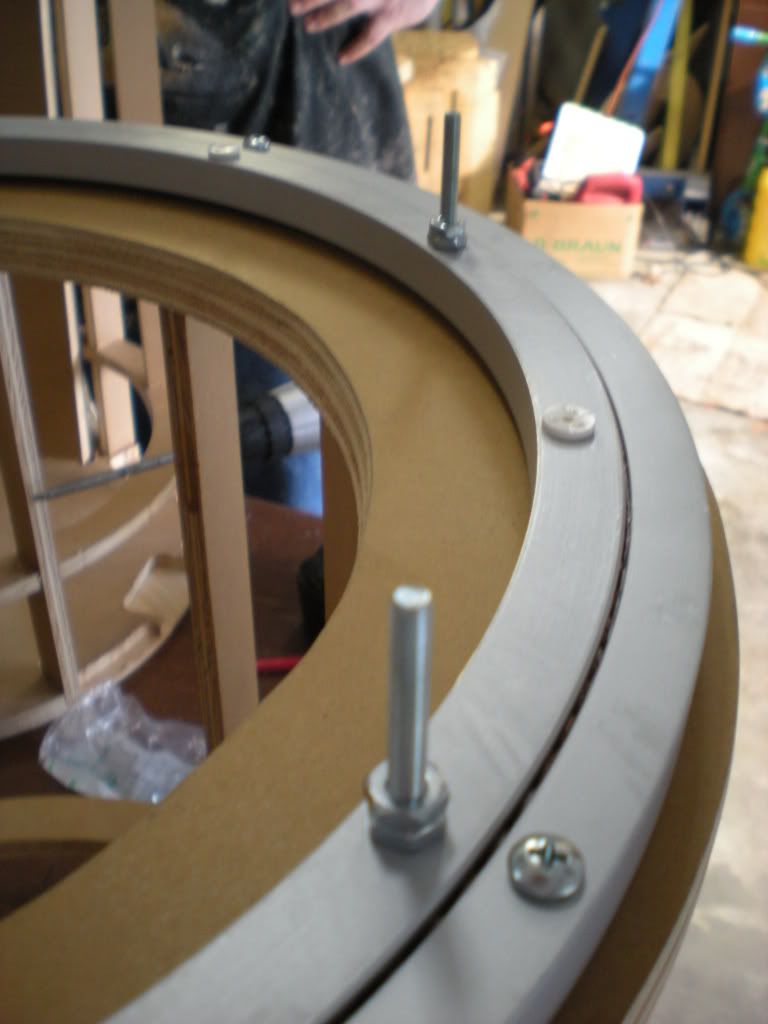
Six 2" bolts where inserted in the six countersunk holes on the underside of the inner ring. The bolts where held in place by two nuts. The plate that holds the dome will rest on the top of the nuts. Depending on how needed dome height, more nuts can be added to the six bolts.


After the ring was installed I checked to see how the bearing turned. It seemed a little stiff, so I loosened the outer ring bolts slightly and it turned easier.

Initial Skirt Assembly

The rest of the crew is farther ahead than I am with their skirt assembly. I cut the boards that surround the skirt hole to the correct height last week. Jason helped me put assemble my skirt by lining up the boards around the hole. As he held them in place I traced around the outside edge so we could line up the boards later.


With the guide lines drawn, I drilled pilot holes in the bottom skirt board. With Jeff's help, I attached one of the inner boards using drywall screws.


Using the lines and the first attached board as a guide, Jeff and I attached the remaining boards.


As you can probably guess, the screws should not be seen in the finished product; so will take them out one by one later and countersink the screws to make it easier to apply Bondo.


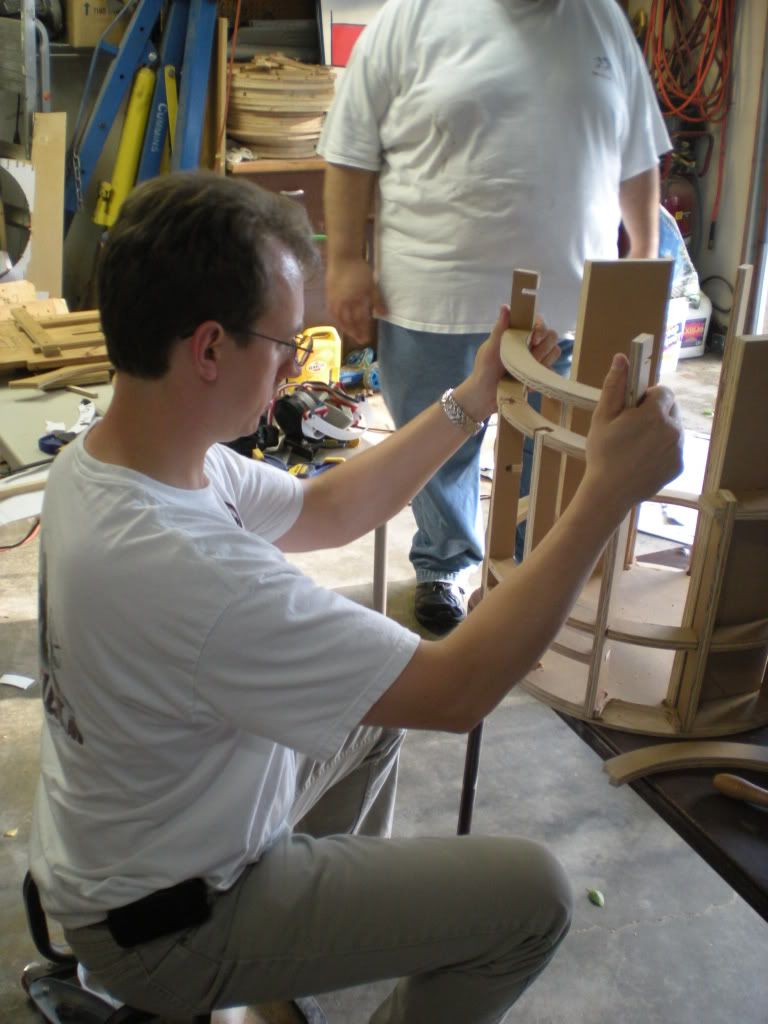
As I worked on my skirt, Brad and Serena were making ribs for his skirt. Serena measured the height and marked the locations of the ribs, and Brad sanded the ribs down to Serena's specifications. When Brad's skirt is finished, he plans to make either a fiberglass or resin mold to produce future skirts for the local club.

Frame Help

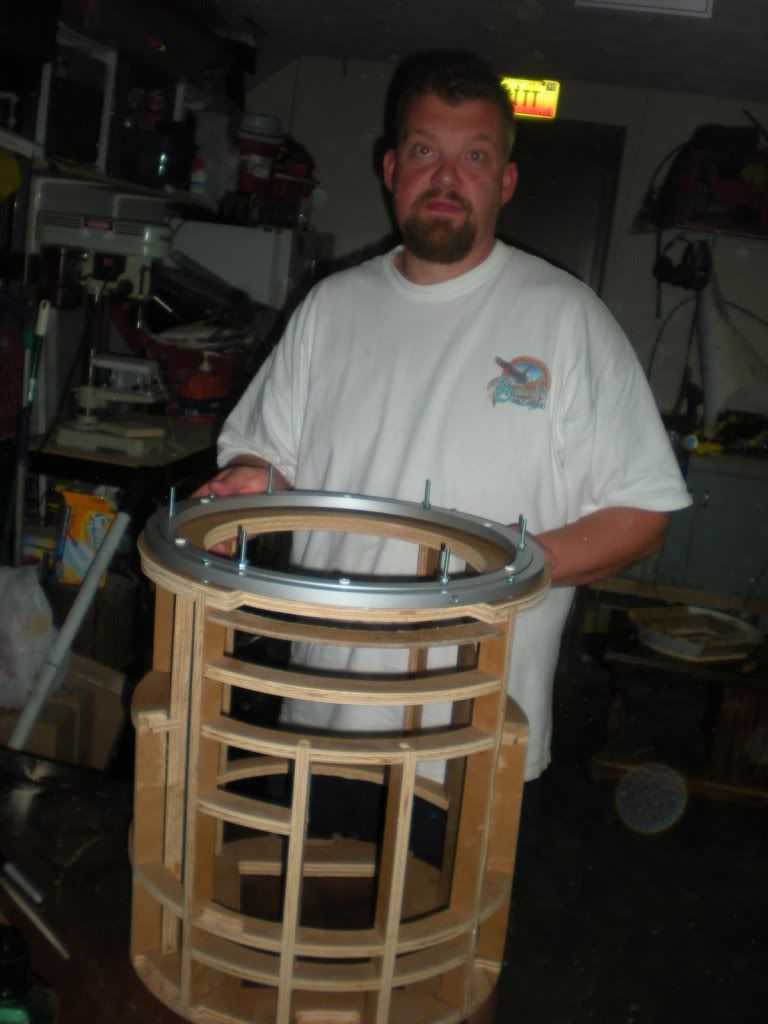
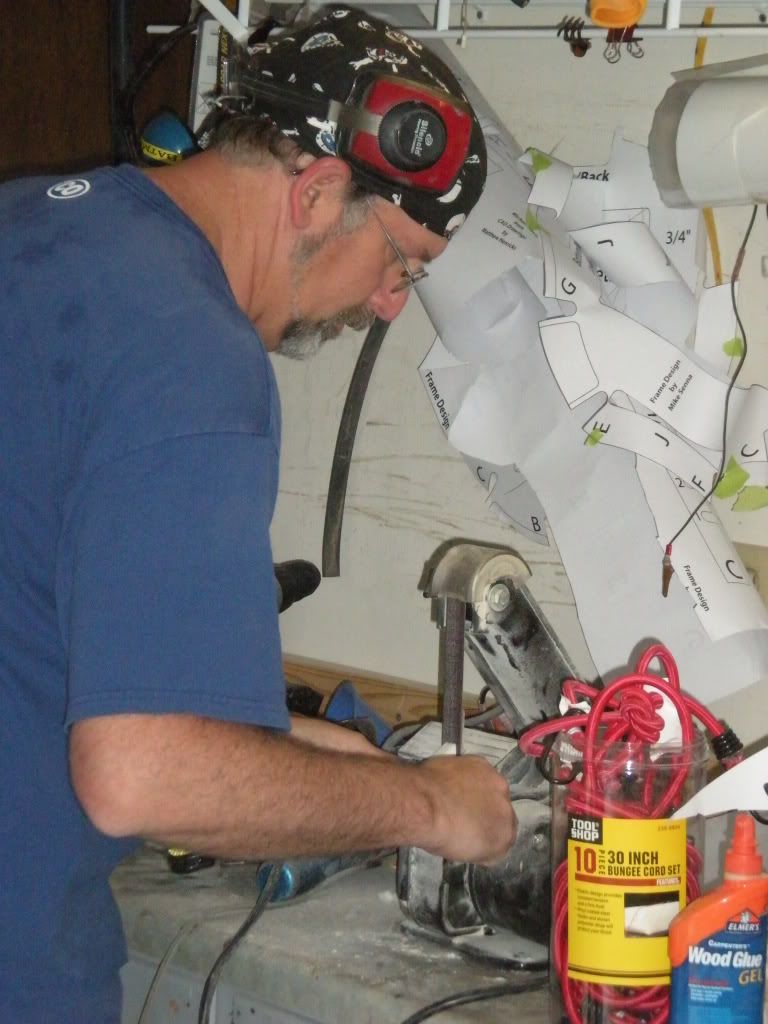
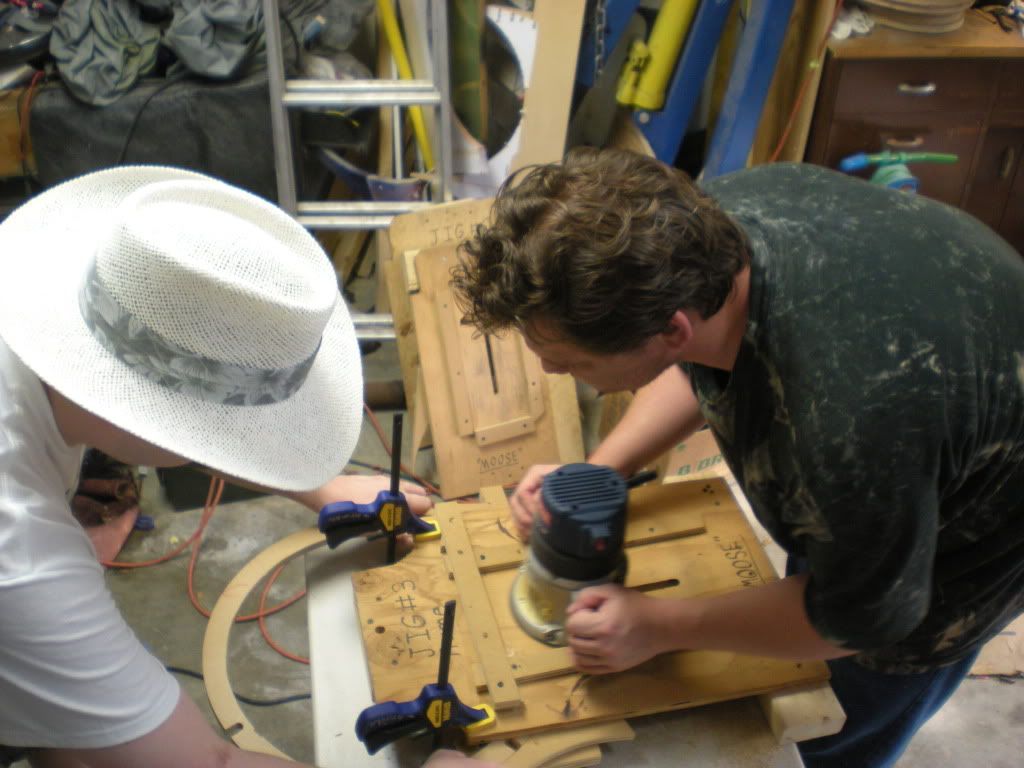
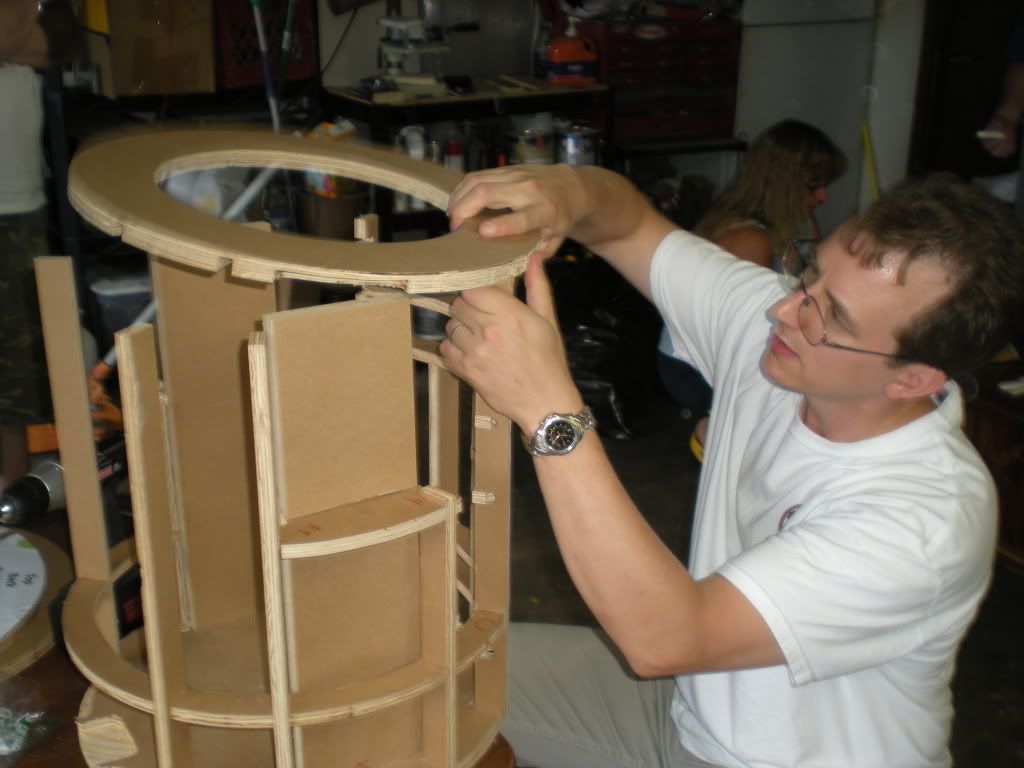
At our last build night Jason, Moose, and Jeff worked on their new frames. I helped out where I could, but mostly heckled and took pictures.

VEX Power Pack

I won a Power Pack and a Robot Battery Holder on eBay for $13.02. These items retail for $54.98 on the VEX Robotics website.